
Xamarin.Froms: App and Action Bars
To recap, I’m writing a shopping cart app for Windows Phone, Android, and iOS. The purpose of the app is primarily to let me use Forms. Each post will build on top of the previous one.
Last time I wrote data to disk. This week I’m going to add an application level menu.
Reminder, this article is a direct continuation of last week’s article. The code base is entirely the same. The posts were split up so that neither would be too long. For consistency’s sake, I have created separate releases for each week.
Recap and Code
This is the ninth post in the series, you can find the rest here:
- Day 0: Getting Started (blog / code)
- Day 1: Binding and Navigation (blog / code)
- Day 2: Frames, Event Handlers, and Binding Bugs (blog / code)
- Day 3: Images in Lists (blog / code)
- Day 4: Search and Barcode Scanner (blog / code)
- Day 5: Dependency Injection (blog / code)
- Day 6: Styling (blog / code)
- Day 7: Attached Behaviors (blog / code)
- Day 8: Writing to Disk (blog / code)
- Day 9: App and Action Bars (blog / code)
- Day 10: Native Views (blog / code)
For a full index of posts, including future posts, go to the GitHub project page.
Logging Out
Now that I’m all logged in, I need to be able to log out. Ideally this would go in a dedicated page with various settings. But honestly, that’d be boring. This app already has plenty of pages. What it doesn’t have is a system level menu — an Action Bar on Droid or an App Bar on Windows Phone.
Adding the menu is rather straight forward, just some simple XAML and bindings to CategoriesListPage.xaml:
<ContentPage.ToolbarItems>
  <ToolbarItem Name="Log Out" Command="{Binding LogOut}" Order="Primary" Priority="0">
    <ToolbarItem.Icon>
      <OnPlatform x:TypeArguments="FileImageSource"
                  WinPhone="Assets/Logout.png"
                  Android="ic_action_logout.png" />
    </ToolbarItem.Icon>
  </ToolbarItem>
</ContentPage.ToolbarItems>
Conveniently, ToolbarItem has a Command property that you can bind against to handle clicks. The command binds the same as a button. The icon is a bit more involved.
Now the question is: where can I get good icons for my app? This leads me to a quick aside…
Windows Phone Icons
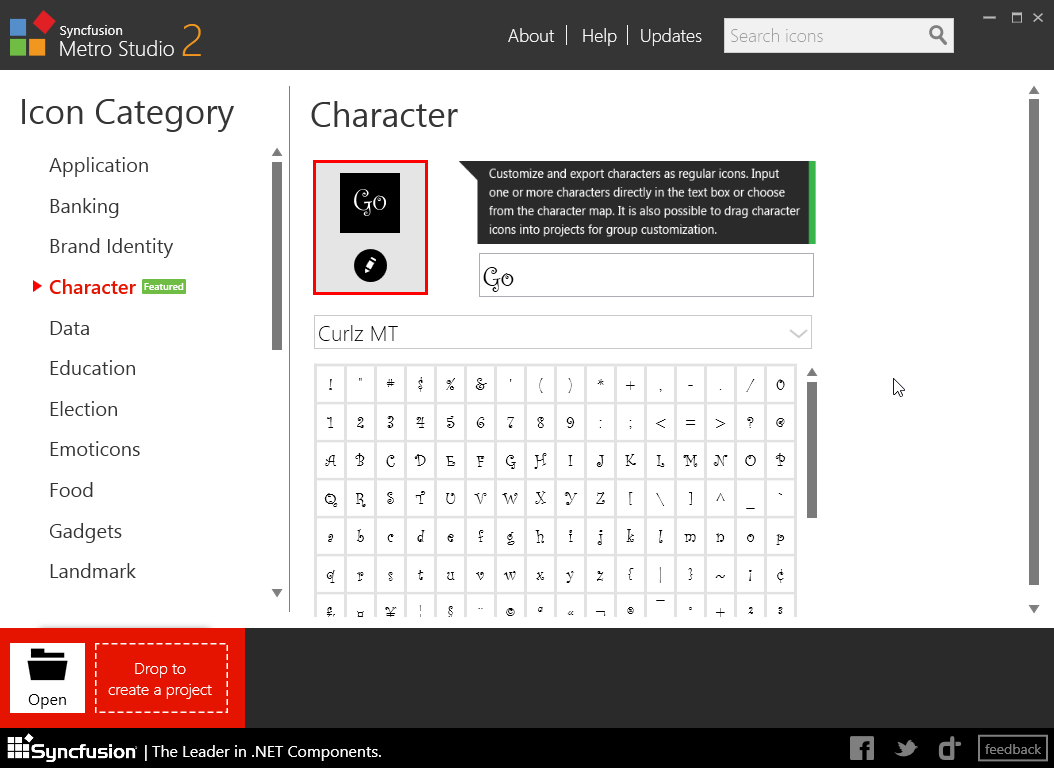
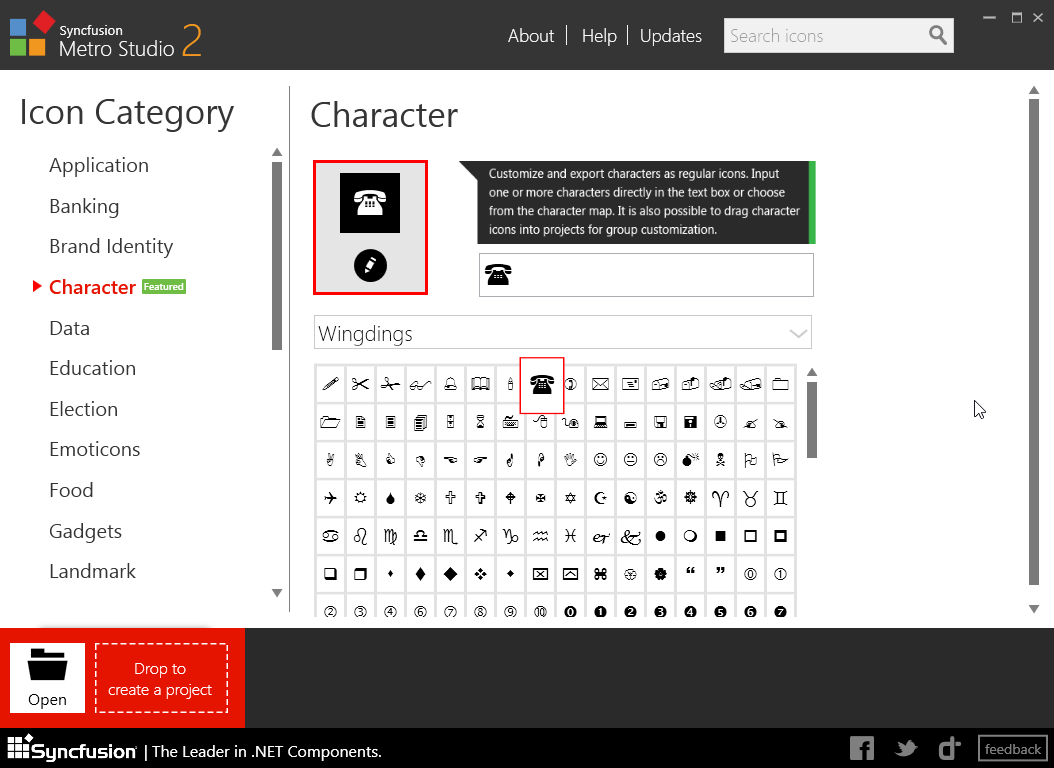
The easiest way to get icons for a Windows Phone or Metro-style Windows apps is to use Metro Studio by Syncfusion. First off, it’s free. Second off, it’s full of great icons. Just search for whatever you want, and then customize it for your uses. You can even create icons out of text in whatever font you like. Finally, a use for Wingdings.
Android Icons
Metro Studio packs a lot of punch, but doesn’t offer any help for Android apps (kinda makes sense given the name). For Android assets, check out the Android Asset Studio. There’s a lot of good stuff in here, but for this project I went straight to the Action Bar and Tab Icons section. They provide a library of images (although significantly smaller than Metro Studio), the ability to upload an image of your choice, or to enter an arbitrary string (and we still get Wingdings!). The best part is that it generates a zip with assets for various screen resolutions. Just unzip and drop the folders into the Resources directory.
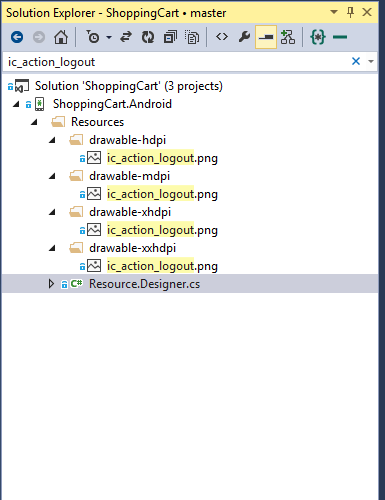
Image Asset Locations
<ToolbarItem.Icon>
  <OnPlatform x:TypeArguments="FileImageSource"
              WinPhone="Assets/Logout.png"
              Android="ic_action_logout.png" />
</ToolbarItem.Icon>
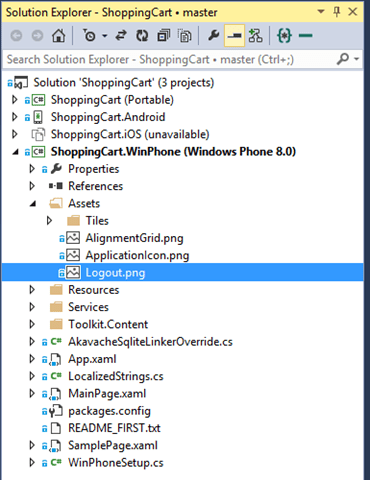
Because I’m specifying the location of the icon as a string, I need to make sure that the images are placed in the correct locations in the corresponding project folders. The XF documentation explains pretty clearly where each goes.
For my WinPhone project, I place the Logout.png in the “Assets” folder.
Android is a little bit more complicated since the platform allows you to serve different sized images for devices with different resolutions. Each file is put in the corresponding drawable folder under “Resources”. As I said earlier, the Android Asset Studio does all this for you. You can just drop the folders it generates directly into the Resources folder.
Doing Async Work at Startup
Previously, when the app started up it went directly to the login screen. Now it has to first check to see if the user is logged in. If they are then the app goes to the categories page, otherwise it goes to the login page. This is easy, except for the fact that the check happens on the background thread and takes some time since it is going to disk. Not a lot of time, but enough that we aren’t guaranteed to get the result back before the app is ready to start up. In order to accommodate this, I’m turning the “WelcomePage” into a splash page. It will display a progress dialog for a little bit and then navigate to the next page once it knows which page that is. Let’s start with the view:
<?xml version="1.0" encoding="utf-8" ?>
<ContentPage xmlns="http://xamarin.com/schemas/2014/forms"
             xmlns:x="http://schemas.microsoft.com/winfx/2009/xaml"
             x:Class="ShoppingCart.Views.WelcomePage"
             xmlns:local="clr-namespace:ShoppingCart;assembly=ShoppingCart"
             BindingContext="{x:Static local:App.WelcomeViewModel}"
             BackgroundColor="White">

  <StackLayout VerticalOptions="Center"
               IsVisible="{Binding IsLoaded, Mode=OneWayToSource}">
    <Frame>
      <Label Text="Welcome to The Store"
             Font="Bold, Large"
             HorizontalOptions="Center"
             TextColor="{x:Static local:App.AccentColor}" />
    </Frame>

    <ActivityIndicator IsRunning="{Binding IsBusy.IsNotCompleted}"
                       HorizontalOptions="FillAndExpand"
                       VerticalOptions="FillAndExpand"
                       Color="{x:Static local:App.AccentColor}" />
  </StackLayout>
</ContentPage>
The ActivityIndicator starting on line 18 is pretty straight forward. I bind whether or not it is running to the NotifyTaskCompletion property on the view model (more on that later), and the color to the static representation of the accent color in the same way that I do for the label. You should remember this from the styling article from a couple of weeks ago.
A little more interesting is the one way to source binding on the visibility of the stack layout. This is here to tell the view model that the view has been displayed. Since this is the first page in the XF app it is wrapped in the NavigationPage, which initializes the NavigationService. If we try to navigate away from this view before it is shown, we have no navigation service, and so navigation won’t work. Classic Catch-22.
public class WelcomeViewModel : BaseViewModel
{
    private readonly IAppNavigation _navi;
    private SemaphoreSlim _slim;

    public WelcomeViewModel(IAppNavigation navi)
    {
        _navi = navi;
        _slim = new SemaphoreSlim(0, 1);
        IsBusy = new NotifyTaskCompletion<int>(GoToFirstPage());
    }

    public NotifyTaskCompletion<int> IsBusy { get; private set; }

    public bool IsLoaded
    {
        get { return GetValue<bool>(); }
        set
        {
            SetValue(value);
            if (value)
            {
                _slim.Release();
            }
        }
    }

    private async Task<int> GoToFirstPage()
    {
        await _slim.WaitAsync();
        await _navi.SecondPage();
        return 0;
    }
}
The first thing the view model does is initialize a SemaphoreSlim in the unsignaled state, i.e., calling Wait() will block. It then creates a NotifyTaskCompletion of type int. Creating this kicks off the async call to GoToFirstPage. The return value doesn’t matter in this case, the object is just being used to run a background task and update the UI with the status.
When IsLoaded is set to true by the binding to the visibility of the StackLayout in the view, it signals the semaphore, allowing the WaitAsync in GoToFirstPage to complete. GoToFirstPage then tells the navigation service to show the second page in the app. The navigation service handles the logic of determining which page to show as well as actually navigating to the page. For the sake of demonstration, I’ve added a delay in the video below.
Here’s what the app looks like when the user needs to log in
And here’s what the returning a user sees
Happy Coding
this post was originally on the MasterDevs Blog