
Pi Projec Status Report Day 9
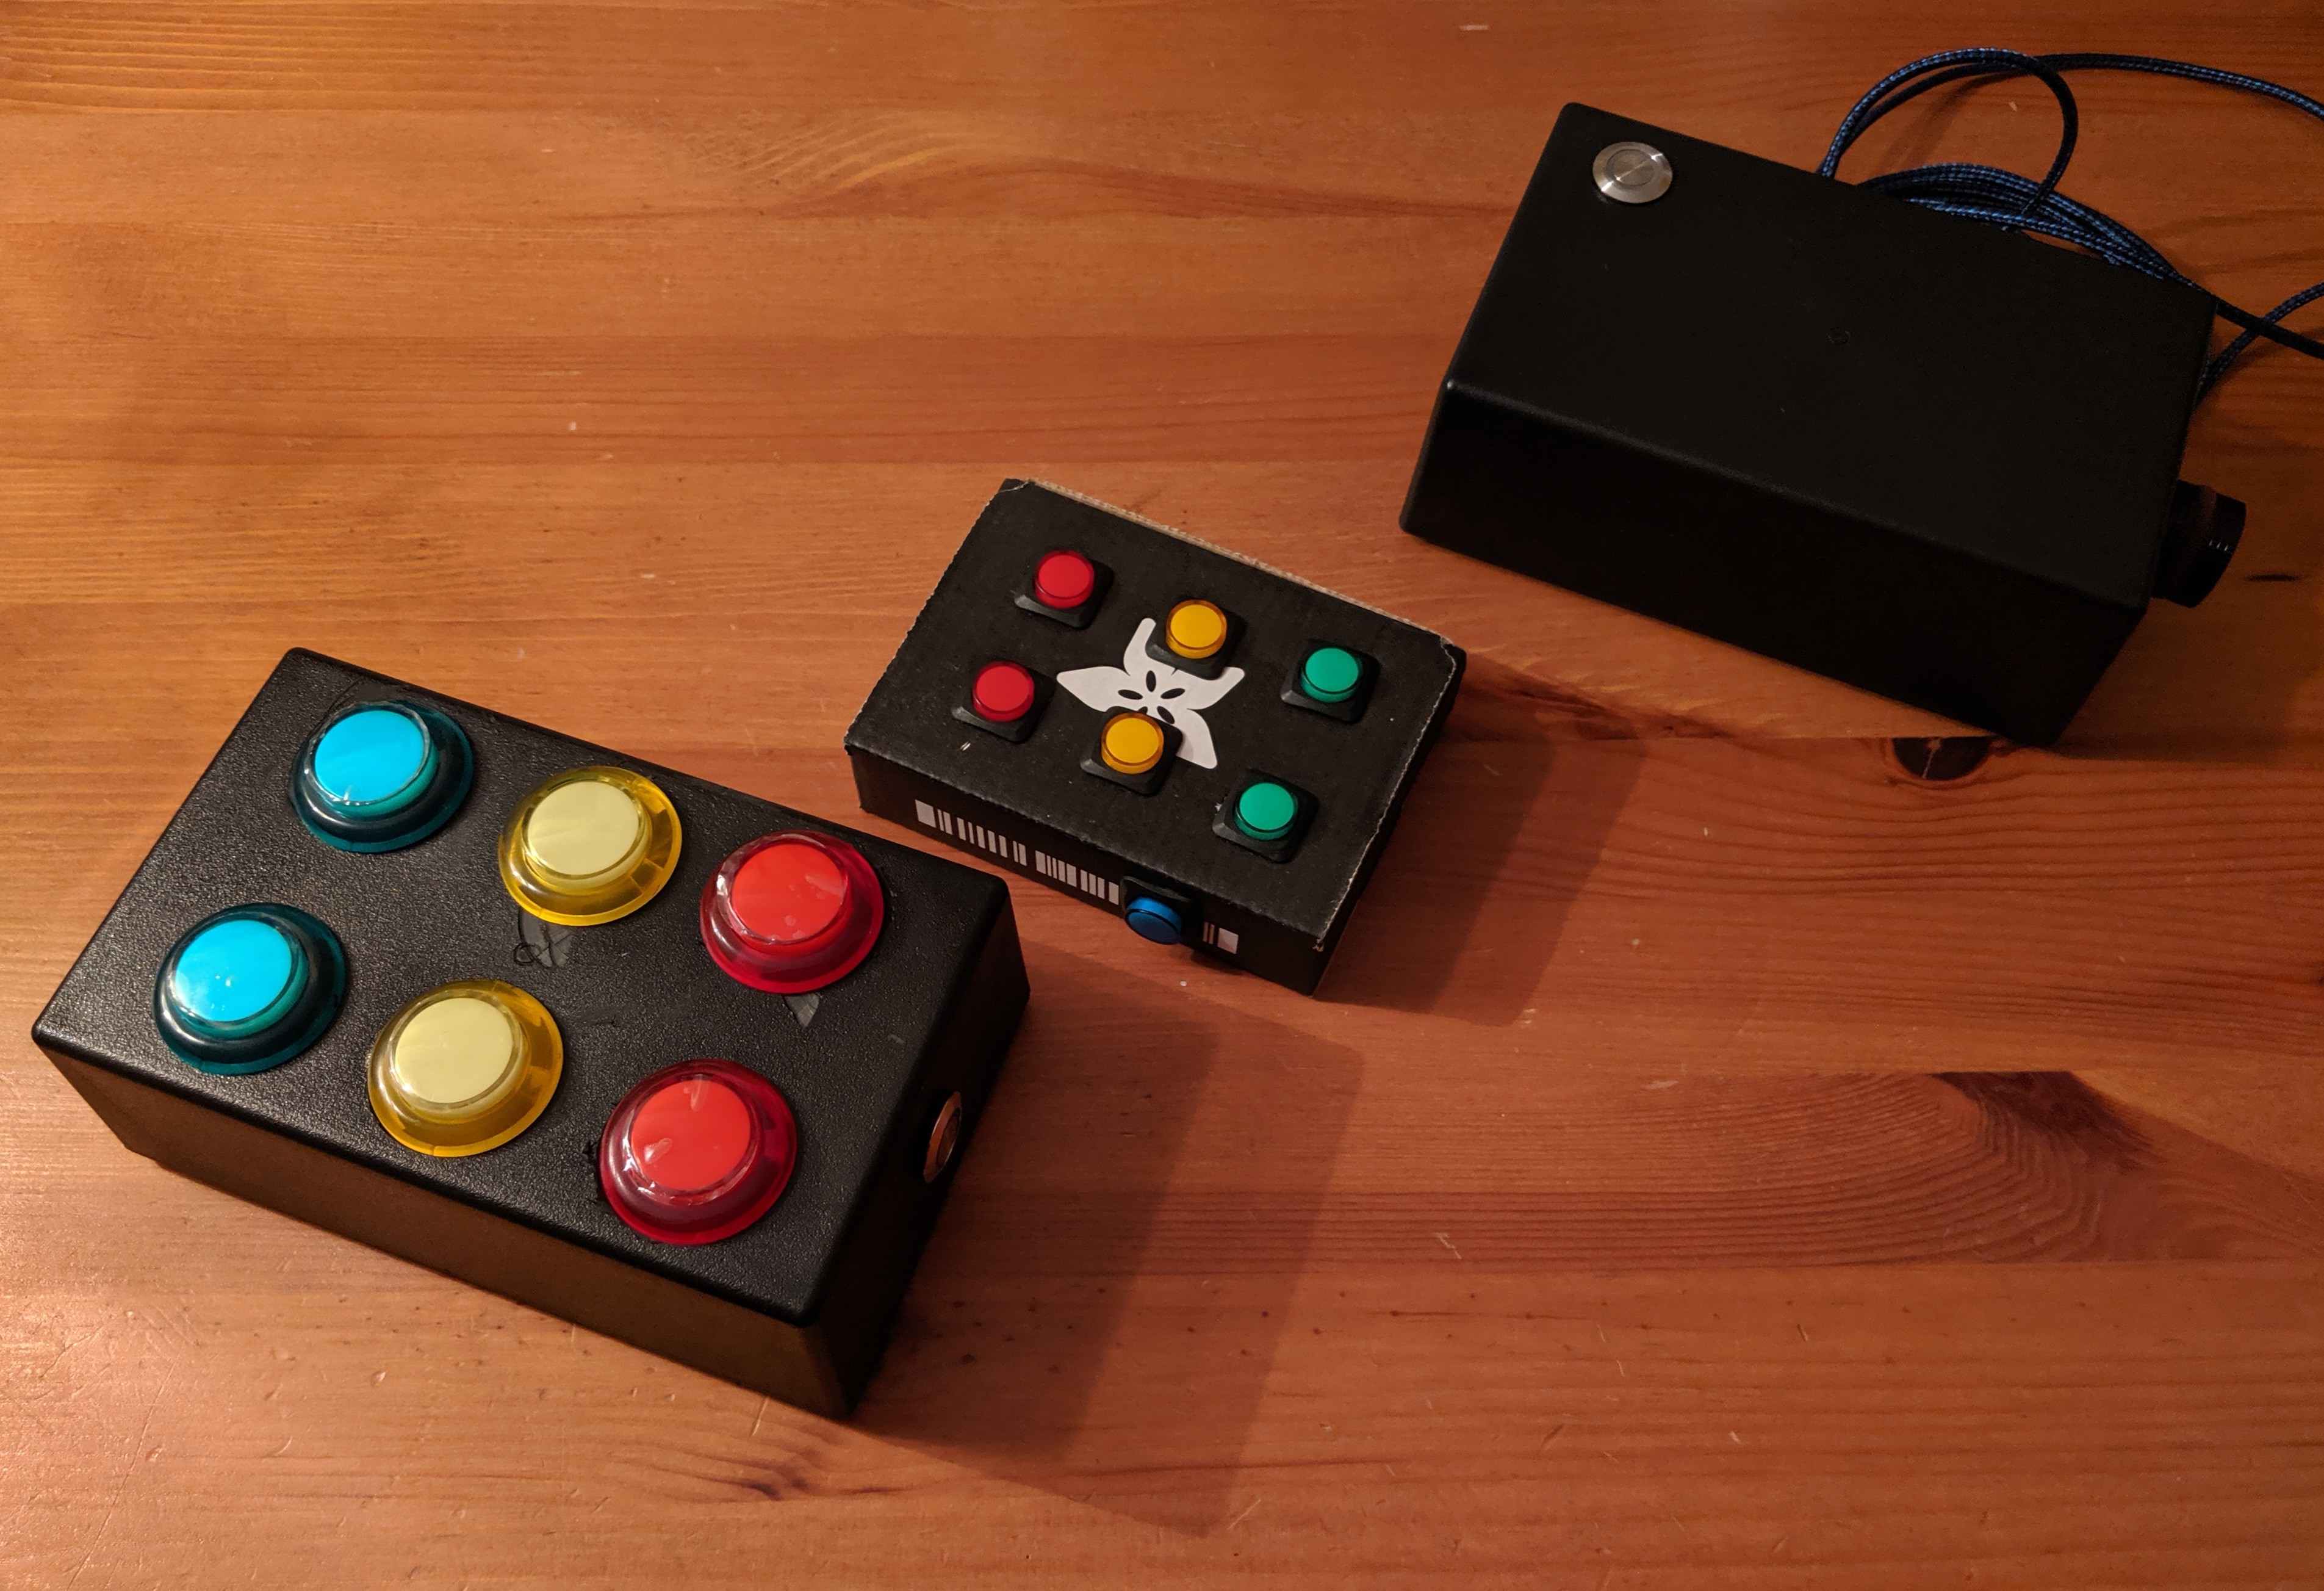
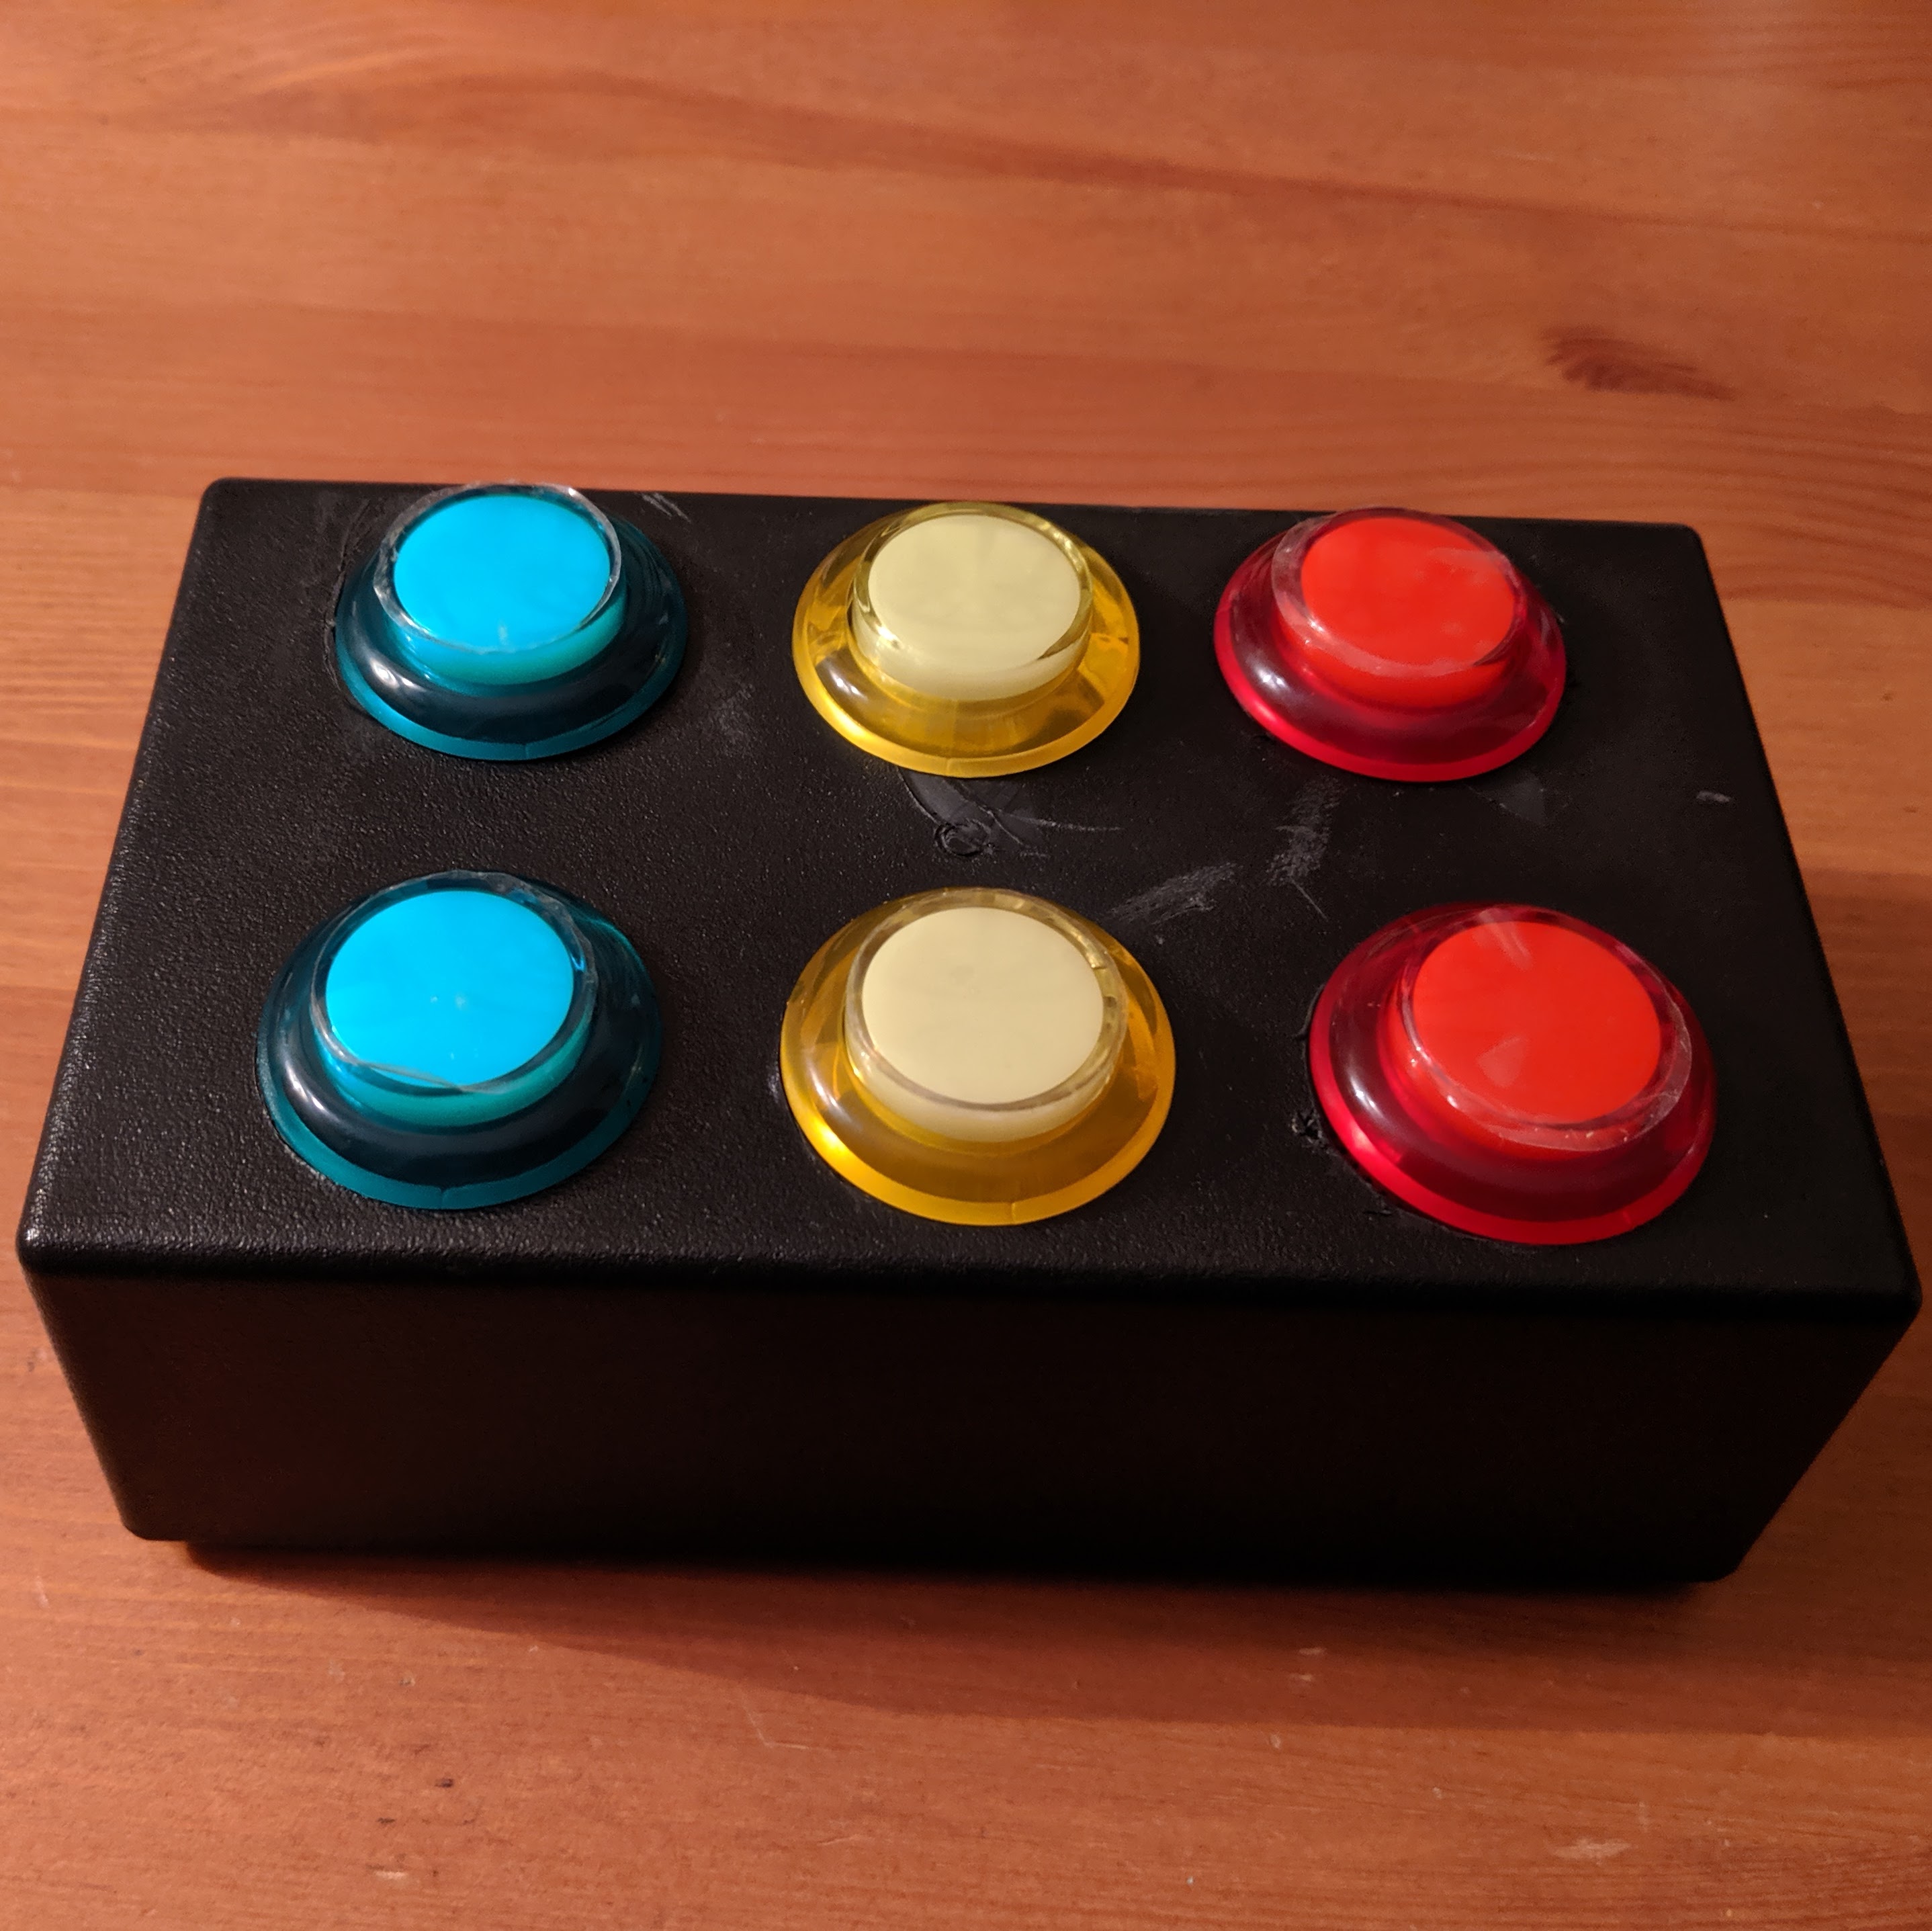
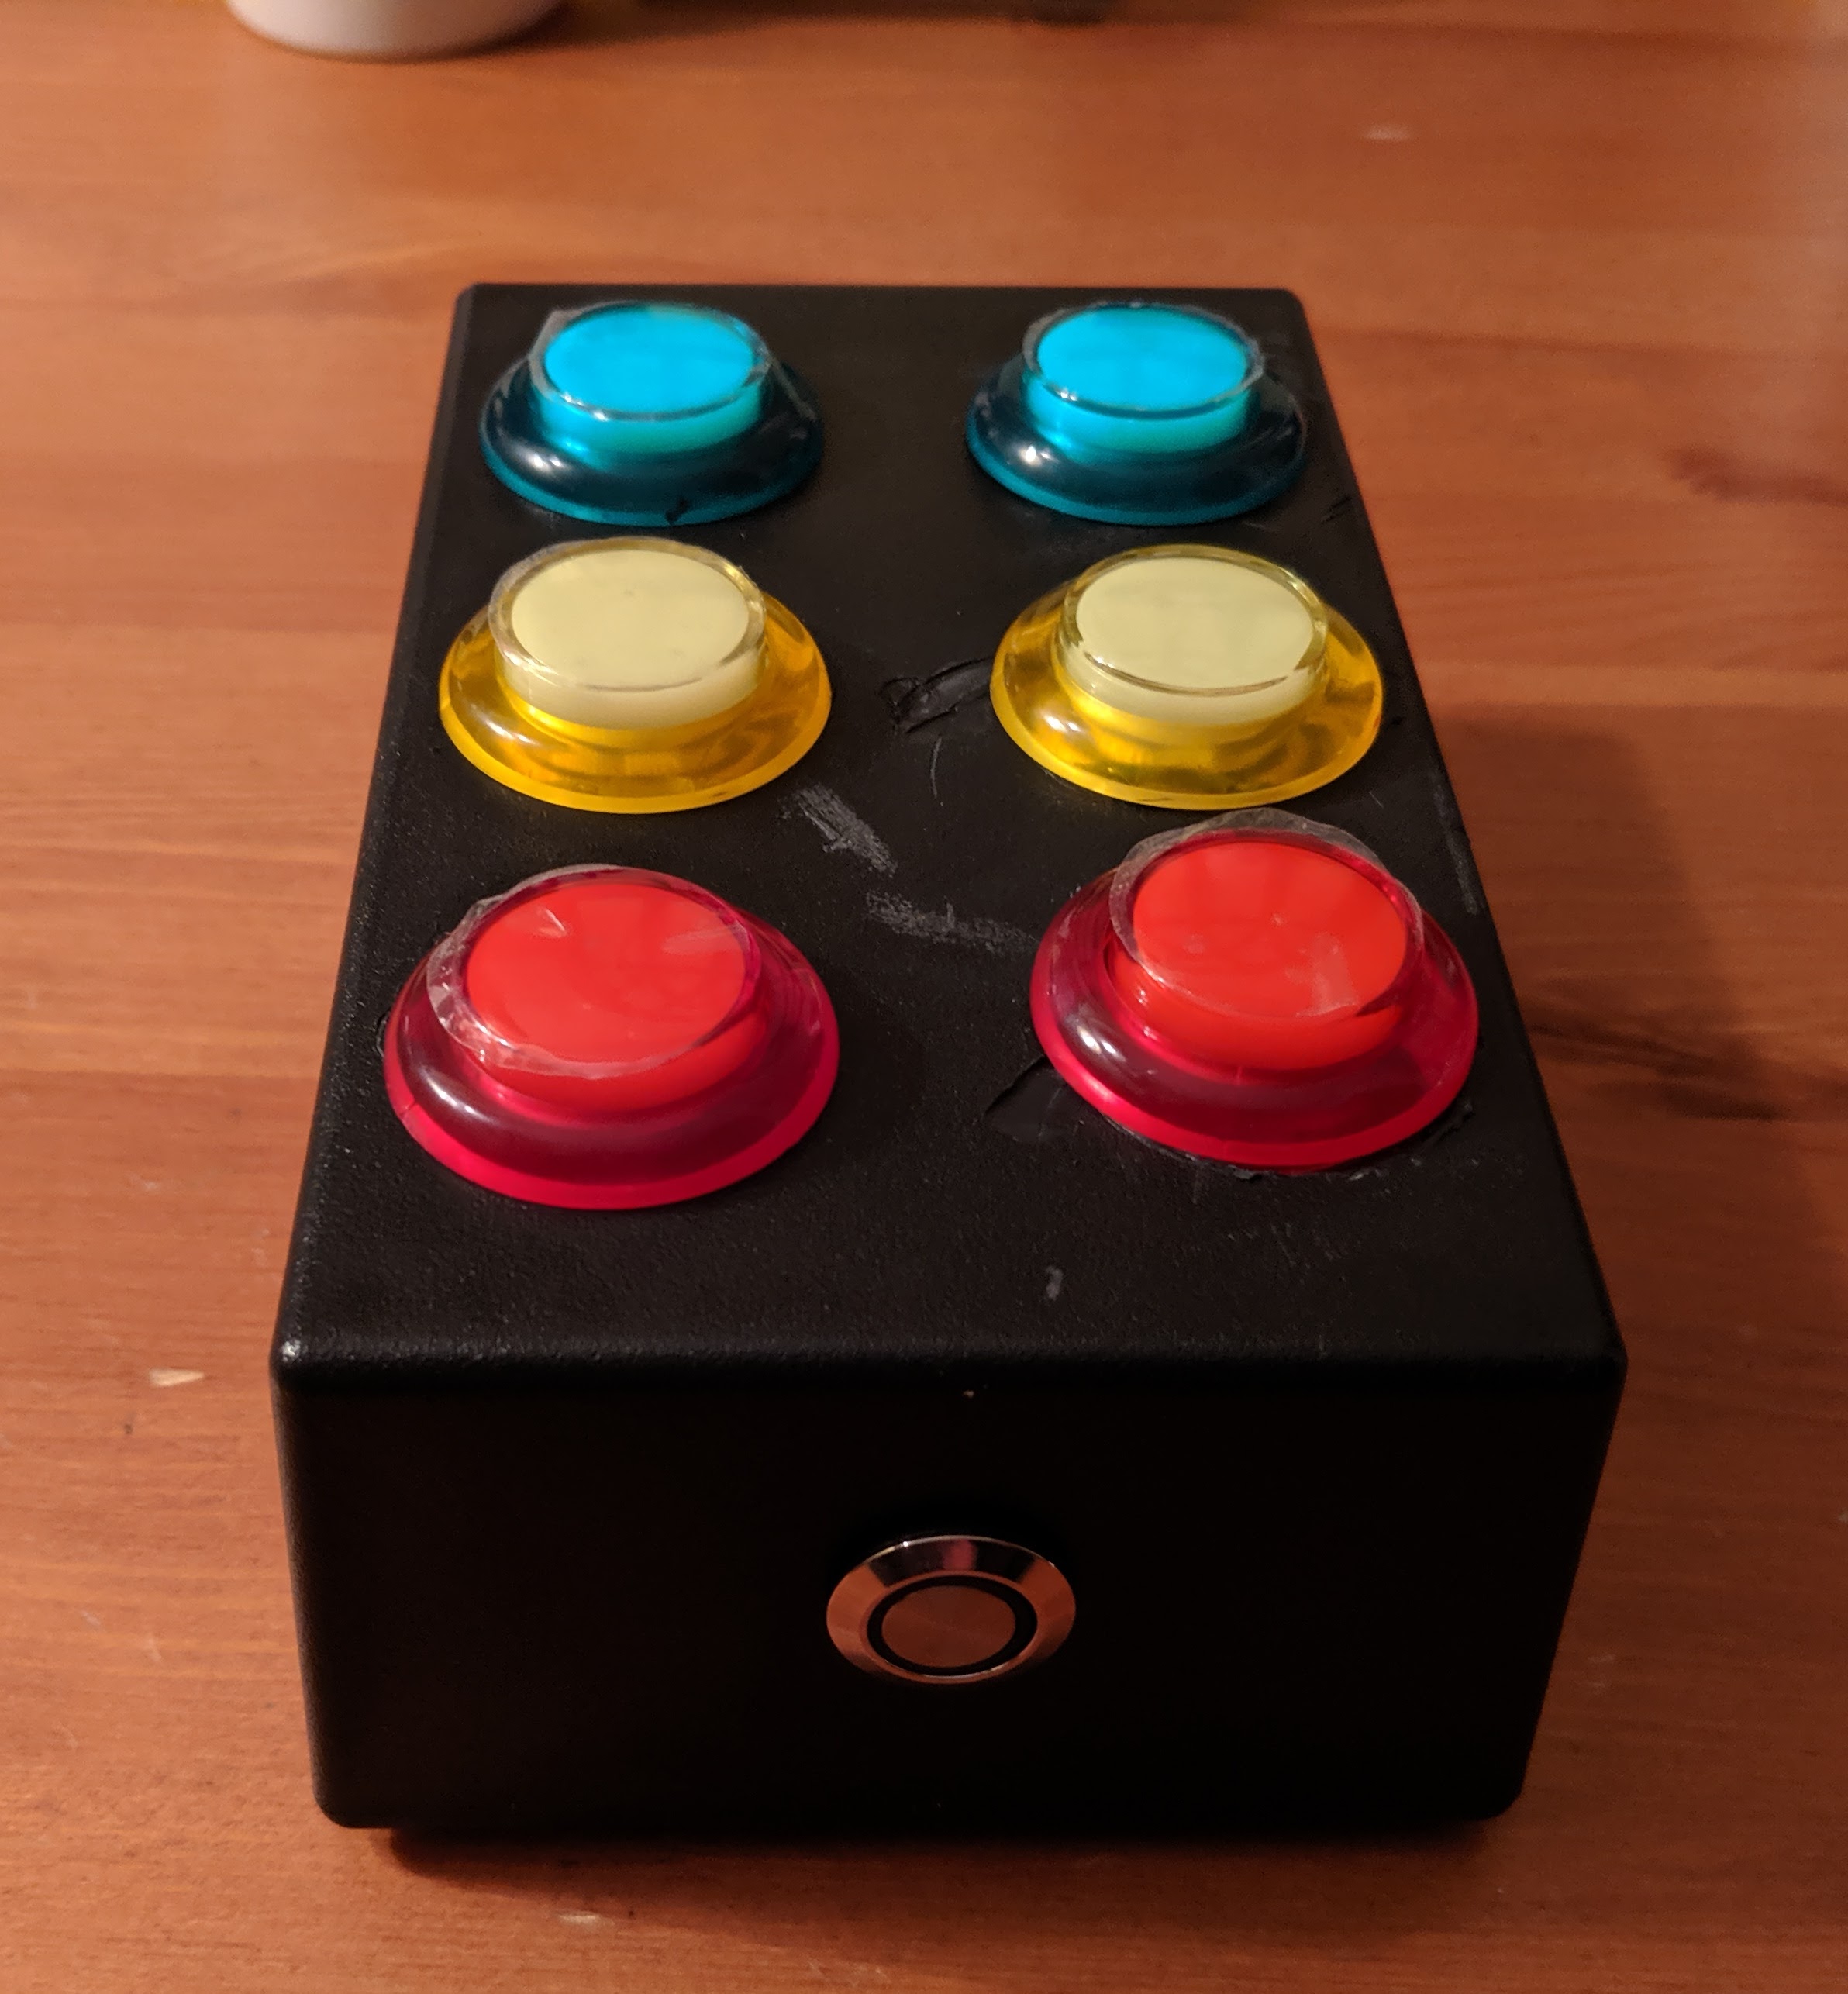
Today I was able to complete the first fully working prototype of my keyboard. It has 6 16mm arcade buttons – two each of green, yellow, and red – runs on a 350mAh lithium ion battery, and is completly wireless. It doesn’t even have a wire to charge it since I didn’t have enough space to mount the port in the case.
Build It
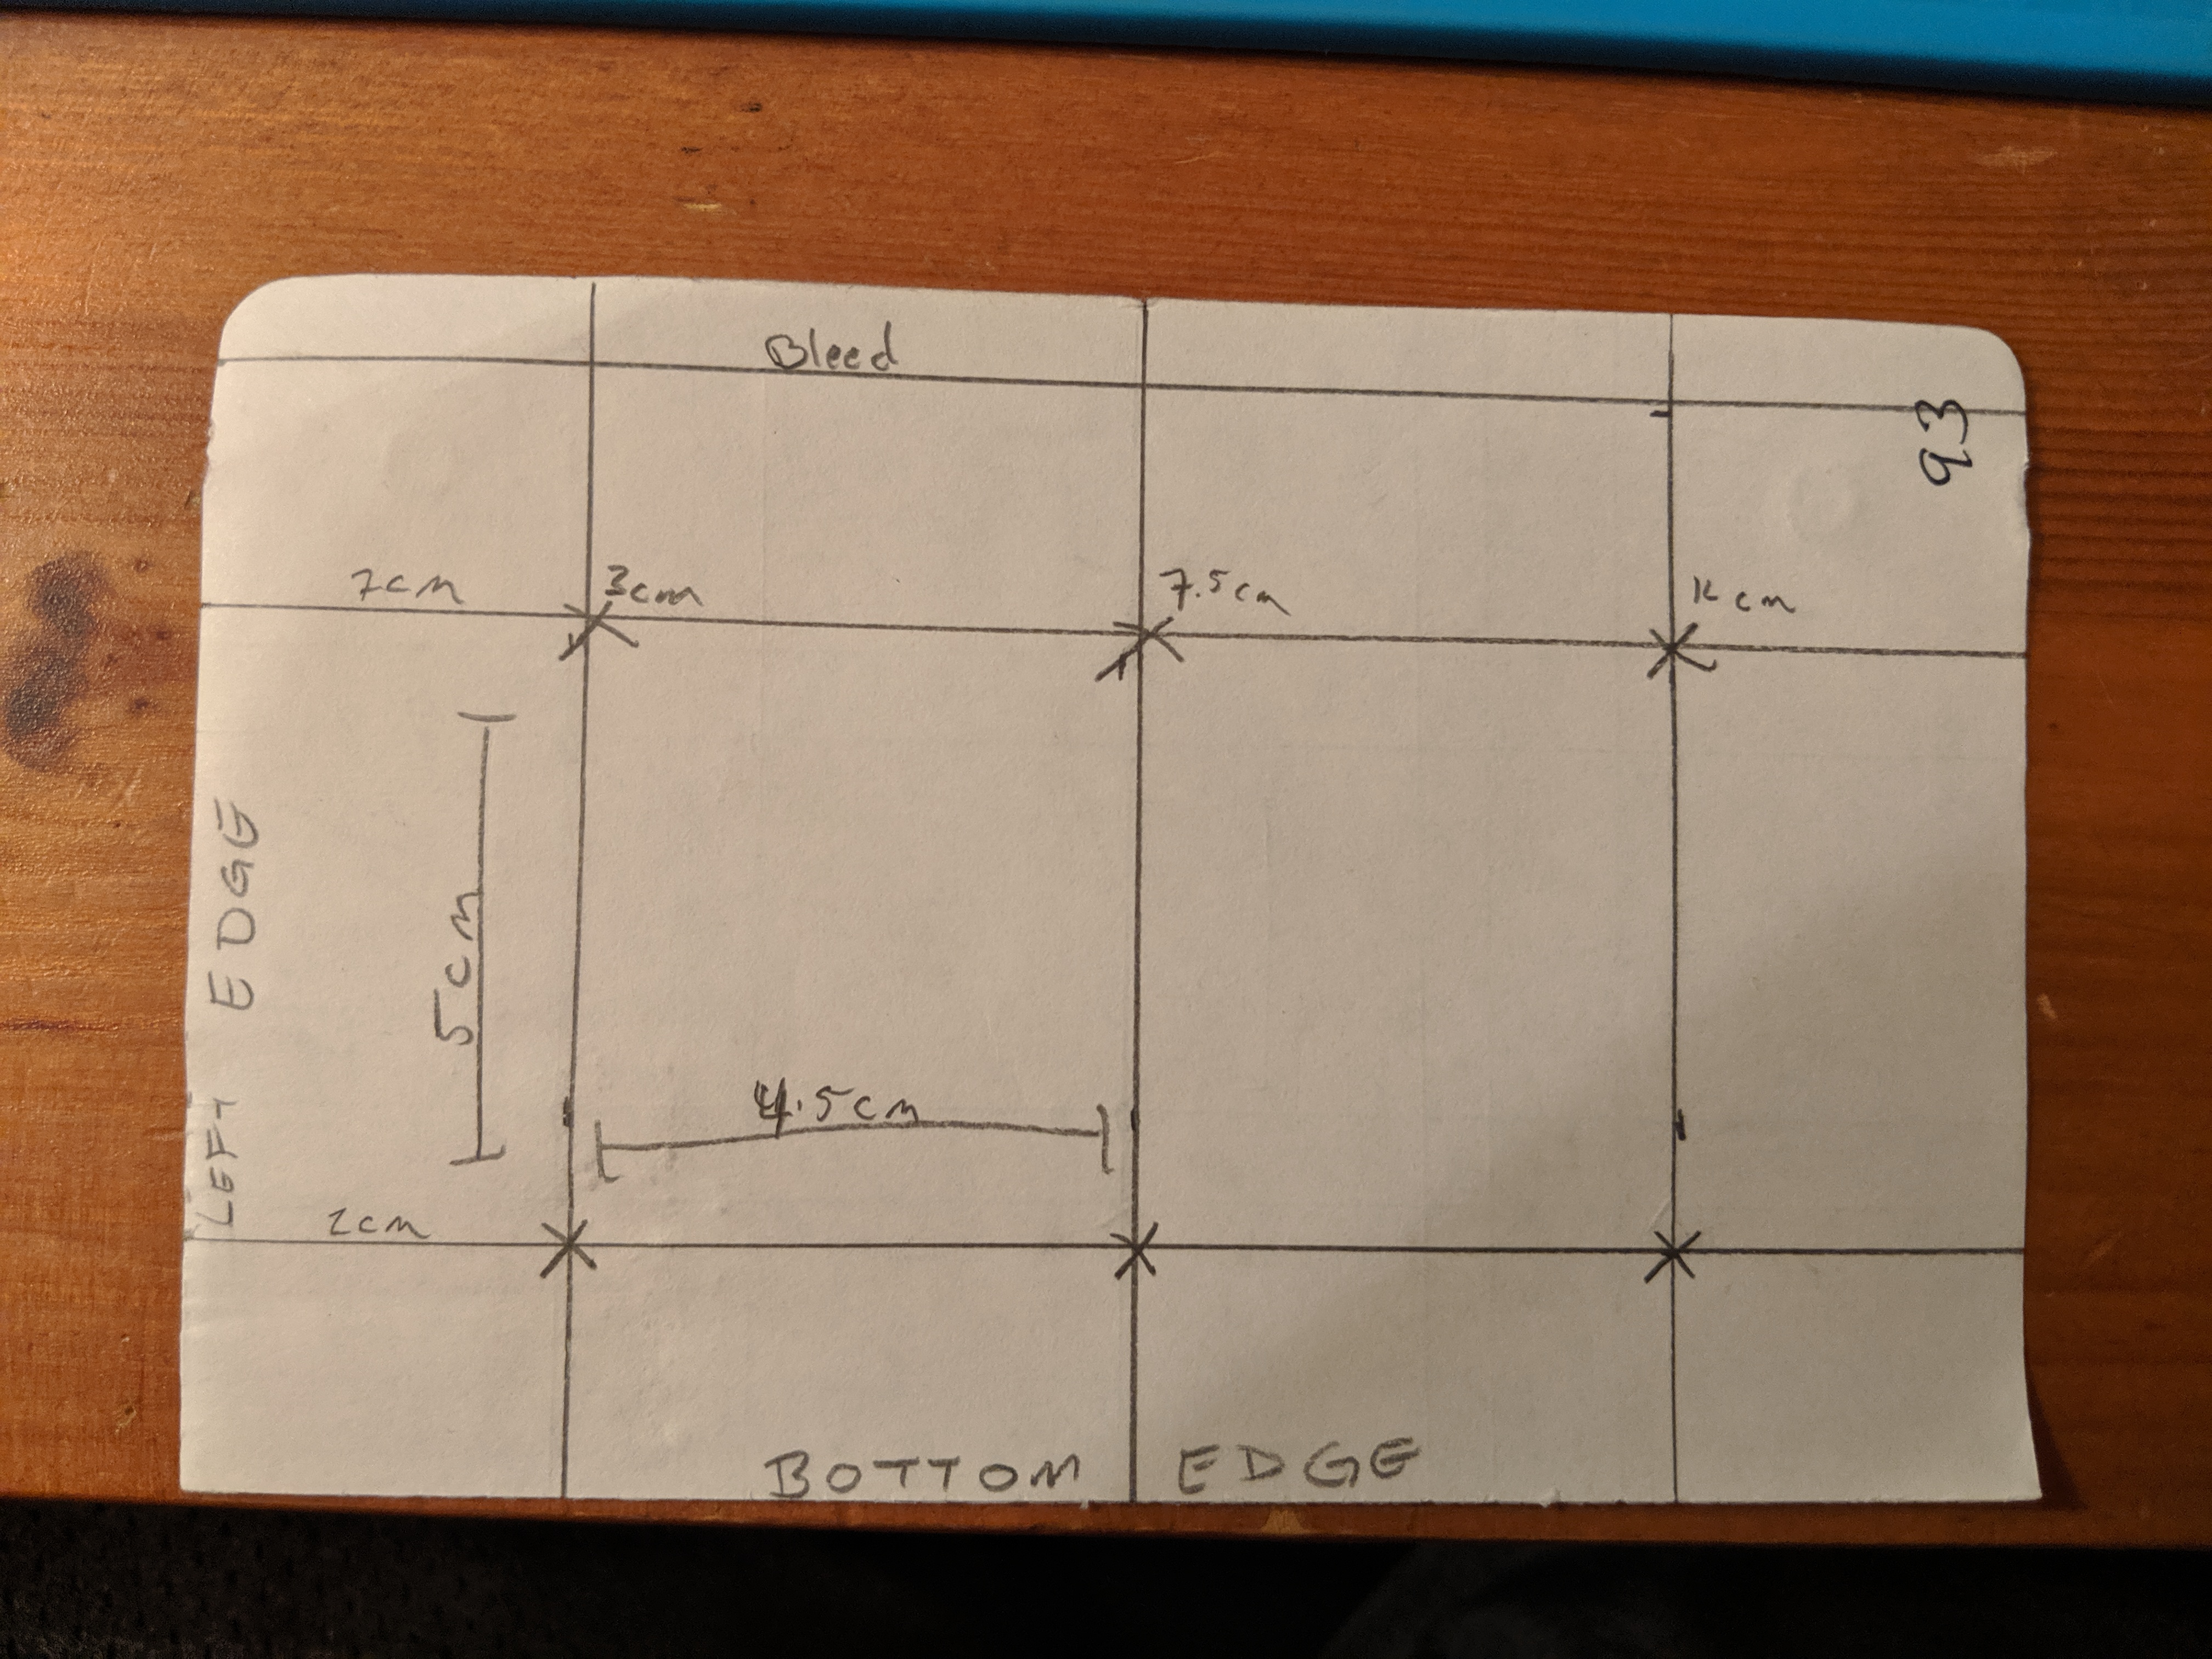
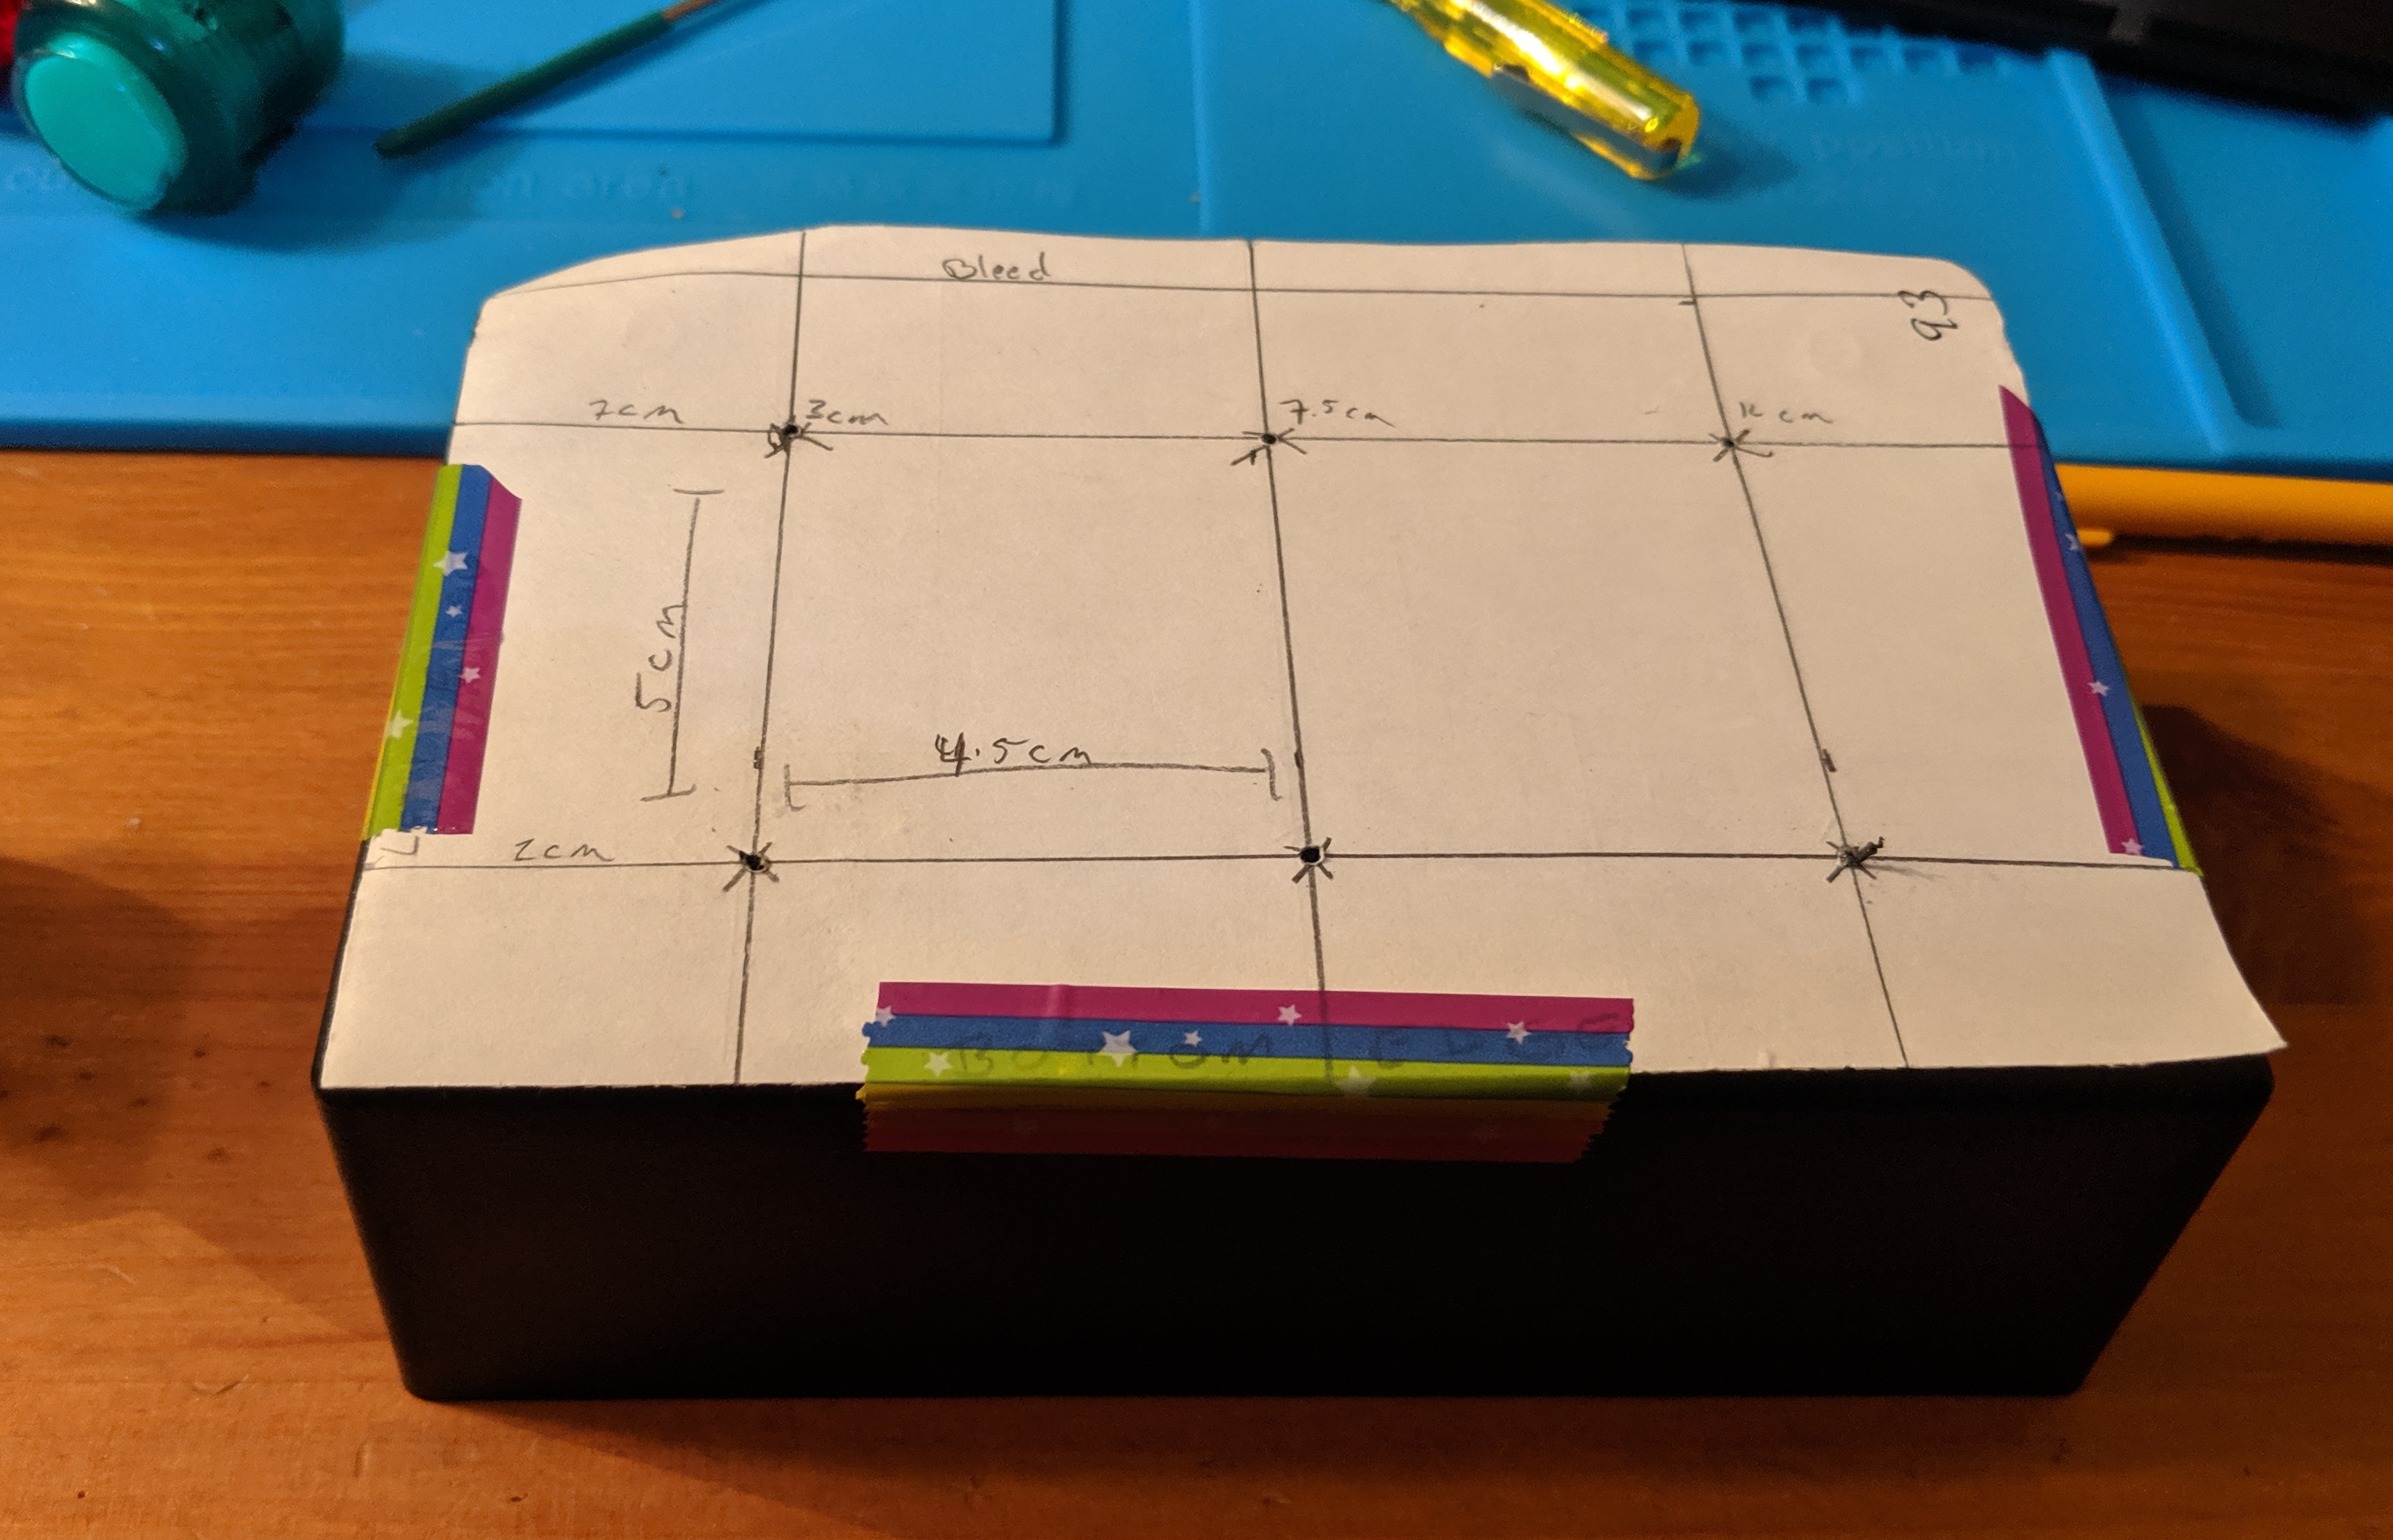
Mostly today was a build day. I had most of the code in place, so all that was left was to assemble everything. First I made a template on paper to figure out the placement of the buttons. I wanted to make sure that the arcade buttons were placed far enough apart so that I could fit the power button on the side. After a lot of measuring and some fiddling I settled on the below layout.
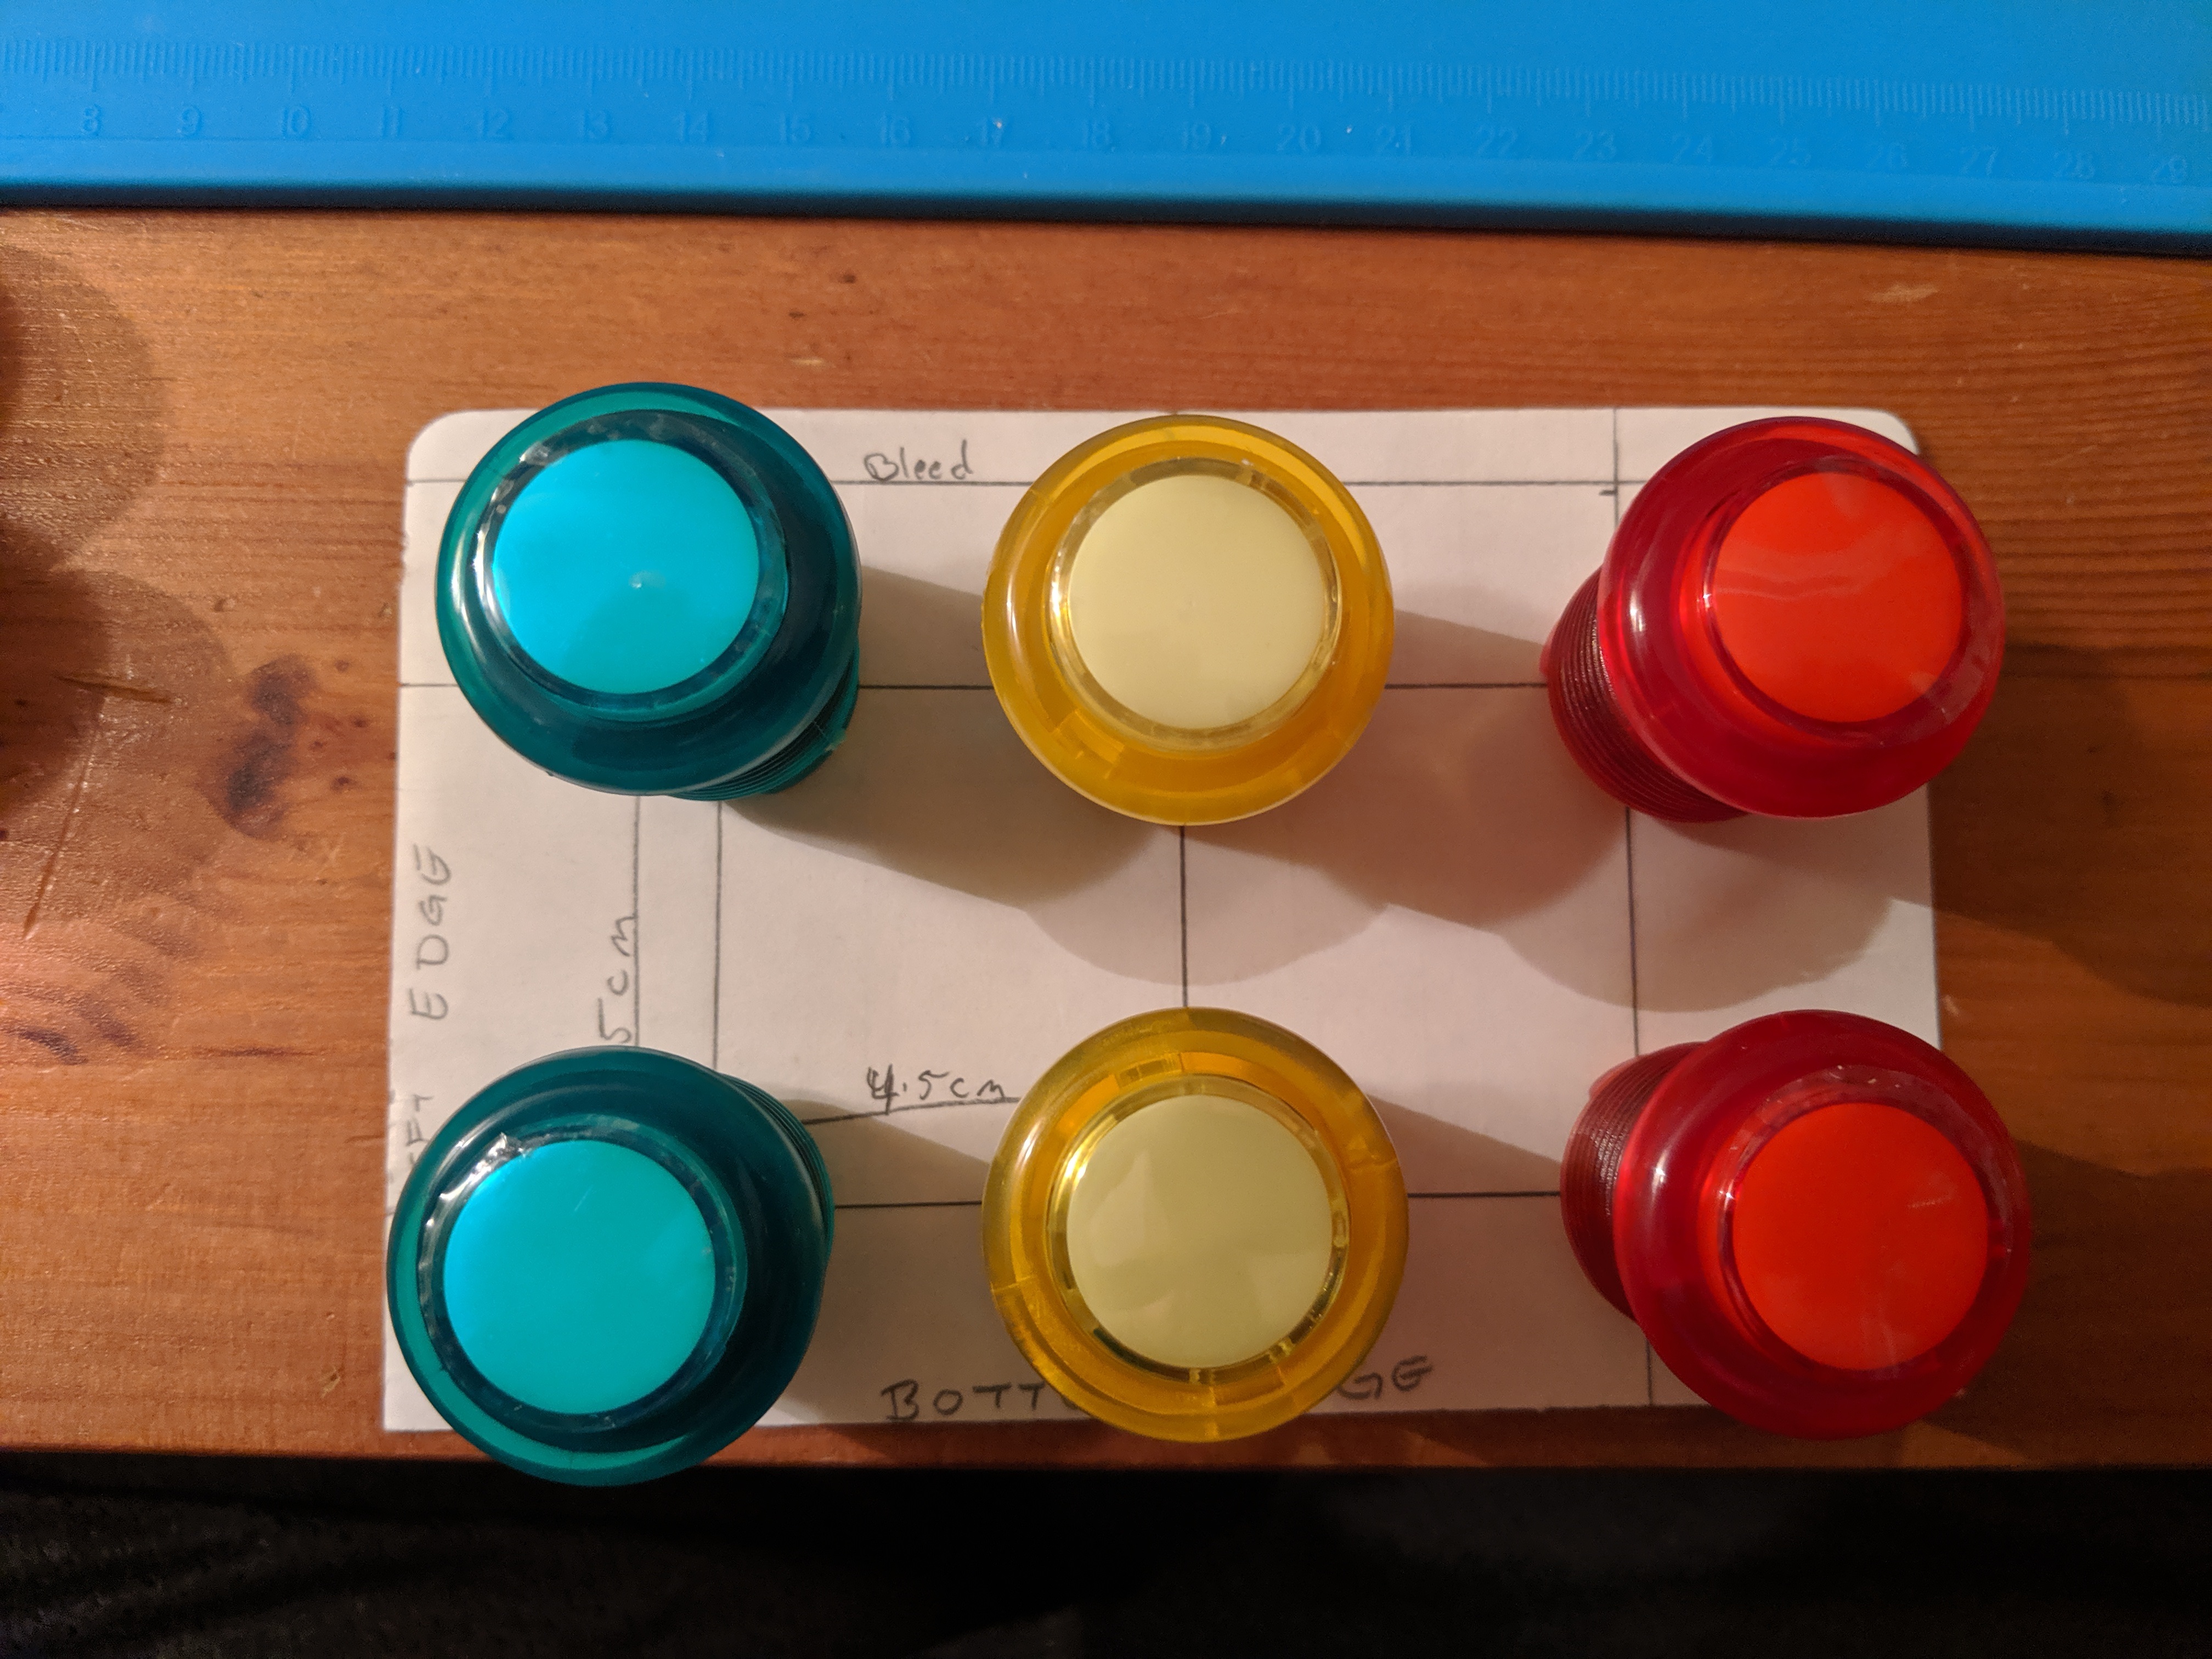
To be sure the spacing worked, I placed the buttons directly on the paper. This was the third layout I tried. Also, I originally planned on blue, green, and red buttons. After seeing them lined up, the blue and the green were too similar in color, so I swapped in the yellow buttons for some contrast.
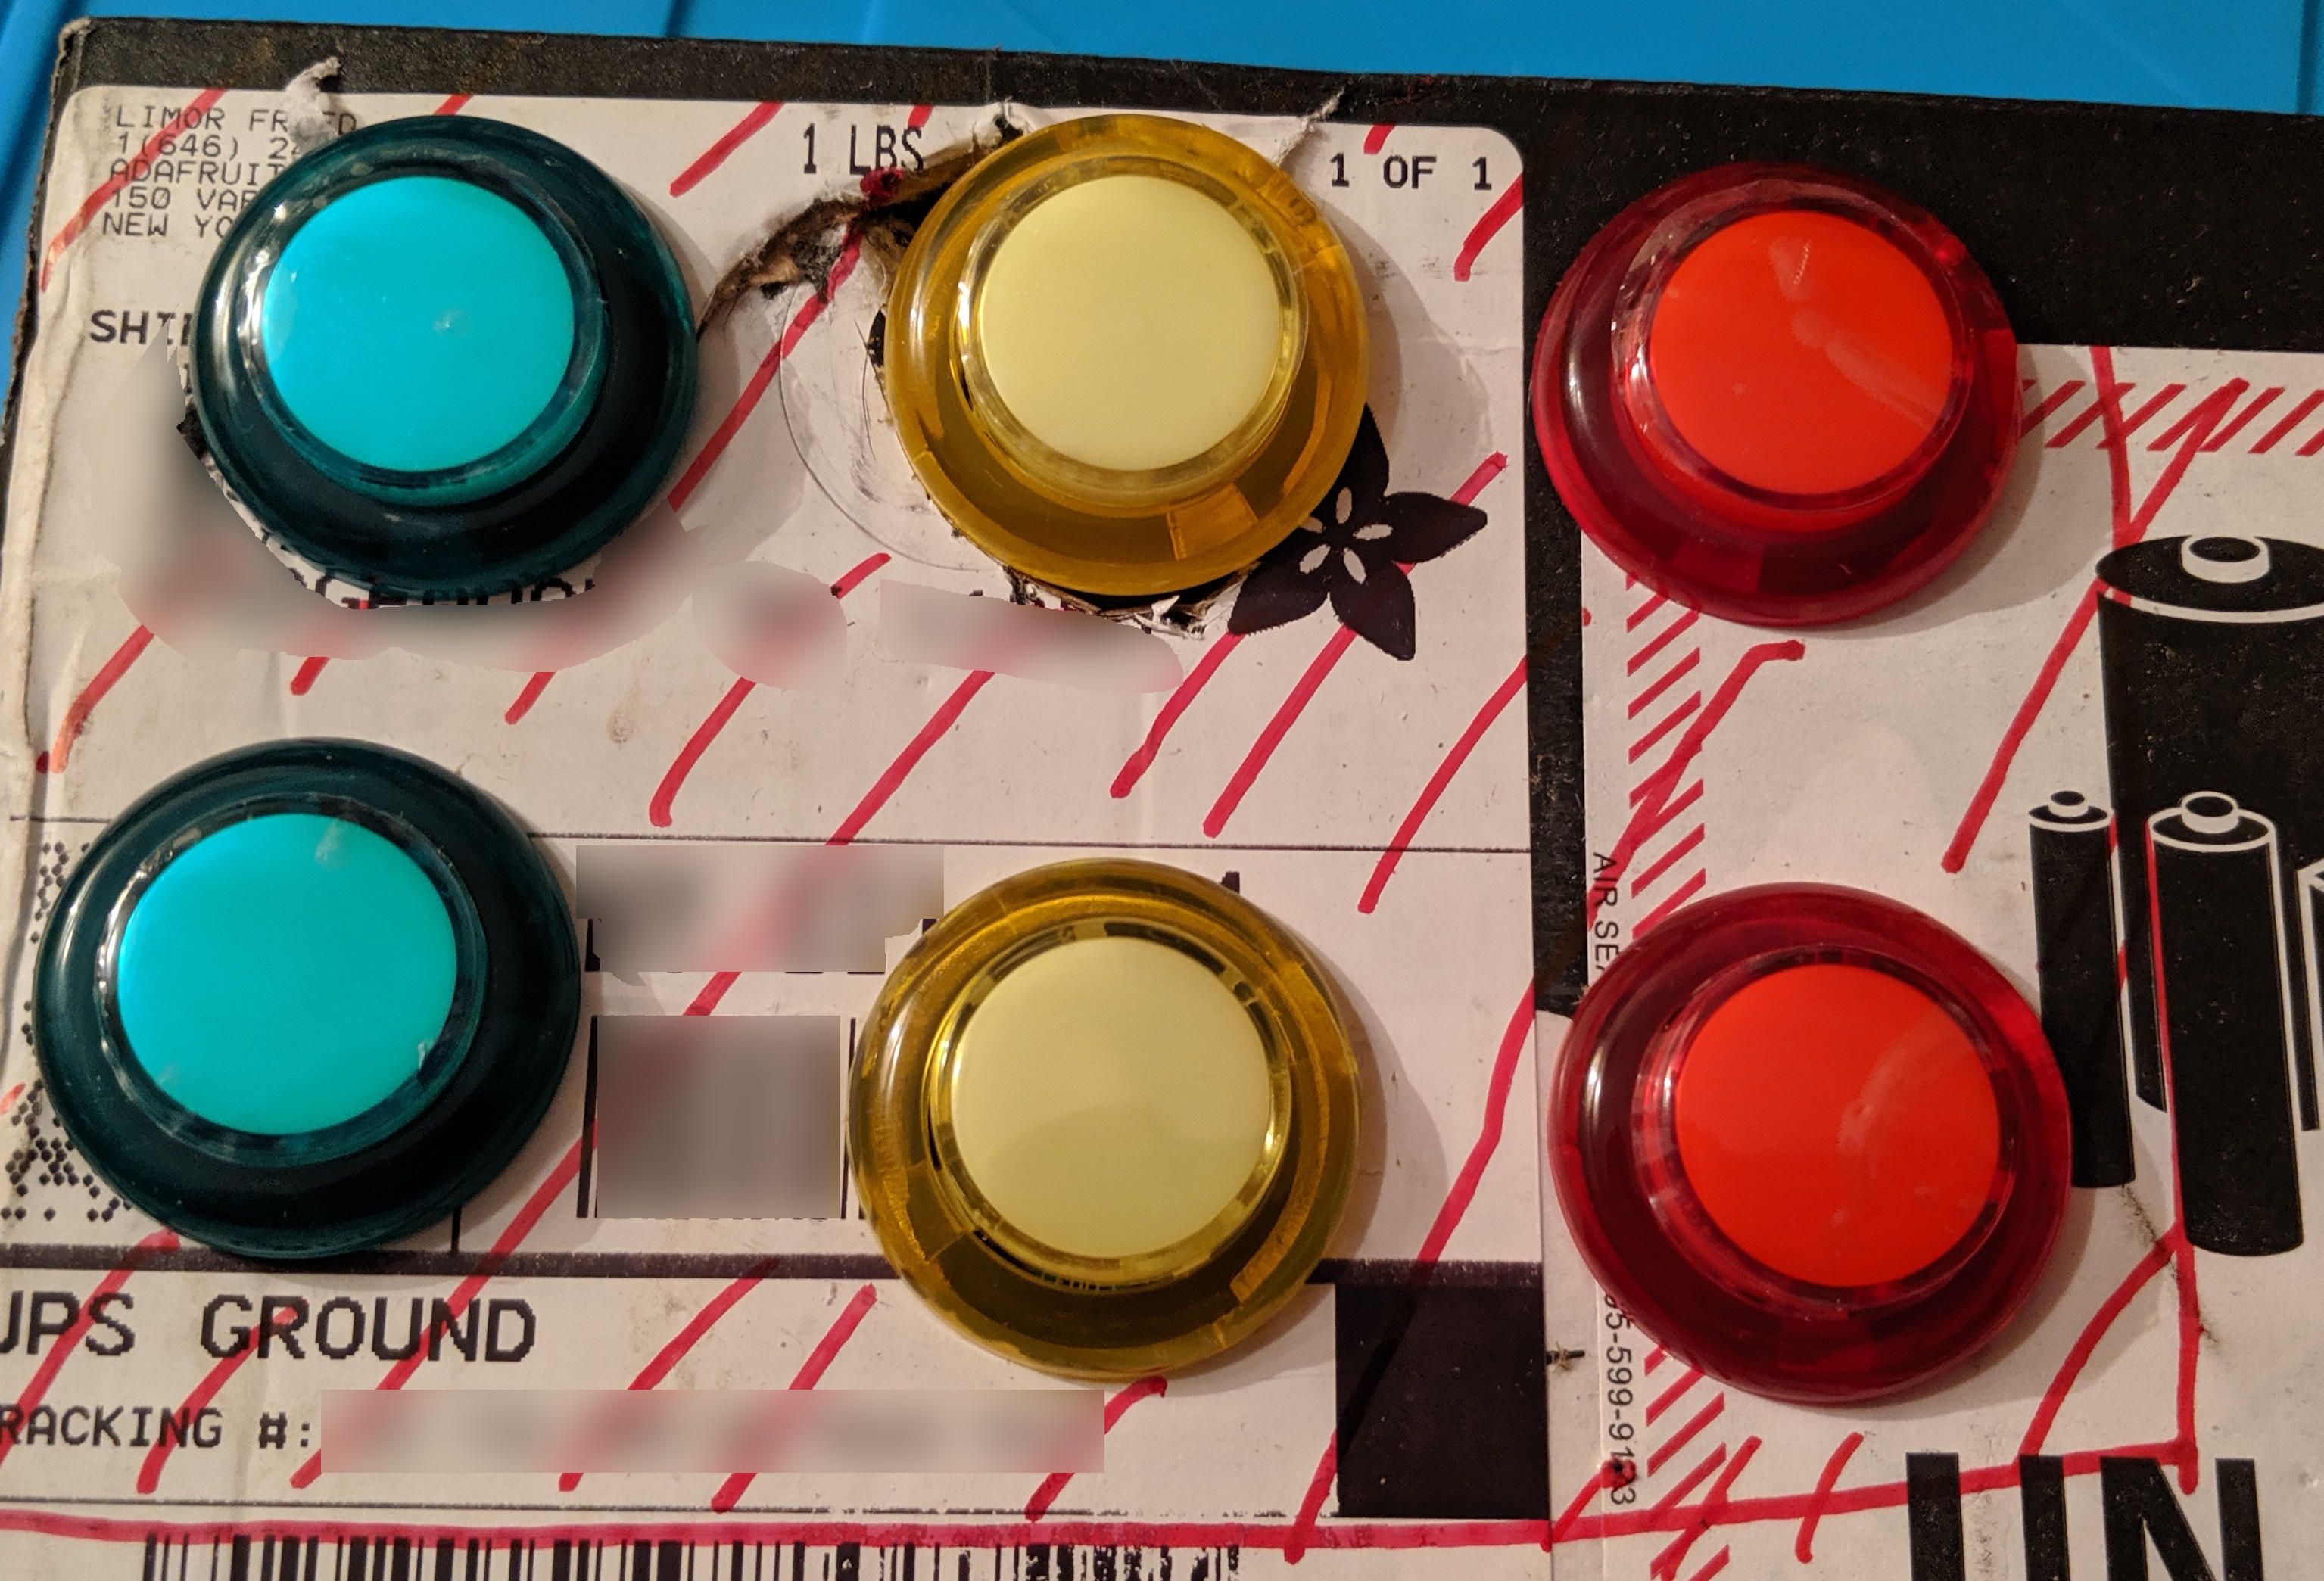
To be absolutely certain, I created a quick mock up a cardboard box. The layout was just right.
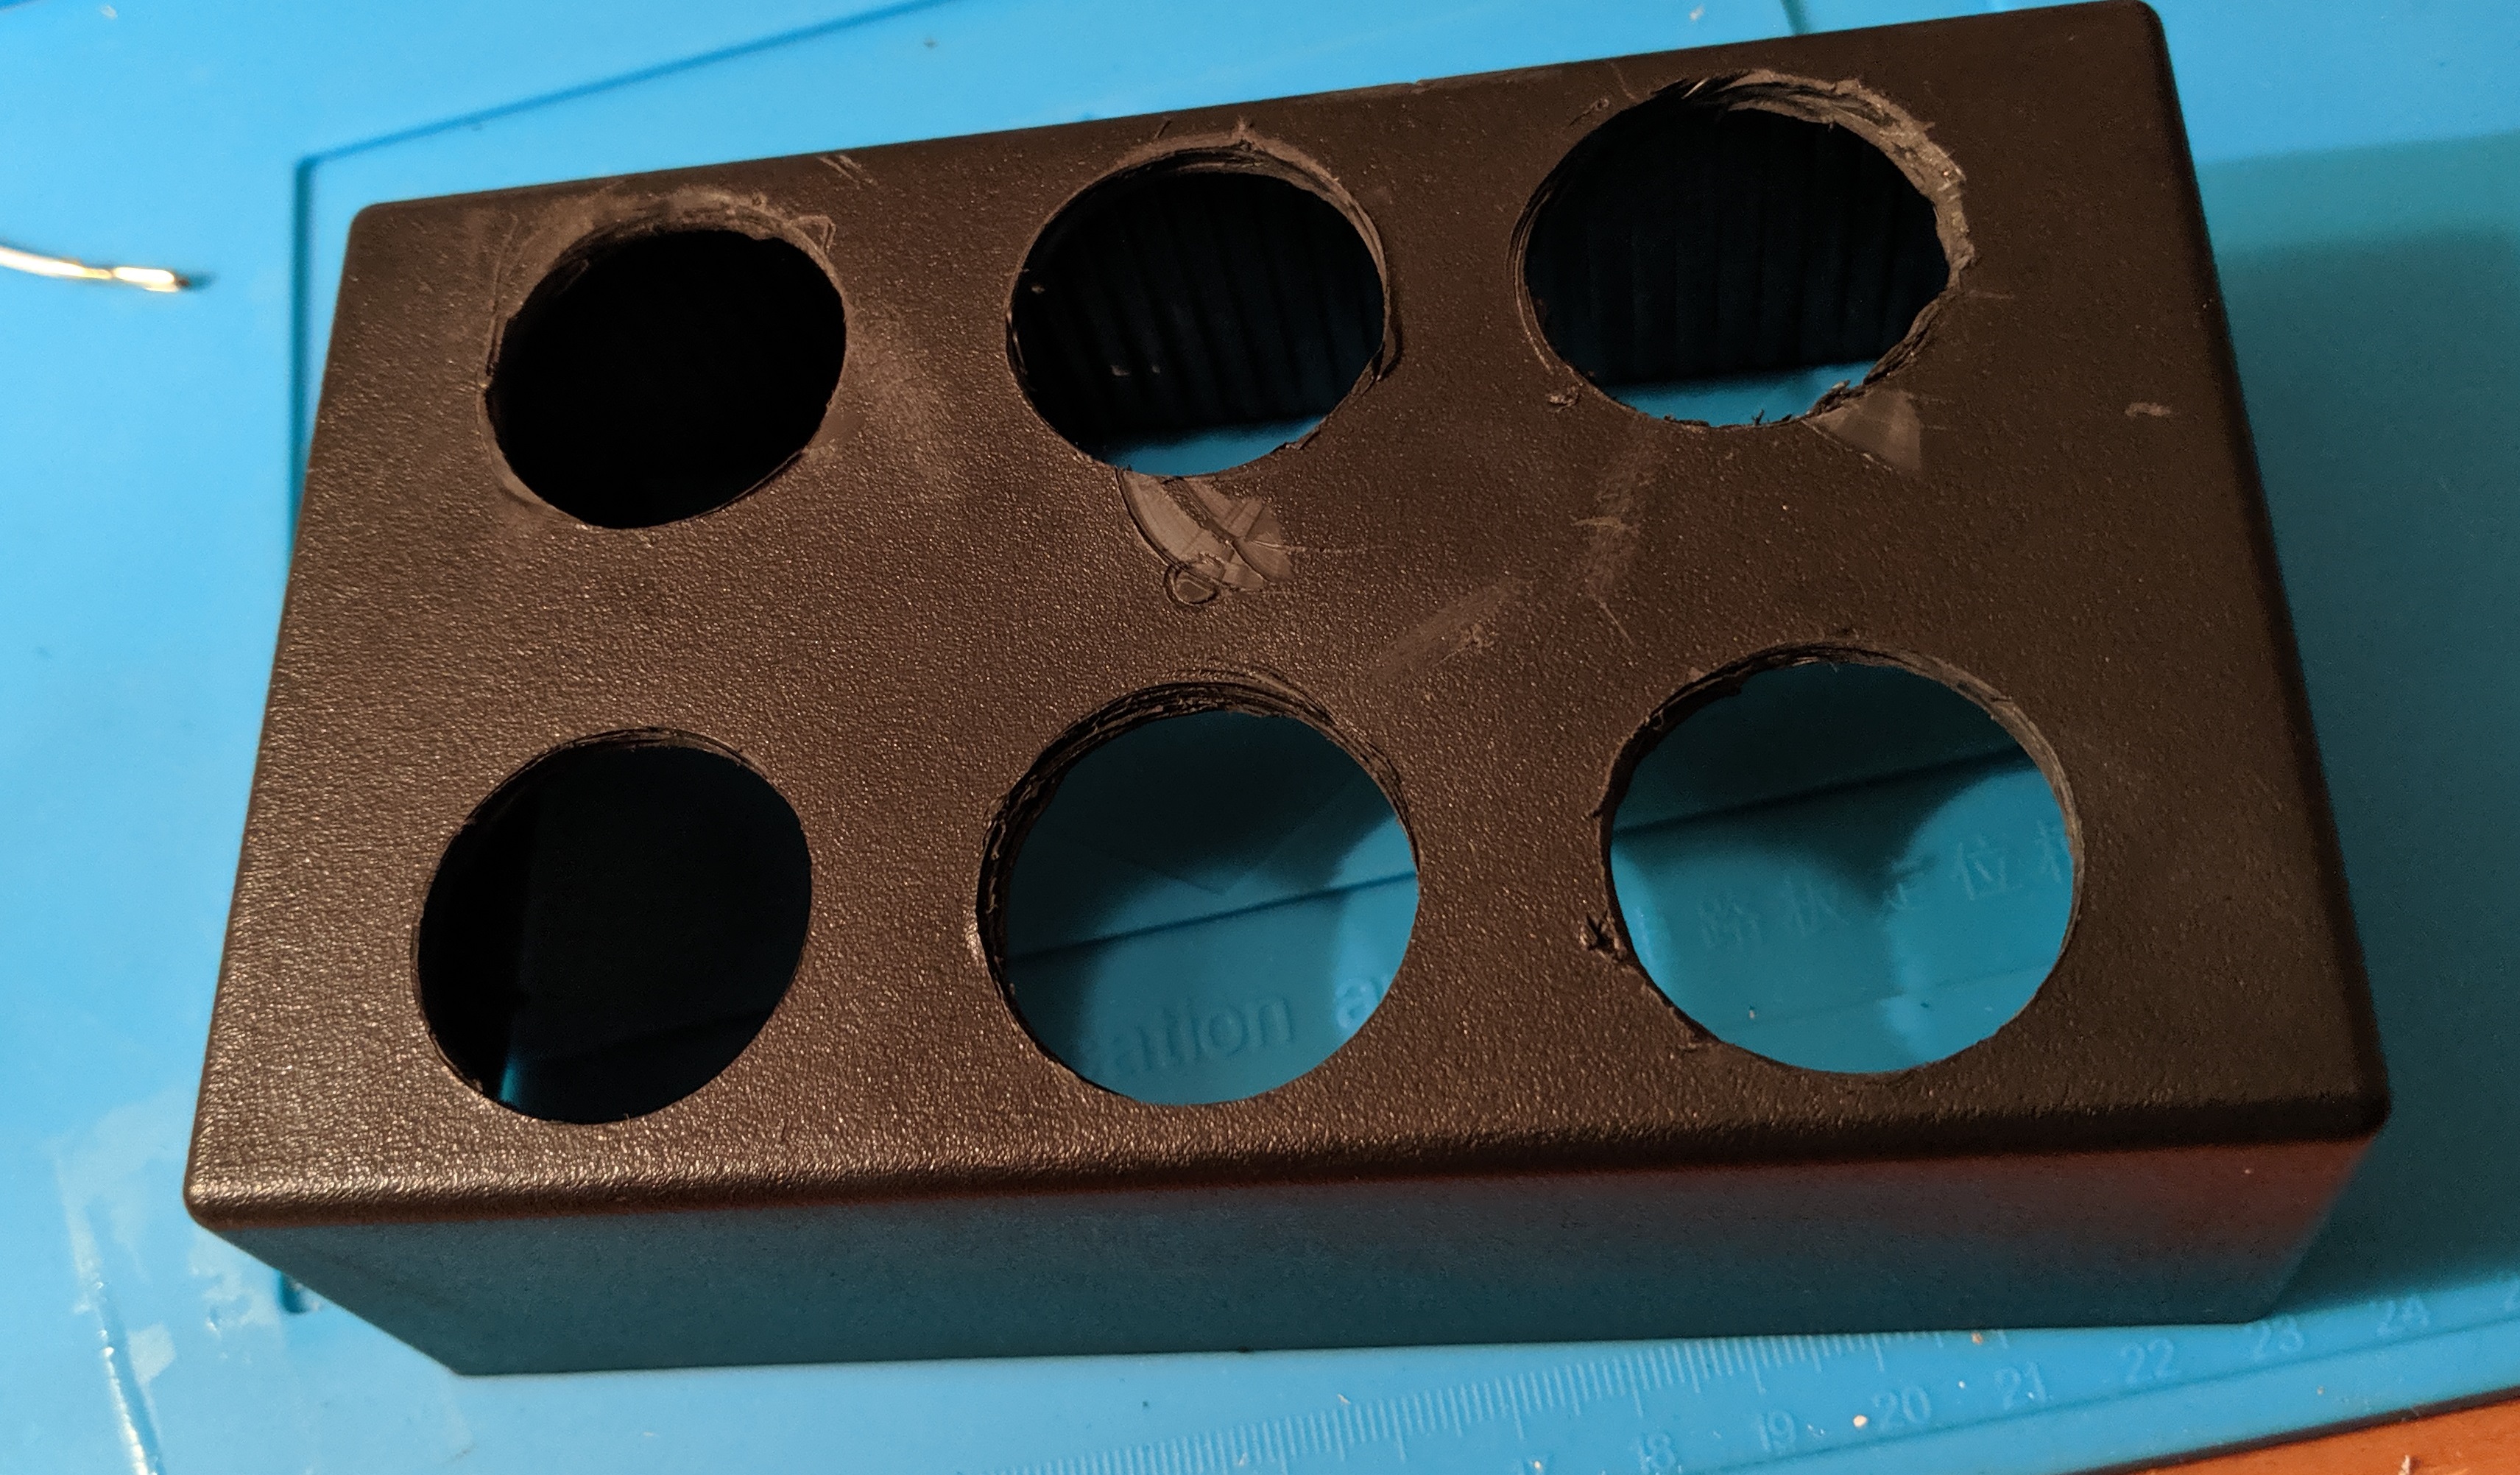
To transfer the layout to the case, I taped the pattern to the top and drilled 1/16th holes in the center.
Forstner bits were used to drill out the 16mm holes for the buttons. It took me a little bit to get the hang of drilling the holes. Sometimes the drill caught on the plastic and scratched the surface of the case.
The wires took up more space than I expected. It would have been helpful to daisy chain all of the grounds across a common wire, removing half of the wires needed. Also, the rest of the wires could have been cut much shorter or routed around the edge of the enclosuer, taking up less room.
All of the wires terminate in a breakout FeatherWing.

The fit was tight enough that I didn’t need to mount the feather to the case. The wires held it in place with little to no movement when the bottom was screwed on.
You can see the power button on the side.
Code
With everything assembled it was time to test it out. And it didn’t work. After a little trial and error, I realized that the keyboard would only work if my laptop was plugged into it via USB and I had the Arduino serial monitor plugged in. Looking over my code a bit, I see that I still had a line of code at the very beginning telling the board not to start up unless it detected a serial console. Removing that fixed the first problem.
Next, whenever I pressed the volume down or up buttons for a brief moment, the volume would go all the way to 0 or 100. No in between. It registered as way too many key presses. Adding a small delay at the end of the loop solved this problem.
Here’s the useful command I used to create the thumbnails for this post: magick mogrify -resize 33% -path ./thumbnails *.jpg.