
Pi Projec Status Report Day 8
Today’s progress is a bit misplaced in the “Pi Project” folder. I wound up using my Adafruit Feather 32u4 Bluefruit LE to emulate a keyboard. Since this is exactly what it was designed to do, it really wasn’t that hard. Which means it took me a long time. My goal was to use a Bluefruit LE UART Friend connected to my Raspberry Pi. That was beyond my current skills so I decided to take smaller steps. The Feather has lots of samples doing exactly what I want to do, so I went that route.
The plan is still to go back to the Pi though since my end goal is to make a keyboard that gets updates from the computer it’s connected to and I assume it’d be easiest to do that with a restful API. But that’s for Future Josh to work through.
Working with several tutorials and code samples I was able to create a simple app that sends custom strings of keyboard codes to whatever device is paired.
Code
Below are the highlights of the application. First it declares the commands to send as constants, and then polls for button state and sends corresponding messages.
BLE Commands
Two types of BLE commands are supported, keyboard codes, and control commands. Keyboard codes are sequences of key downs (key ups are inferred by sending either the next code, or by sending a message with no codes). Keyboard codes are sent in a message that is up to 8 bytes long.
- The first byte is a bit mask of any modifiers (shift, alt, etc)
- The second byte is always
00 - Bytes 3 through 8 are the keys to send
For example 08-00-07 is the command for pressing the Windows Key + D. 08
is the left Windows key, and 07 is the letter D (it’s case insensitive, if
you want to have an upper case D, then also send shift).
As stated above, up to 6 keys can be sent at once. So to send abc, that
would be 00-00-04-05-06. But then this would continue to send c repeatedly
since we never sent the key up signal. To do that, just send an empty message
with 00-00.
A complete listing of the keys can be found in section 12 here.
The other type of message that I’m sending is a control command. This is used to emulate media buttons like play, stop, and volume control. In my example I use it just for play (which will also pause). Adafruit’s sample code has a listing of some available commands.
Code Logic
Each loop of the main method polls the state of the buttons to determine which messages to send. It also records its state so the next iteration can either send the key up signal in the case of the keyboard codes, or to simply not resend the play command a second time (thereby pausing the music if the button is held down for more than a fraction of a second).
It’s all pretty hard coded now, but the idea is to have it evolve to be more configurable over time.
char CMD_MISSION_CONTROL[] = "01-00-52"; // (Left) Control + Arrow Up
char CMD_APP_WINDOWS[]     = "01-00-51"; // (Left) Control + Arrow Down
char CMD_SHOW_DESKTOP[]    = "08-00-07"; // (Left) Window + D
char CMD_VOLUME_UP[]       = "00-00-80"; // Volume Up
char CMD_VOLUME_DOWN[]     = "00-00-81"; // Volume Down
char CMD_VOLUME_MUTE[]     = "00-00-7F"; // Volume Mute
char CMD_F14[]             = "00-00-69"; // F14
char CMD_KEYS_UP[]         = "00-00";    // No keys held

void loop(void)
{
  int pressed = 0;
  int playPressed = false;
  if ( digitalRead(5) == LOW )
  {
    pressed++;
    printKeyboardCode(CMD_MISSION_CONTROL);
  }
  if ( digitalRead(6) == LOW )
  {
    pressed++;
    printKeyboardCode(CMD_APP_WINDOWS);
  }
  if ( digitalRead(9) == LOW )
  {
    pressed++;
    printKeyboardCode(CMD_SHOW_DESKTOP);
  }
  if ( digitalRead(10) == LOW )
  {
    playPressed = true;
    if (!playButtonPressedLastTime)
    {
      printControlKey("PLAY");
    }
  }
  if ( digitalRead(11) == LOW )
  {
    pressed++;
    printKeyboardCode(CMD_VOLUME_UP);
  }
  if ( digitalRead(12) == LOW )
  {
    pressed++;
    printKeyboardCode(CMD_VOLUME_DOWN);
  }

   if (pressed < 1 && buttonsPressedLastTime > 0){
    // send the key-up command
    printKeyboardCode(CMD_KEYS_UP);
  }

   buttonsPressedLastTime = pressed;
  playButtonPressedLastTime = playPressed;
}

 void printKeyboardCode(char keys[])
{
    ble.print("AT+BleKeyboardCode=");
    ble.println(keys);
}

 void printControlKey(char keys[])
{
    ble.print("AT+BleHidControlKey=");
    ble.println(keys);
}
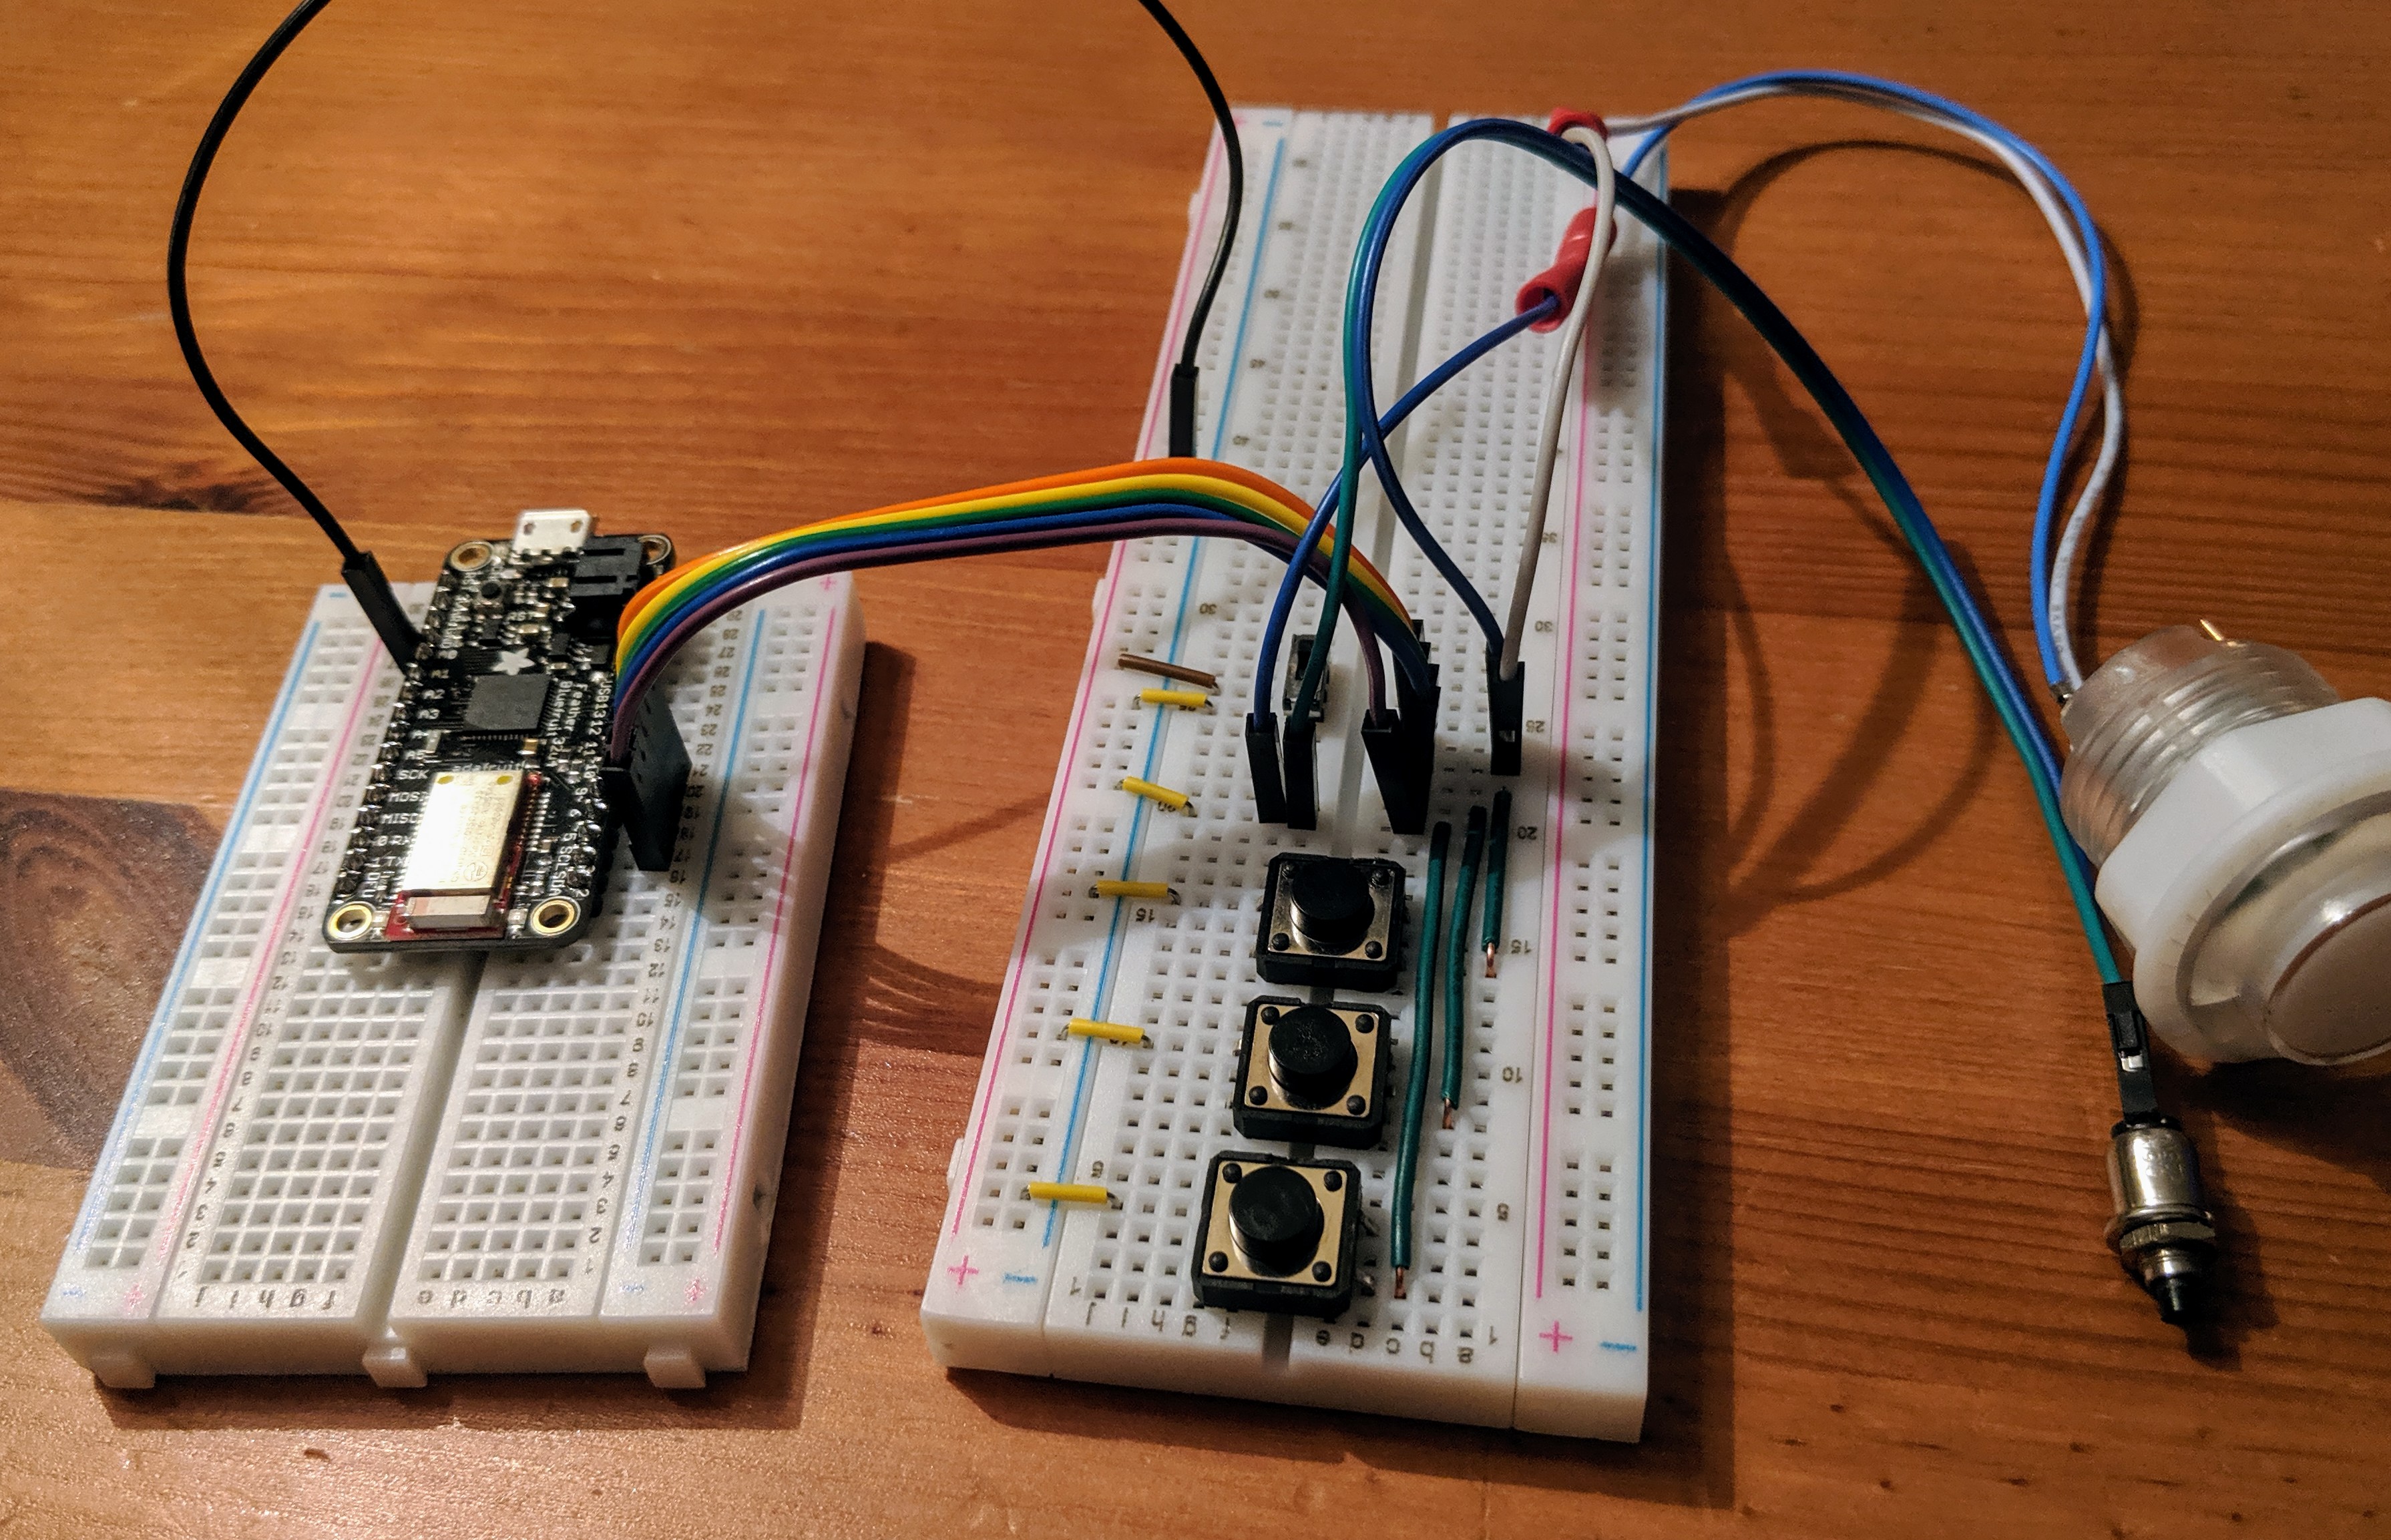
Wiring
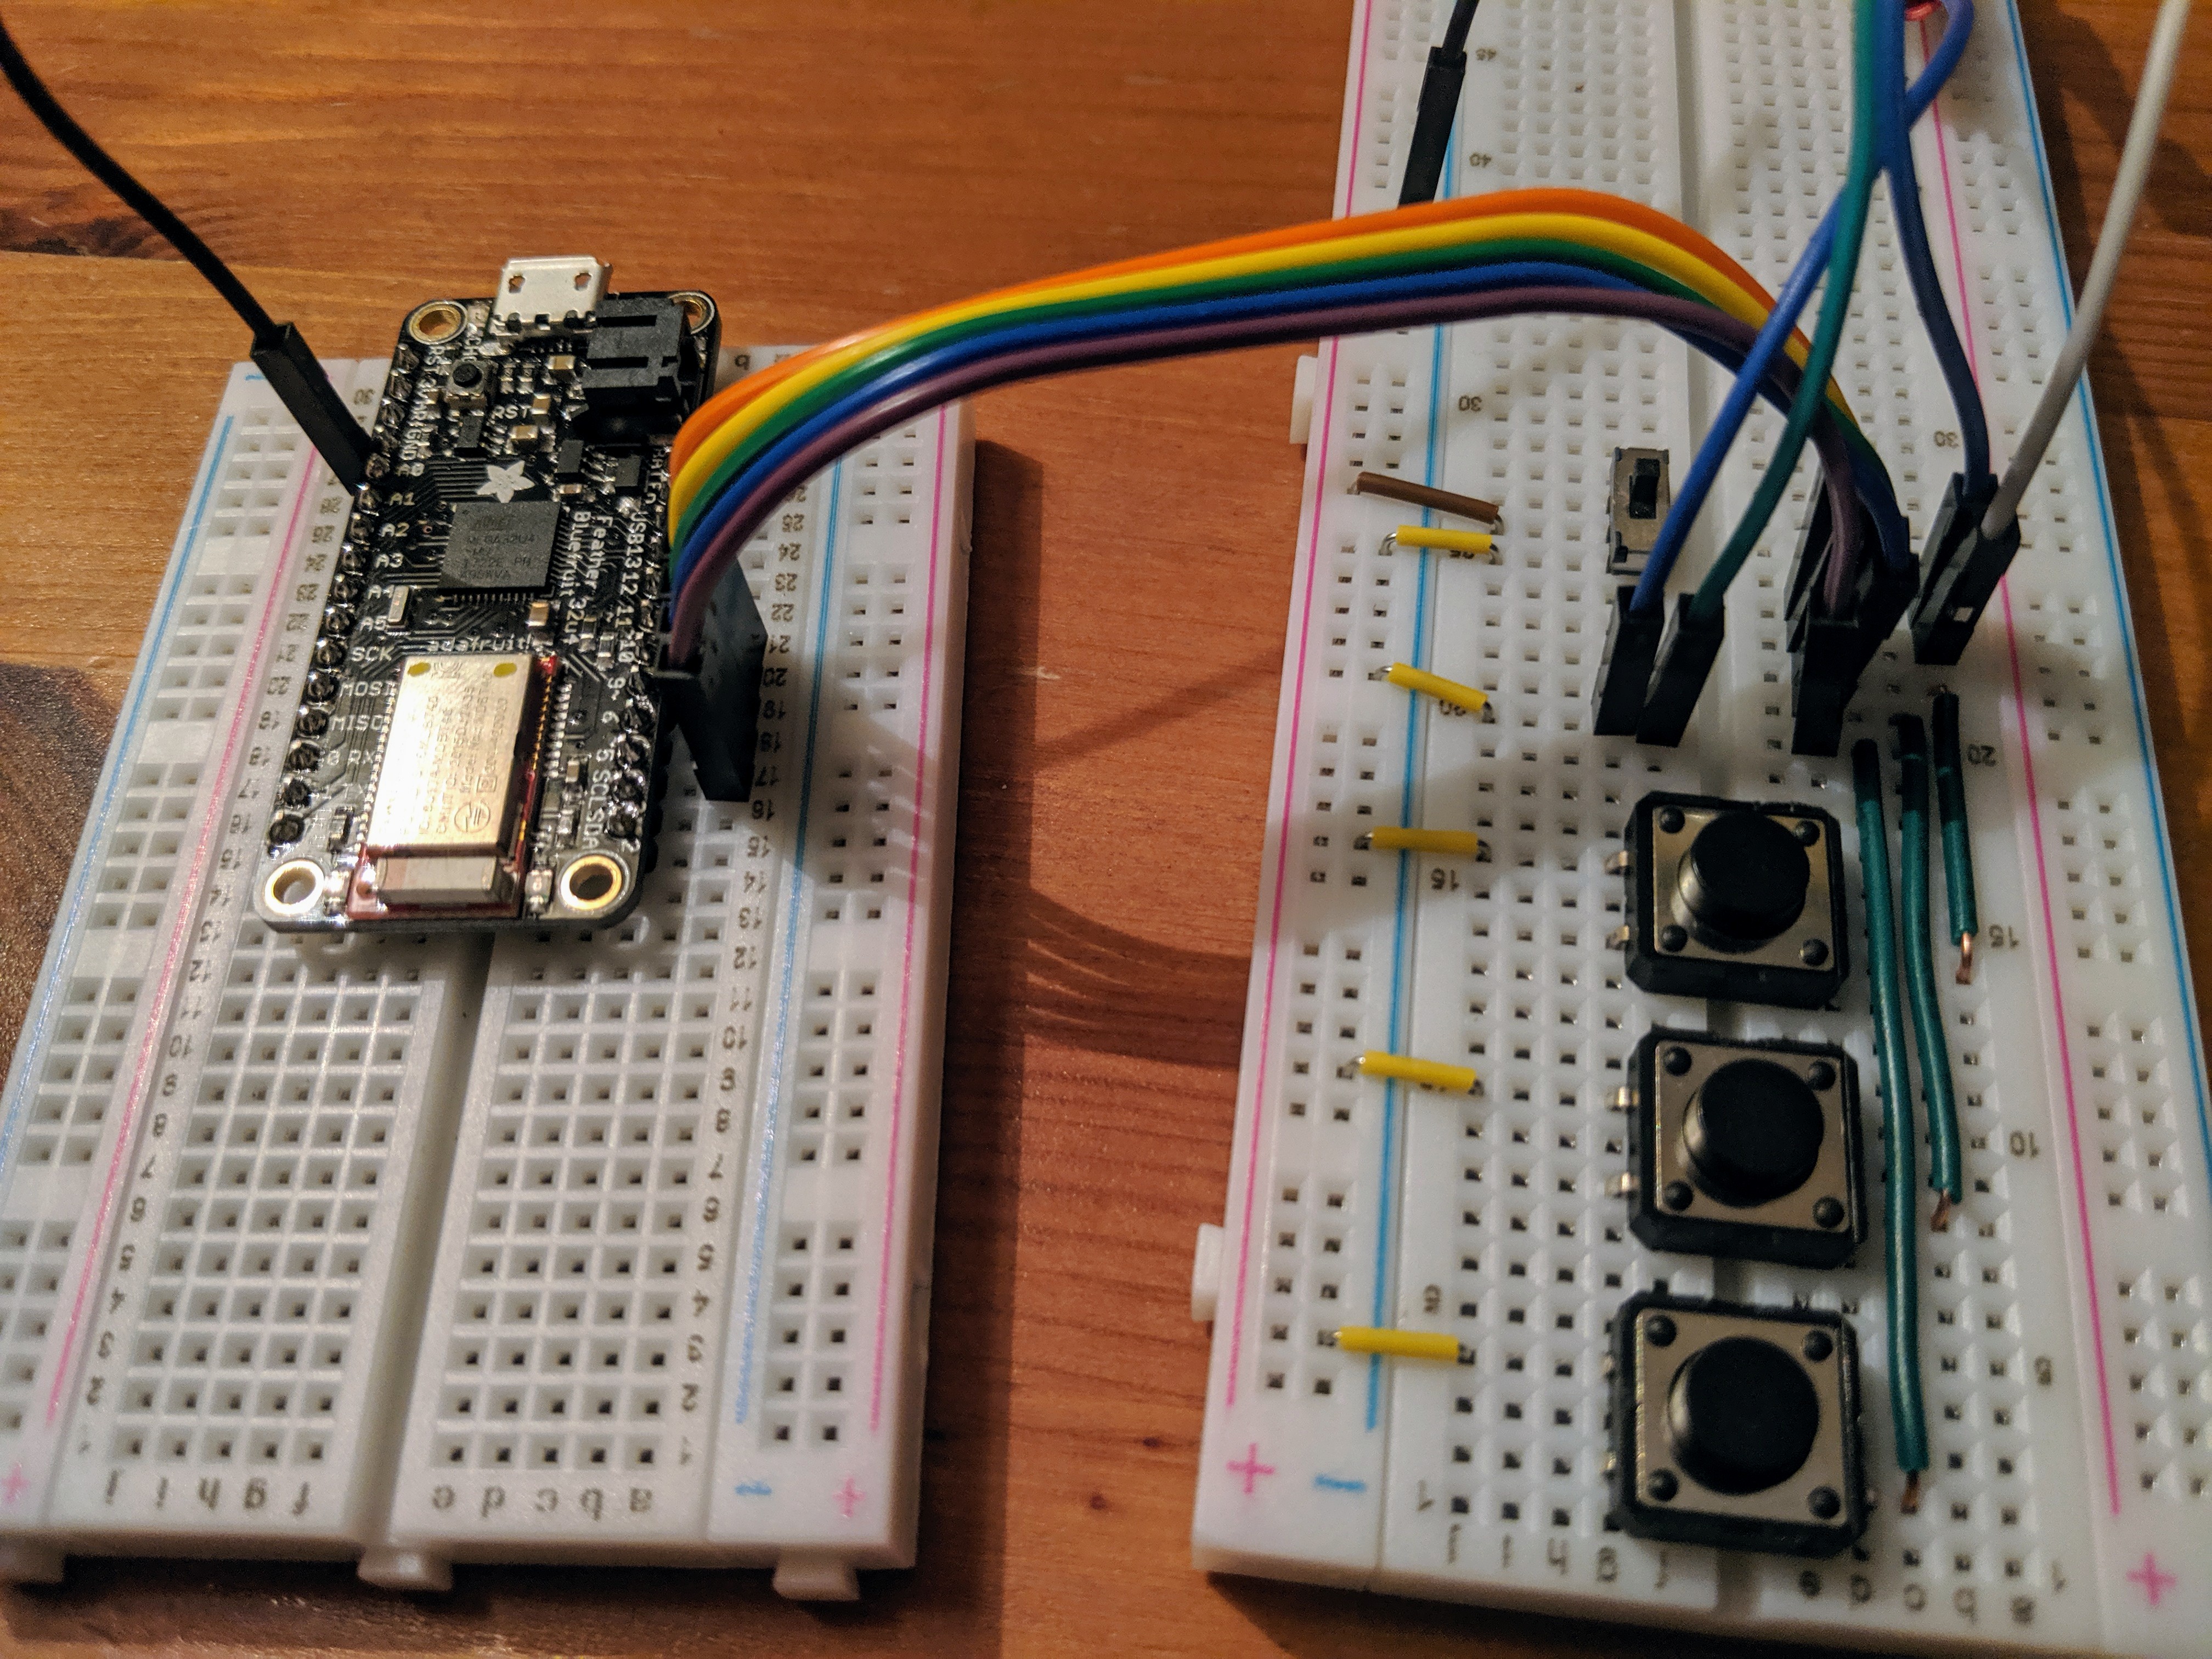
Wiring is pretty simple for this device since it’s essentially made for this use case. I strung together 5 buttons with a common ground, and plugged each of the buttons into the pins 5, 6, 9, 10, 11, and 12. I have a Battery on order, and will wire up that and a power switch once they arrive.