I’ve made some interesting progress in my current poject with my Raspberry Pi.

After following a walkthrough, I was able to connect my Pi to my Windows laptop as if it were a Bluetooth keyboard and forward all keystokes from the Pi’s keyboard to my laptop. In fact, I’m writing this status report on with my Pi’s keyboard on my laptop.

The only issue with the walkthrough is that it’s missing one dependency, before getting started python-gtk2 needs to be installed:

sudo apt install python-gtk2

I’ve made a copy of the sample code in my own repo so I can start to play with it.

Next up is to go through the follow up post and move leverage GPIO (buttons!)

Pi, Raspberry Pi comments edit

After starting on my Raspberry Pi project, I realized that the Raspberry Pi 2 doesn’t have onboard Bluetooth. I could either buy a Bluetooth dongle or switch to a Raspberry Pi 3. And since I have a Raspberry Pi 3 in my drawer and not a Bluetooth dongle, I decided to start over on my 3. So now I’m taking notes on exactly what I need to do in order to get a Pi up and running.

  1. Download the latest version of Raspbian. For this project I elected to have the version with a desktop. Estimated download time is about 10 minutes.
  2. Install etcher from an admin shell with cinst -y etcher. Estimated downloaded time is about 2 minutes.
  3. Open etcher. If it’s not on your desktop, then hit the start button and type in BalenaEtcher
  4. Pick the file you downloaded file from step 1, and flash it to an SD card.
  5. Insert SD card into Pi and boot it up. The initial boot takes a little longer than normal.
  6. Go through the onscreen Welcome Wizard
    1. Change the password (remember to write it down)
    2. Connect to WiFi. This will also fix the date/time.
    3. Run system updates. This may take
    4. Reboot
  7. Fix any mouse lag issues, if they exist
    1. sudo vi /bot/cmdline.txt
    2. Add ` usbhid.mousepoll=0` to the end of the line
    3. Reboot (this can be done while the Updates are being installed)
  8. [Optional] Change the host name (this comes in handy if you have multiple Pis and are using RSA keys)
    1. `sudo vi /etc/hostname
    2. Reboot (this can be done while the Updates are being installed)
  9. Enable SSH on the Interfaces pane of the Raspberry Pi Configurator (accessible from the Pi menu)
  10. Copy public key to the Pi
    1. On the new Pi: mkdir .ssh
    2. On the local machine: scp id_rsa.pub pi@pibuttons:.ssh/
    3. On the new Pi: cat .ssh/id_rsa.pub >> .ssh/authorized_keys

Optional

  1. Install vim
    1. sudo apt-get install vim
    2. sudo update-alternatives --config editor
  2. Install screen
    1. sudo apt-get install screen
  3. Install VS Code - (Full Article)
    1. Install it
       sudo -s
       . <( wget -O - https://code.headmelted.com/installers/apt.sh )
      
    2. Uninstall it and install it again! As of this writintg there’s a known issue with the current build. The easiest workaround is to just install an older version. The last command here tells the system not to upgrade VS Code when you ask it to upgrade other things. ```bash sudo apt-get remove code-oss sudo apt-get install code-oss=1.29.0-1539702286 sudo apt-mark hold code-oss
  4. Login to github
    1. Create a personal access token
    2. Configure git with your name, email, and tell it to stop asking for passwords
       git config --global user.name "Josh Quintus"
       git config --global user.email "[email protected]"
       git config --global credential.helper store
      
    3. Do a git push and use the access token as your password. You can forget it from here on out.

Back it up

Now that everything is set up just-so, it’s worth creating a backup so that we don’t have to do all of this ever again.

  1. Install Win32 Disk Imager
     choco install -y win32diskimager.portable
    
  2. Start up Disk Imager
     Win32DiskImager.exe %HomeDrive%\%HomePath%\Desktop\buttons.img
    
  3. There will be two devices that you can pick in the dropdown. Select the one that you can navigate to in Windows Explorer
  4. Press the Read button
  5. Wait
  6. [Optional] Zip it up. This took the file down from about 32GB (the size of the disk) to about 2GB

I want to easily connect to my Raspberry Pi from my Windows machine, specifically from inside my preferred terminal, ConEmu. First we’ll need to set up some SSH Keys on the Pi(although if you’re comfortable keeping your password inside some configuration files, this is actually optional), set them up on the Windows box, and then configure ConEmu and your environment.

Setting up SSH Keys

On your Pi:

  1. Run ssh-keygen and follow the prompts, accepting the defaults
  2. Save the key file to /home/pi/.ssh/id_rsa (just press enter, as this is the default)
  3. Type in your passphrase (you can elect to keep this empty but it means that anyone who gets the private key will be able to log on to your machine. So consider if this is really what you want. For me, I don’t really care if people can log in to my Pi for now, so I’m ok with an empty passphrase
  4. Configure sshd
  5. sudo vim /etc/ssh/sshd_config and ensure you have these values RSAAuthentication yes PubkeyAuthentication yes PermitEmptyPasswords yes
  6. Copy the private key (/home/pi/.ssh/id_rsa) to your Windows machine. You can just SSH in to the Pi using the username and password, cat` the file and copy them from the console. Save it to your home directory.

On your Windows Box

Starting with Windows 8 (I think?), Windows started shipping with a SSH client built in. Which means, as good as it was, there’s no need to download and install PuTTY anymore.

  1. Test the connection
  2. ssh -i %HomeDrive%%HomePath%\id_rsa pi@raspberrypi
  3. You should now be logged in to your Pi

Integrating with ConEmu

For convenience I added the following alias to my cmd init file. It allows me to just type pi at the command line and be logged into my Raspberry Pi immediately.

DOSKEY pi=ssh -i %HOME%\id_rsa pi@raspberrypi

Next I added a task in ConEmu so I can open a new tab directly into the Pi.

  1. Open the settings and go to Setup/Tasks (or just press `Alt-Win-T)
  2. Press the + button on the bottom left and fill in these values
  3. Name (first box): Pi
  4. Commands (large box): ssh -i c:\users\joshq\id_rsa pi@raspberrypi
  5. Hotkey [Optional]: Alt-P
  6. Press Save settings (or just hit the escape key)
  7. Try out the shortcut by pressing Alt-P

DIY, Pi, Raspberry Pi comments edit

I’m starting to work on a project on a Raspberry Pi. I’m starting with a Pi 2 that already has an older version of the Pi os installed on it (I don’t even remember what one).

The first issue that I came across was that the Amazon Basics mouse was too slugish. After googling for a bit I came up with the solution that I needed to make an edit to a config file (becuase of course the first thing I needed to do was edit a config file because Linux) and then reboot the system.

sudo vim /boot/cmdline.txt
sudo reboot

Append the following to the end of the line (separated from the last entry with a space).

usbhid.mousepoll=0

Zsh comments edit

In order to loop over all the files in a given directory and run a different command on each of them in zsh:

for file in ~/folder/*; gpg $file

Coding comments edit

It can be tricky to know what you can and can’t use when looking at free libraries. The following is a quick rule of thumb for Open Source Licenses.

Good

Bad

Some licenses are explicitly not OK to use. For example, none of the copyleft licenses can be used in a closed source project. The following list is not exhaustive. Just because a license is not on the list does not automatically mean that it can be used.

Dual Licenses

It is possible for a project to have more than one license specified. Unless specified otherwise in their licensing, all clauses from all licenses may apply. This means that, to be safe, each license to be on the compatible with the consuming project.

Other Licenses

Any other license must be evaluated on a case by case basis.

More Information

The Open Source Initiative has lots of useful information about OSS licensing. Choose A License does a great job of breaking down the most common licenses comparing the differences between them.

Coding comments edit

These are the general rules and guidelines I use when developing. As with most rules, there are exceptions to all of these.

Code Quality

  1. Prefer composition over inheritance
  2. Small classes and small methods. Anything over 30 lines for a method is a smell, over 100 is a NO
  3. Pay attention to code readability. It’s been pointed out before, but other developers will have to read your code. And “other developers” includes you in 3 months. You are writing for them, not for the compiler. If they can’t understand what’s going on, you haven’t done your job.
  4. Comments get out of date very quickly so only add them in cases where they bring true value, as opposed to making them a supplement for code that has poor readability. This typically means that you shouldn’t be commenting on what your code does. Whoever is reading it should already know what it does. Comments should elucidate why your code is doing what it does. You may have had to write the code in a non-obvious way to avoid a bug. Explain that.

C# Coding Style

For most of my career I’ve been a C# developer. So my more specific rules apply to that. Despite that, many of them can be generalized to other domains. These rules were adapted and inspired from the corefx project, the general rule is “use Visual Studio defaults”.

For non code files (XML, JSON, etc.) my best guidance is consistency. When editing files, keep new code and changes consistent with the style in the files. For new files, it should conform to the style for that component.

  1. Use Allman style braces, where each brace begins on a new line. A single line statement block can go without braces but the block must be properly indented on its own line and it must not be nested in other statement blocks that use braces (See issue #381 for examples – read the resolution, not just the first comment).
  2. Use four spaces of indentation. No tabs. Never tabs.
  3. Use _camelCase for internal and private fields and use readonly wherever possible. Prefix instance fields with _. When used on static fields, readonly should come after static (i.e. static readonly not readonly static).
  4. Avoid this. unless absolutely necessary.
  5. Always specify the visibility, even if it’s the default (i.e. private string _foo not string _foo). Visibility should be the first modifier (i.e. public abstract not abstract public).
  6. Namespace imports should be specified at the top of the file, outside of namespace declarations and should be sorted alphabetically.
  7. Avoid more than one empty line at any time. For example, do not have two blank lines between members of a type.
  8. Avoid spurious free spaces. For example avoid if (someVar == 0)..., where the dots mark the spurious free spaces. Consider enabling “View White Space (Ctrl+E, S)” if using Visual Studio, to aid detection.
  9. Use language keywords instead of BCL types (i.e. int, string, float instead of Int32, String, Single, etc) for both type references as well as method calls (i.e. int.Parse instead of Int32.Parse). See issue #391 for examples.
  10. Use ALL_CAPS to name all constant local variables and fields. The only exception is for interop code where the constant value should exactly match the name and value of the code you are calling via interop.
  11. Use nameof(...) instead of "..." whenever possible and relevant.
  12. Fields should be specified at the top within type declarations.
  13. When including non-ASCII characters in the source code use Unicode escape sequences (\uXXXX) instead of literal characters. Literal non-ASCII characters occasionally get garbled by a tool or editor.
  14. One class per file. When we have a generic and non-generic definition of a simple class, they can be in defined in the same file.
  15. Member fields must be private (who creates public fields anyway?)
  16. CamelCasing of all variable and method names; methods and properties start with a capital
  17. Avoid #regions
    • Specifically included
      • Regions around common sections of code. e.g. regions around all fields or properties
    • Exceptions
      • Regions around particularly long constants or literals
      • Regions around auto-generated code
  18. Only capitalize the first letter in an abbreviation/initialization when using it in a name. For example:
    • DbPool() ✔️
    • DBPool() ❌
  19. Partial classes: you need to have a very good reason to use a partial class. Tool generated code is one of them.
  20. Avoid multiple returns from a single method unless it is very clear.
  21. Avoid multiple escape routes from a loop, i.e., excessive use of break or continue
  22. Avoid while(true)
  23. Avoid structuring code so that it requires casting; consider generics instead. For example, you have a method that calls another method which returns an instance of an interface. If you need to cast that returned value to a specific class, then you have made a design mistake. Example below
  24. Do not use ApplicationException
  25. Implement the common constructors when making a user-defined excption
  26. Do not use goto

Example of braces on single line statement blocks

✔️ GOOD

if (isFriday) Dance();

// OR

if (isFriday)
{
    Dance();
}  

❌ NEVER THIS

if (isFriday)
    Dance();

Order of items in a class

Note: Codemaid will do this automatically using CTRL + M then space

In a given class sort by:

  • First the type of item
    • Constants
    • Fields
    • Constructors
    • Events
    • Properties
    • Methods
  • Then by accessibility
    • public
    • internal
    • protected Internal
    • protected
    • private
  • Then statics vs instance
    • static
    • instance
  • Then alphabeticly

Bad Casting

❌ This first version forces the caller to cast

public interface ISomeInterface { }

public class SpecificInstance : ISomeInterface
{
    public string Name {get; set;}
}

public interface IReturnAnInterface
{
    ISomeInterface GetInterface();
}

public class ReturnASpecifcInstance : IReturnAnInterface
{
    public ISomeInterface GetInterface()
    {
        return new SpecificInstance() { Name = "MyName" };
    }
}

public void BadCasting(IReturnAnInterface factory)
{
    ISomeInterface instance = factory.GetInterface();
    OtherMethod(((SpecificInstance) instance).Name);
}

✔️ Using generics allows us to avoid the cast

public interface ISomeInterface { }

public class SpecificInstance : ISomeInterface
{
    public string Name {get; set;}
}

public interface IReturnAnInterface<T> where T:ISomeInterface
{
    T GetInterface();
}

public class ReturnASpecifcInstance : IReturnAnInterface<SpecificInstance>
{
    public SpecificInstance GetInterface()
    {
        return new SpecificInstance() { Name = "MyName" };
    }
}

public void NoNeedForCast(IReturnAnInterface<SpecificInstance> factory)
{
    SpecificInstance instance = factory.GetInterface();
    OtherMethod(instance.Name);
}

Example File:

` SampleClass.cs`

using MySampleCode.SubNamespace;
using System.Linq;
using ZSoft.ThirdPartyNamespace;

namespace MySampleCode
{
    public class SampleClass
    {
        private const int DEFAULT_AGE = 0;

        private static readonly string _someStaticValue;

        protected internal int _size;
        protected double _length;
        private readonly string _vision;
        private string _flavor;

        public SampleClass(
            ITrialUserLicenseCreator trialUserLicenseCreator,
            IUserIdentityProvider userIdentityProvider,
            ILoggedInUserInformationFetcher identityFetcher)
        {
            if (trialUserLicenseCreator == null) throw new ArgumentNullException(nameof(trialUserLicenseCreator));
            // ...
        }

        private SampleClass(string vision, IUserIdentityProvider userIdentityProvider)
        {
            _vision = vision;
        }

        public event EventHandler OnFlavorChanged;

        public string Name { get; set; }

        public void Method()
        {
            // ...
        }

        private int GetIntValue(string value)
        {
            if (string.IsNullOrWhiteSpace(value)) return -1;

            if (value.All(c => char.IsDigit(c))
            {
                return int.Parse(value);
            }
            else 
            {
                return 0;
            }
        }
    }
}

Most of this (all of it) was stolen from Ron’s response to me asking a question on slack.

Took me about a month of raging when I first switched to OSX. These tips might help:

Shortcuts

Keyboard

Keys Effect
⌘ + L Address bar
⌘ + Q Close app
⌘ + Space Spotlight
⌘ + ⌥ + Space Finder
Ctrl + ↑ Mission Control
⌘ + ↑ / ⌘ + ↓ Move up and down the tree. Doing it on a file opens it.
F11 Show desktop
F12 Show dashboard
Ctrl + F3 Focus Dock
Ctrl + F4 Alt-Tab
^ + ⌘ + 3 Save screenshot to file
Ctrl + ^ + ⌘ + 3 Copy screenshot to clipboard
^ + ⌘ + 4 Save screen region to file
Ctrl + ^ + ⌘ + 4 Copy screen region to clipboard
^ + ⌘ + / Show Help Menu
⌘ + ⌥ + → Next tab (chrome)
⌘ + ⌥ + ← Previous tab (chrome)

Magnet

Keys Effect
^⌥← Left
^⌥→ Right
^⌥→ Up
^⌥↓ Down
^⌥U Top Left
^⌥I Top Right
^⌥J Bottom left
^⌥K Bottom Right
^⌥D Left Third
^⌥E Left Two Thirds
^⌥F Center Third
^⌥T Right Two Thirds
^⌥G Right Third
^⌥↵ Right Third
^⌥C Center

Trackpad Gestures

Gesture Effect
Scroll left or right with two fingers Swipe between pages
Swipe left or right with 3 fingers Switch desktop
Swipe left from edge Notificatin Center
Swipe up with three fingers Mission Control
Pinch with all the fingers Launchpad
Spread out thumb and three fingers Show Desktop

Finder keyboard

They actually feel more rational to me than Explorer now tbh.

  • Cmd+up/down to move up and down the tree. Doing it on a file opens it. Vs
  • Explorer, you have to switch to Enter to open a file. Hitting enter on a
  • file (or most labels really) initiates a rename vs F2

In general:

  • Cmd+Space is your friend
  • As Kevin mentioned, Cmd instead of Ctrl. I actually prefer this now since I can use my thumbs for Cmd instead of my pinkies for Ctrl (my thumbs are usually out of play for keyboard shortcuts anyway). Think Cmd+A vs Ctrl+A
  • Cut/Paste flow is different. It’s more like Copy/Move and Move is considered a modification to Paste, so copy as usual (CMD+C), then modify Paste into a Move with Option (Option + CMD +V)
  • Option modifies all sorts of things, and they aren’t well documented. Try option clicking everything I guess. E.g. after right clicking on a folder in Finder to show the context menu, you can hold down Option to show additional command variations
  • You can drag files from anywhere into an Open File dialog and the dialog will jump to that path with that file selected. Versus Windows, last time I used it, doing that will just freak it out.
  • If you hate excessive clicking like me (and it sounds like @brewdente also), turn on triple finger dragging, which lets you just do a 3 finger touch to drag windows around. Otherwise, you have to do a full click, hold it down, and drag. It’s oddly hidden in Accessibility now.
  • You can change touch to be equivalent to click, so it’s more akin to a smart phone (I hate clicking)
  • Turn on the speaker and bluetooth icons. All those status icons are hidden by default. You can turn them all on in System Preferences. This lets you quickly switch inputs and outputs.
  • If you Option click the Notification icon in the top right (looks like a modified hamburger icon), it’ll snooze your notifications. Great for when you’re presenting off your mac and you don’t want random calendar invites appearing
  • There are a lot of 3rd party windows managers if the OS ones aren’t sufficient, like Magnet
  • Install this if you want a soothing screen saver: https://github.com/JohnCoates/Aerial

Windows management

  • Full screen is weird on macOs and defaults to launching an addtl desktop for it. If you’re into multiple desktops, I guess that’s fine, but I never used them under either OS.
  • If you DO like multidesktops, click and drag an app to the top and beyond (like you’re trying to go off screen with it). It’ll prompt you to move the app into a different desktop.
  • Not sure if this was ever added to Windows, but same thing, if you move your mouse to the edge of an app, you get the resize icon. but if you double click instead, it’ll go full screen in that direction only.
  • Hold down the green full screen button on an app to trigger side by side mode. You can also use the drag up technique I mentioned above to trigger the same effect on a different desktop if there’s already a full screen app on it
  • Triple finger swipe down on the touch pad will show all open windows for the current app only
  • Closing all windows is not equivalent to exiting the app. Not sure if MS ever changed that for Windows, but it drove me crazy whenever I accidentally closed my only browser window and it defaulted to exiting out. Cmd+Q to actually exit an app.

Hope that helps.

To solve the 4x4 cube you need to reduce it to a 3x3 cube. You do this by solving the 2x2 centers on each face first. Then pair up the edges in 2x1 strips so you can treat them like a single edge on the 3x3. After that the entire thing feels like solving the 3x3. The one caveat is that you may have parity errors going into the “yellow cross” stage.

Below are the additional algorithms needed for the edges and parity.

Edges

To solve the last two edges, make sure they are both facing you and are lined up (not diagonal from their pair):

Dd  R   F'  U
R'  F   Dd'

Parity

There are tons of parity issues that you can encounter. And then there are tons of sequences to correct each one. I’m just listing the ones I use to fix the scenarios that I encounter. SpeedCubing.com has an exhaustive list.

Edge Parity

This algorithm will flip the top two edge pieces on the front face without moving any other pieces

r'  U2  l   F2
l'  F2  r2  U2
r   U2  r'  U2
F2  r2  F2

Corner Parity

This sequence will swap the two front most top corners.

F2  R2  B'  D'
B   R2  F'  U
Ff2 F   L2  f2
Ll2 f2  l2  U'

A note on notation

Most of the notation is the same as the 3x3 cube notation, for example F means rotate the front face clockwise. F' means rotate the front face counter-clockwise. Some additions just for the 4x4 are:

  • l (lower case L): rotate the column second from the left clockwise
  • r: rotate the column second from the right clockwise
  • Dd: the equivalent of doing a D and then a d. It basically means rotate the entire bottom half.

Some brief notes on solving a traditional 3x3 Rubik’s cube. These instructions assume that you are starting by solving the white face first.

  1. Solve for the white cross
  2. Solve for the white corners and corresponding edge at the same time
  3. Solve for the yellow cross (three possible starting points)
  4. Hook
  5. Bar
  6. Dot (use either the hook or bar)
  7. Put yellow edges in correct spots
  8. Put yellow corners in the correct location
  9. Put yellow corners in the correct orientation

Hook

Start with yellow hook in the top left corner.

Starting top layout:

|   | Y |   |
| Y | Y |   |
|   |   |   |

Ending top layout:

|   | Y |   |
| Y | Y | Y |
|   | Y |   |

F U R U' R' F'

Bar

Start with yellow bar going horizontal

Starting top layout:

|   |   |   |
| Y | Y | Y |
|   |   |   |

Ending top layout:

|   | Y |   |
| Y | Y | Y |
|   | Y |   |

F R U R' U' F'

Edges

This sequence swaps the front edge with the left edge on the top of the cube. So start with the edges you want to preserve on the right and back. It may be the case that there are no two edges that are correctly adjacent. In that case, you’ll just have to do this bit twice.

Starting top layout:

|   | B |   |
| O |   | G |
|   | R |   |

Ending top layout:

|   | O |   |
| B |   | G |
|   | R |   |

R U R' U R U2 R' U

Corner Location

This sequence rotates the corners. If the corners were numbered clockwise starting in the top left as 1, 2, 3, 4, then after this sequence the would be : 4, 1, 3, 2

Starting top layout:

| 1 |   | 2 |
|   |   |   |
| 4 |   | 3 |

Ending top layout:

| 4 |   | 1 |
|   |   |   |
| 2 |   | 3 |

U R U' L' U R' U' L

Corner Orientation

This sequence rotates the corner in the front right hand corner of the top. Orient the cube so that the corner you want to change is there. Run this algorithm one or two times. Once it’s complete, rotate just the top so that the next corner you want to fix is in the front right hand corner of the top. Repeat until all the corners are correct.

Note that the algorithm repeats itself, so it’s really a short one to learn.

R' D' R D R' D' R D

C#, Interviews comments edit

When interviewing tech candidates, I don’t like prescribe a language or methodology. That being said, I’ve found that it can be helpful to provide a cheatsheet for C# since that’s how I tend to phrase the questions. This code tries to provide the basics of how to define and use classes.

public interface IProduct
{
    string Name { get; set; }
    string Id { get; set; }
}

public class Product : IProduct
{
    public Product(string name, string id)
    {
        Name = name;
        Id = id;
        Creation = DateTime.Now;
    }

    public string Name { get; set; }
    public string Id { get; set; }

    public DateTime Creation { get; set; }
}

public interface IProductLoader
{
    IProduct[] Load();
}

public class ProductLoader : IProductLoader
{
    public IProduct[] Load()
    {
        Product[] products = new Product[]
        {
            new Product("DeLorean", "B2TF88-1955"),
            new Product("Beans, Magic", "GNT-42"),
        };

        return products;
    }
}

public class Main
{
    public void Start()
    {
        IProductLoader loader = new ProductLoader();
        IProduct[] products = loader.Load();
        foreach (var product in products)
        {
            Sell(product);
        }
    }

    private void Sell(IProduct product)
    {
        Console.WriteLine($"Selling {product.Name}");
    }
}

Management comments edit

I hold one on one meetings bi-weekly with my direct reports for two reasons. First, I want to get feedback from them about how they are doing. Do they need help? Do they need more work? Different work? Is there something bothering them that isn’t going to come up without prodding?

Secondly, I use the to discuss career growth and progression. What are the options (both in the current company and in other companies) for their long term career? What do they want for their long term plans? Given that, what should they be doing now to work towards that?

This is their time to voice their concerns and ask questions.

Format of the One on One

The following is the general outline I follow when doing a one on one meeting with direct report. The exact order doesn’t matter (although I do stick to it because it’s just easier for me to remember) but I try to hit each of these beats each time. In general the conversations last about an hour.

  1. What’s up?
  2. Review goals
  3. Project status
  4. Meeting follow ups
  5. Request for feedback

What’s up?

Before getting to far in the conversation, check if there’s anything that the report would like to talk about. More often than not, there isn’t, but since the point of this meeting is to check in with them, then it’s a good idea to let them lead off.

For instance, at this point we may wind up discussing specific project statuses or blockers.

Review goals

Every other meeting I like to check in on goals. I’ve found checking too often becomes monotonous not checking enough is worse. So I make sure to ask every time, even if we wind up not talking about it half the time. I’m up front with my reports about this so they tend to either remind me if I forget, or tell me “Not this week” if we’d already talked about it recently.

This implies that we’ve already worked through and have written down goals for the upcoming year. If we don’t then it becomes a priority to create a list of goals. This will probably take several weeks of focus in the one on ones.

I leave it up to each person to track their goals however works for them. Some take notes in excel, some in word. Some don’t take notes.

When discussing goals I’m looking to see if progress is being made, and if not why not. Does the goal no longer make sense? Was it too vague to begin with? Is there nothing to do toward it until later in the project cycle? I also try to check if there are any other new goals that we should try to incorporate into our conversation.

Project status

Discuss the overall project that the team is working on, make sure that they know how their work fits in. At this point they can ask questions about any aspect of the project, e.g., timeline, design, resourcing.

I tend to ask how they feel about the general health of the project, if they think it is on schedule.

Meeting follow ups

Since we have so few team meetings I like to review each one to see:

  1. Are they getting something out of the meeting?
  2. Did they have any follow up questions from the meeting?
  3. Did they feel like they had a voice in the meeting?
  4. Is the intent of the meeting clear? Is it worthwhile to be spending this much time for that reason?
  5. Is the format of the meeting helping us get the type of information/feedback we want?

Request for feedback

Ask if there’s anyway I can be doing a better job hearing them or helping them. I tend not to get an answer to this, but when I do it’s really useful and makes it worth asking each time.

Recipes, Desserts comments edit
Cook Time Oven Temp
~30 min 350°F

Ingredients


  • 1/3 cup (or 1 oz) Dutch-processed cocoa powder
  • 2 oz unsweetened chocolate
  • 6 oz bittersweet chocolate cut into 1/2 inch pieces
  • 1/2 cup + 2 tsp boiling water
  • 1/2 cup + 2 tsp vegetable oil
  • 4 tbsp unsalted butter
  • 2 large whole eggs + 2 egg yolks
  • 2 tsp vanilla
  • 2 1/2 cup sugar
  • 1 3/4 cups all-purpose flour
  • 3/4 tsp salt

Oven Prep


  1. Put oven rack to lowest position
  2. Preheat oven to 350 degrees F
  3. Put a foil sling in a 13x9 inch pan
  4. Spray with nonstick spray

Mix it


  1. Whisk cocoa and boiling water together in a large bowl until smooth
  2. Add unsweetened chocolate and whisk until melted
  3. Whisk in oil and butter (may look curdled)
  4. Whisk in add all eggs and vanilla until smooth
  5. Whisk in sugar
  6. Add flour and salt, stir with rubber spatula
  7. Fold in bittersweet chocolate

Bake it


  • 30 - 35 minutes
  • Let cool in pan on wire rack for ~90 minutes
  • Remove from pan in sling and continue to cool for another hour on the wire rack

Travel, Food comments edit

We went from Budapest to Vienna, Prague, and finally Ludwigsburg: a stretch of art, history, zoos, concerts, food, and a truly ridiculous attempt to take a Prague tram.

Where we ate

City Place Rating What I thought
Budapest Két Szerecsen — Budapest platter and Hungarian dinner to start the trip.
Budapest Menza — Sour cherry soup with ice cream, veal paprikash, and plum pálinka.
Budapest Bigfish — Lunch before the House of Terror.
Budapest Cyrano — Goose liver, figs, duck, foie gras, and pálinka.
Budapest Gettó Gulyás — Bone marrow, rooster testicles, and a mojito that was too hot.
Budapest Strudel House — Cherry strudel.
Budapest New York Café ★★★☆☆ Beautiful room and live piano; the food was fine.
Vienna Gigerl — We came back three times for schnitzel, spätzle, strudel, and more.
Vienna Weibel’s Wirtshaus ★★★☆☆ Wiener schnitzel: not bad. Local beer with a good smell.
Vienna Zu den 3 Hacken — Bratwurst and apple strudel.
Vienna Café Hawelka ★★★★★ Warm, tangy apple strudel; maybe the best of the trip. The waiter was the menu.
Vienna Meierei im Stadtpark ★★★☆☆ Sour cherry tart was good; short ribs were drier than expected.
Vienna Loos American Bar — English Blackthorn and De Rigueur cocktails.
Vienna Demel ★★★★☆ Better coffee, cake, and a melange.
Prague Lokál Dlouhááá — Sausages, mashed potatoes, and Pilsner Urquell.
Prague U Parlamentu ★★★★★ Delicious food, local history, and a good laugh.
Prague Dutá Hlava ★★★★☆ Traditional Czech and Colombian dishes. Very good.
Prague Kantýna ★★★★★ Great meat options. We went back; still tasty.
Prague King Solomon — Goose drumstick and stuffed cabbage.
Ludwigsburg Blauer Engel — Tea and pretzel before heading to the lakes.

Where we stayed

In Vienna we stayed at the Hotel Royal, right in Old Town. In Prague, we checked in to the King’s Court Hotel. We also stayed in Budapest and Ludwigsburg.

Places and detours

Budapest gave us Memento Park, the House of Terror, the Hungarian National Gallery, and a playful pair of polar bears at the Budapest Zoo. A boat ride on the Danube finished one day.

Vienna packed in the Spanish Riding School, Schönbrunn, the Belvedere, the Albertina, St. Stephen’s, and concerts at Karlskirche. Ksenia says I fell asleep at the Mozart concert. I disagree.

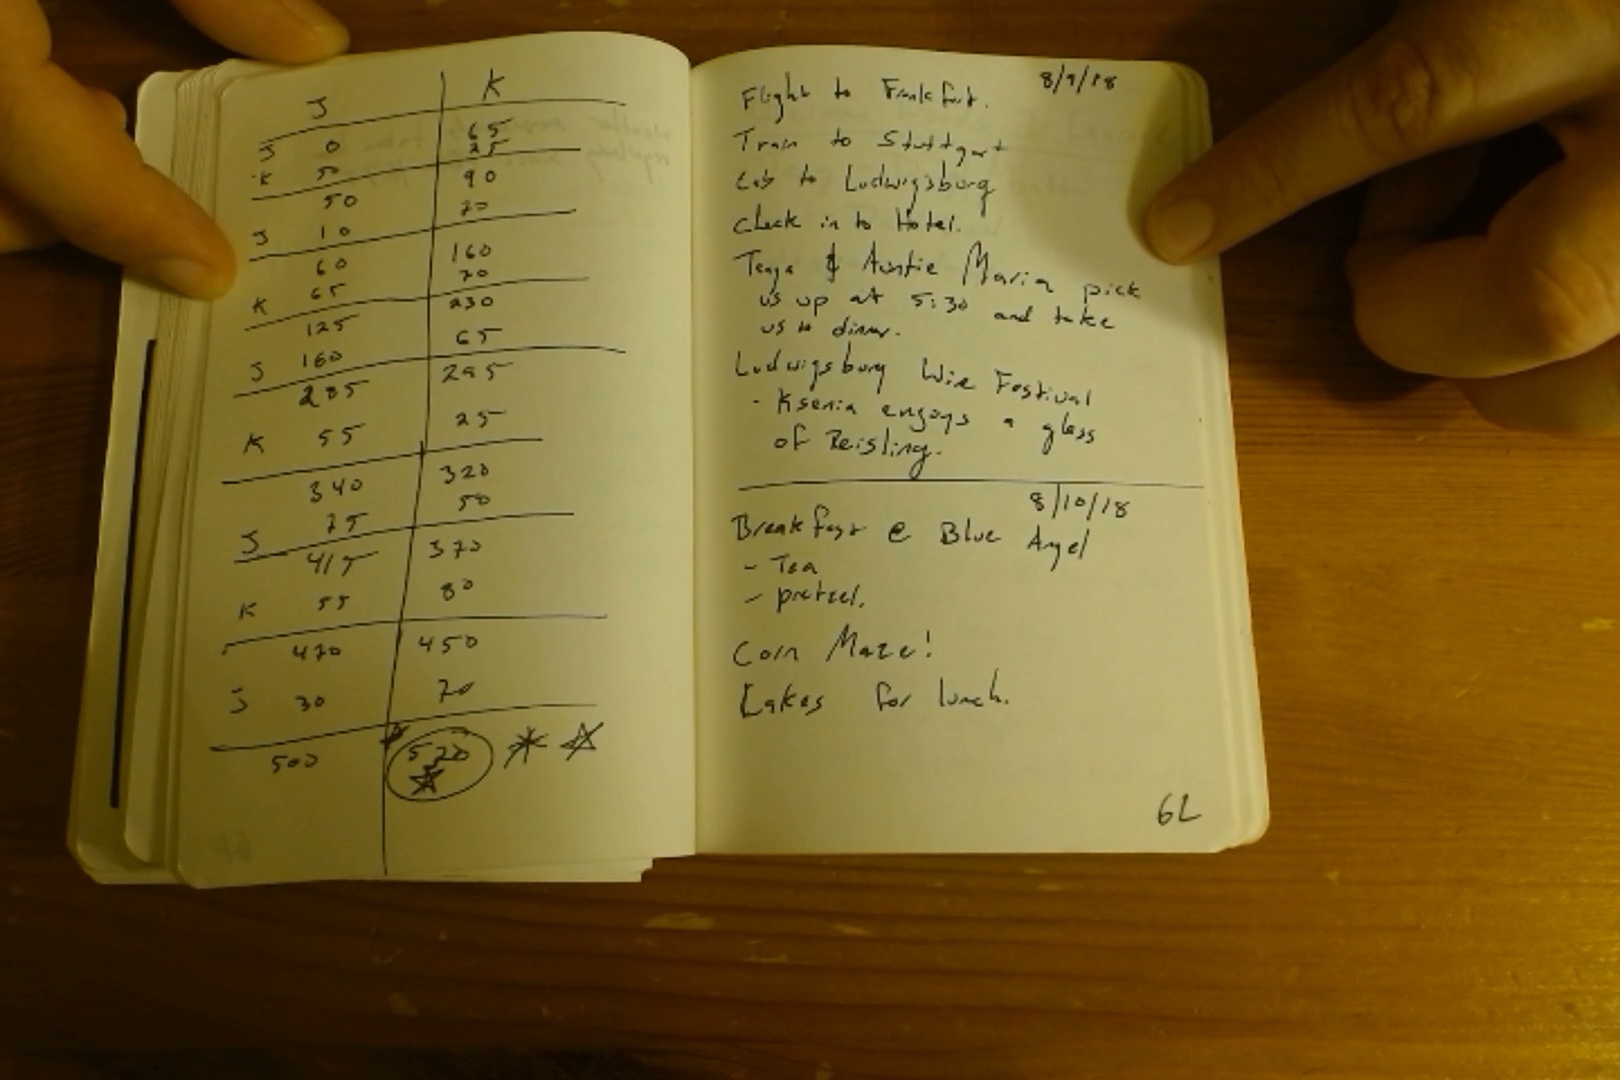
In Prague we toured the castle, saw the Mucha Museum and the Museum of Communism, walked the Jewish Quarter, and fought station closures and ticket machines before finally reaching Old Town Square. We finished with family, a wine festival, and lakes around Ludwigsburg.

Day by day

Travel, Food comments edit

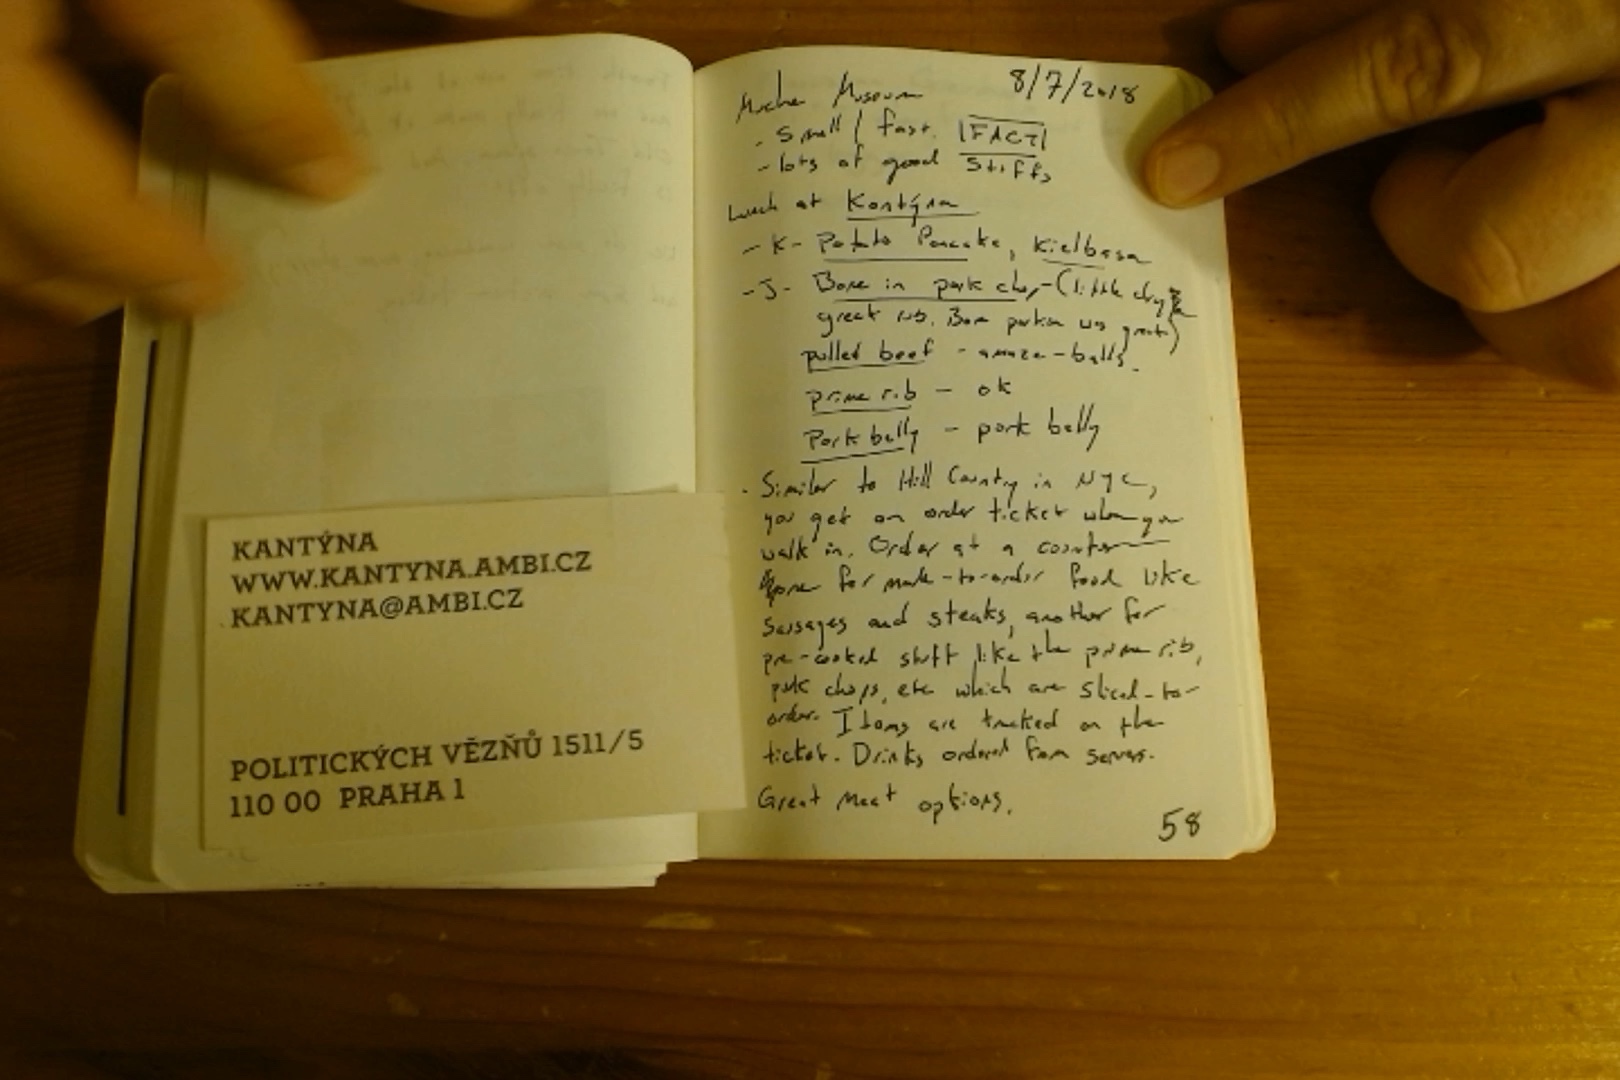
At the Mucha Museum, I came away with two facts: it is small and it has a lot of good stuff.

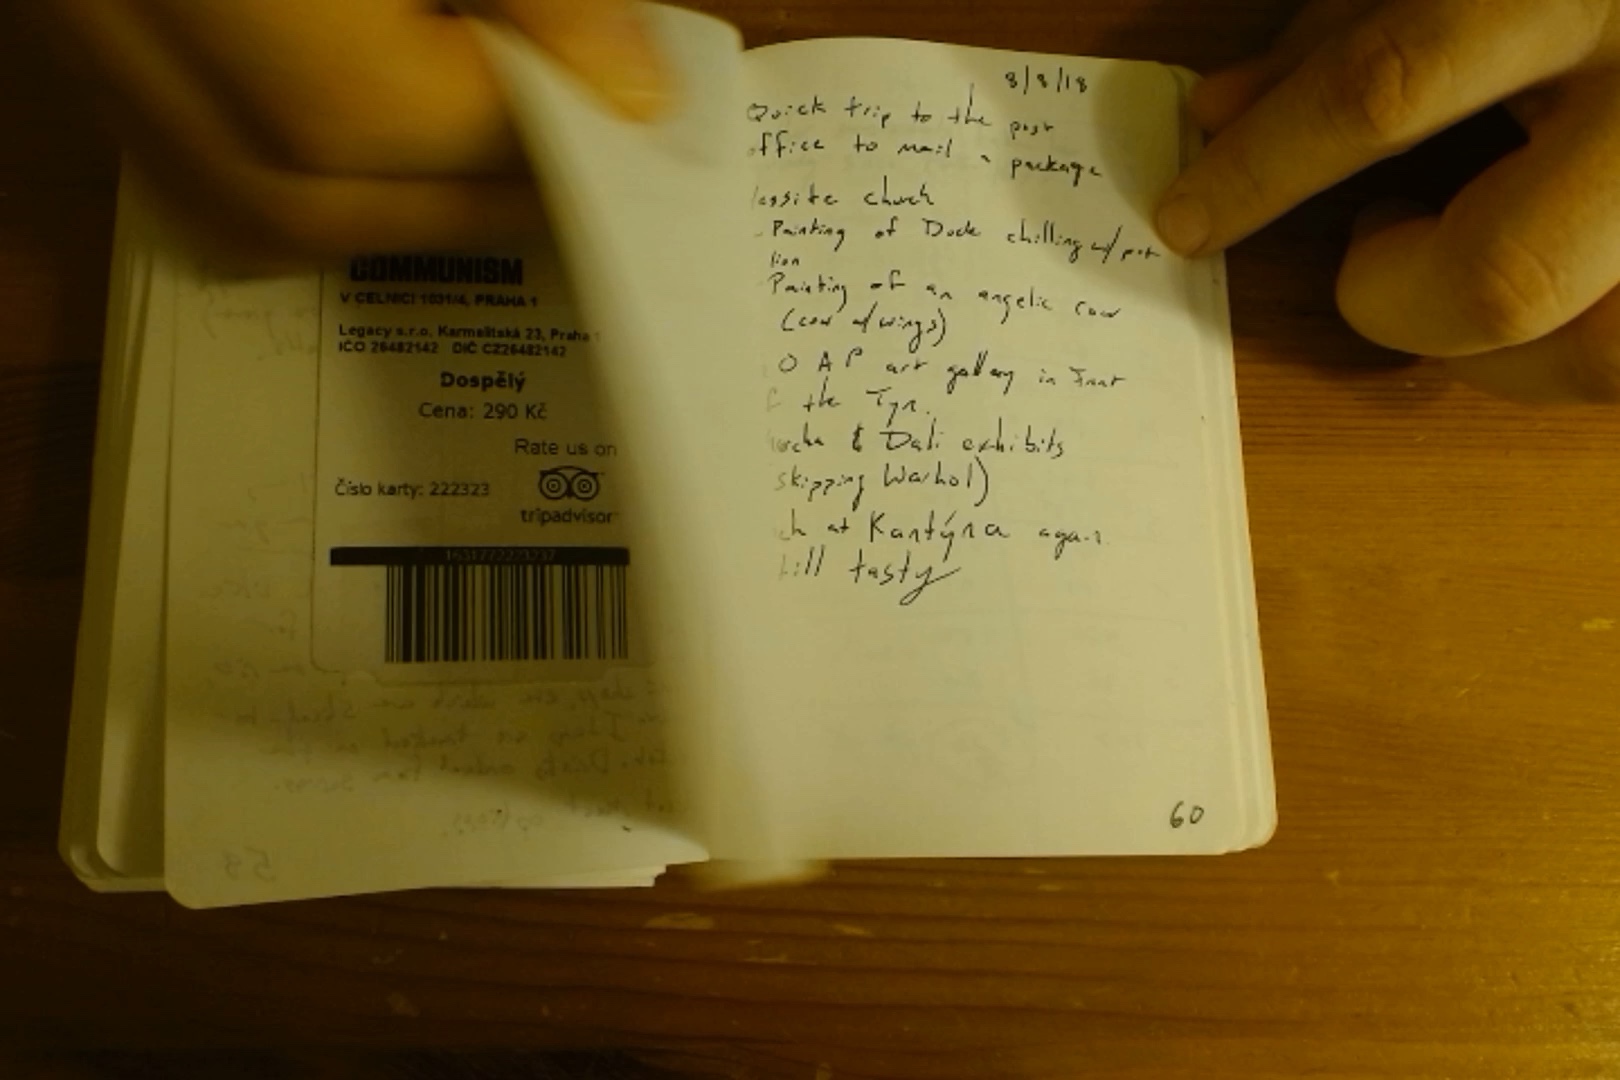
Lunch at Kantýna worked on the same kind of order-ticket system as Hill Country in New York. Ksenia had potato pancakes and kielbasa. I had a bone-in pork chop, pulled beef, prime rib, and pork belly. Great meat options.

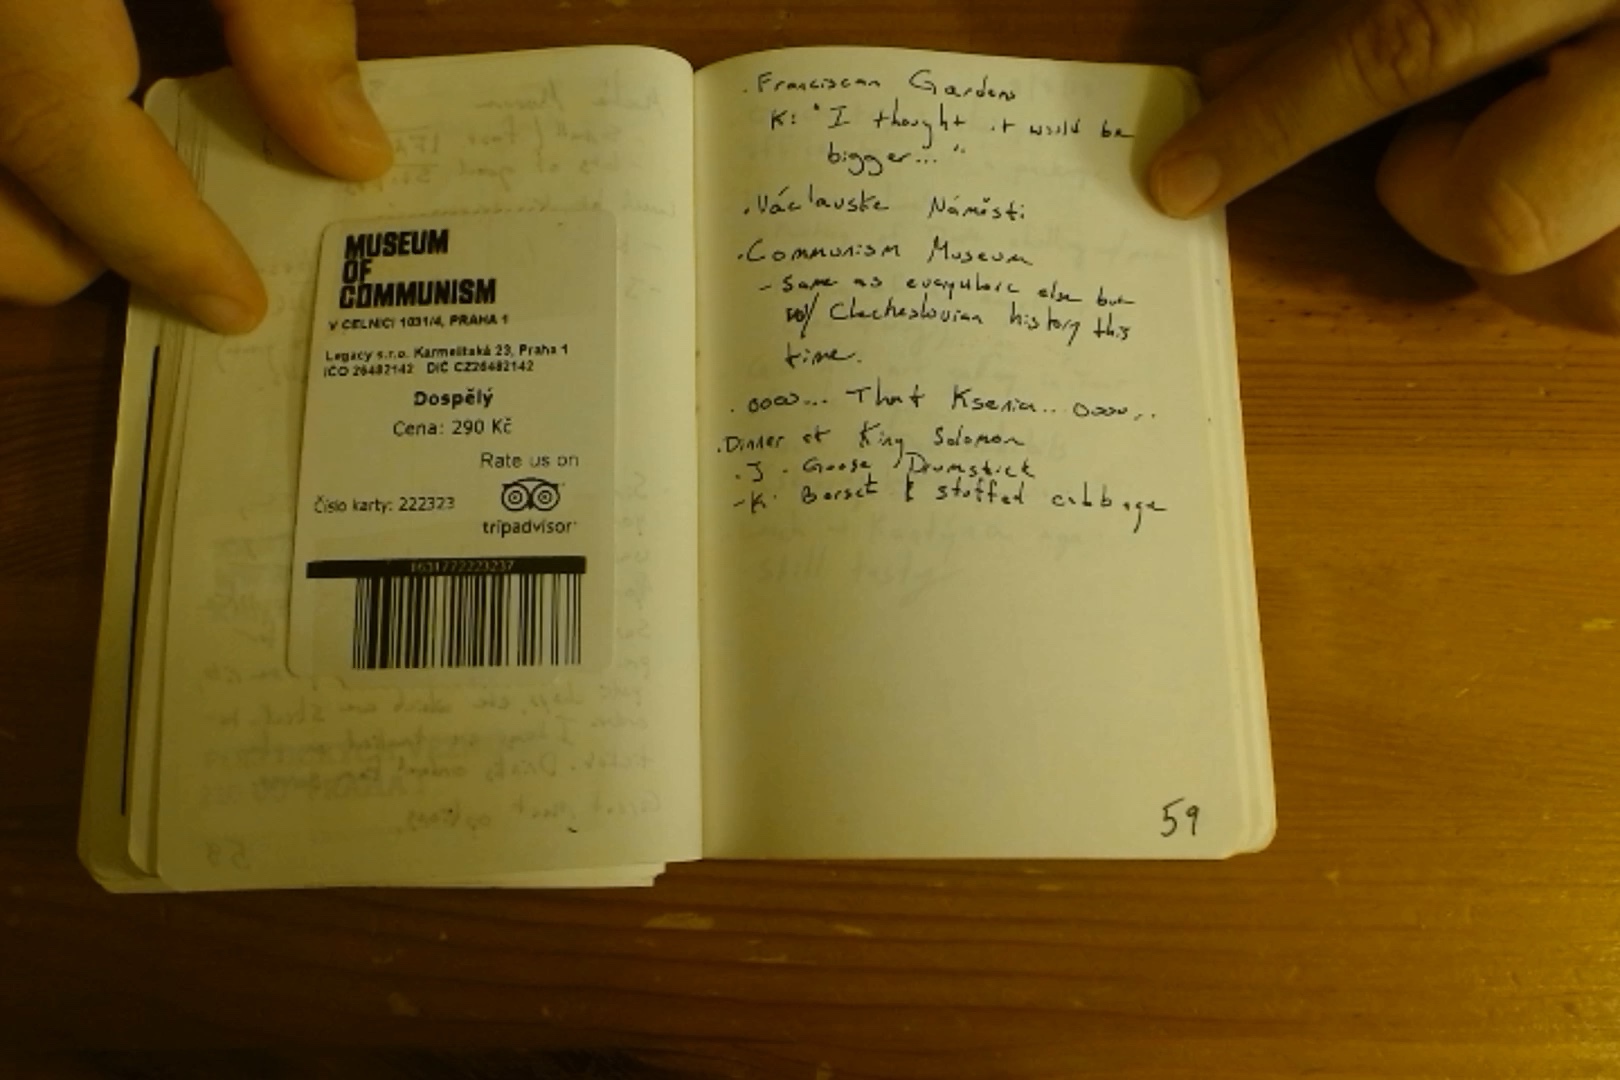
We went on to the Franciscan Garden and Wenceslas Square. At the Museum of Communism, we saw exhibits about Czechoslovak history. Dinner at King Solomon was goose drumstick for me and stuffed cabbage for Ksenia.

Trip summary and all the daily posts

From the Notebook

Notebook page 58, 2018-08-07 Notebook page 59, 2018-08-07

Travel, Food comments edit

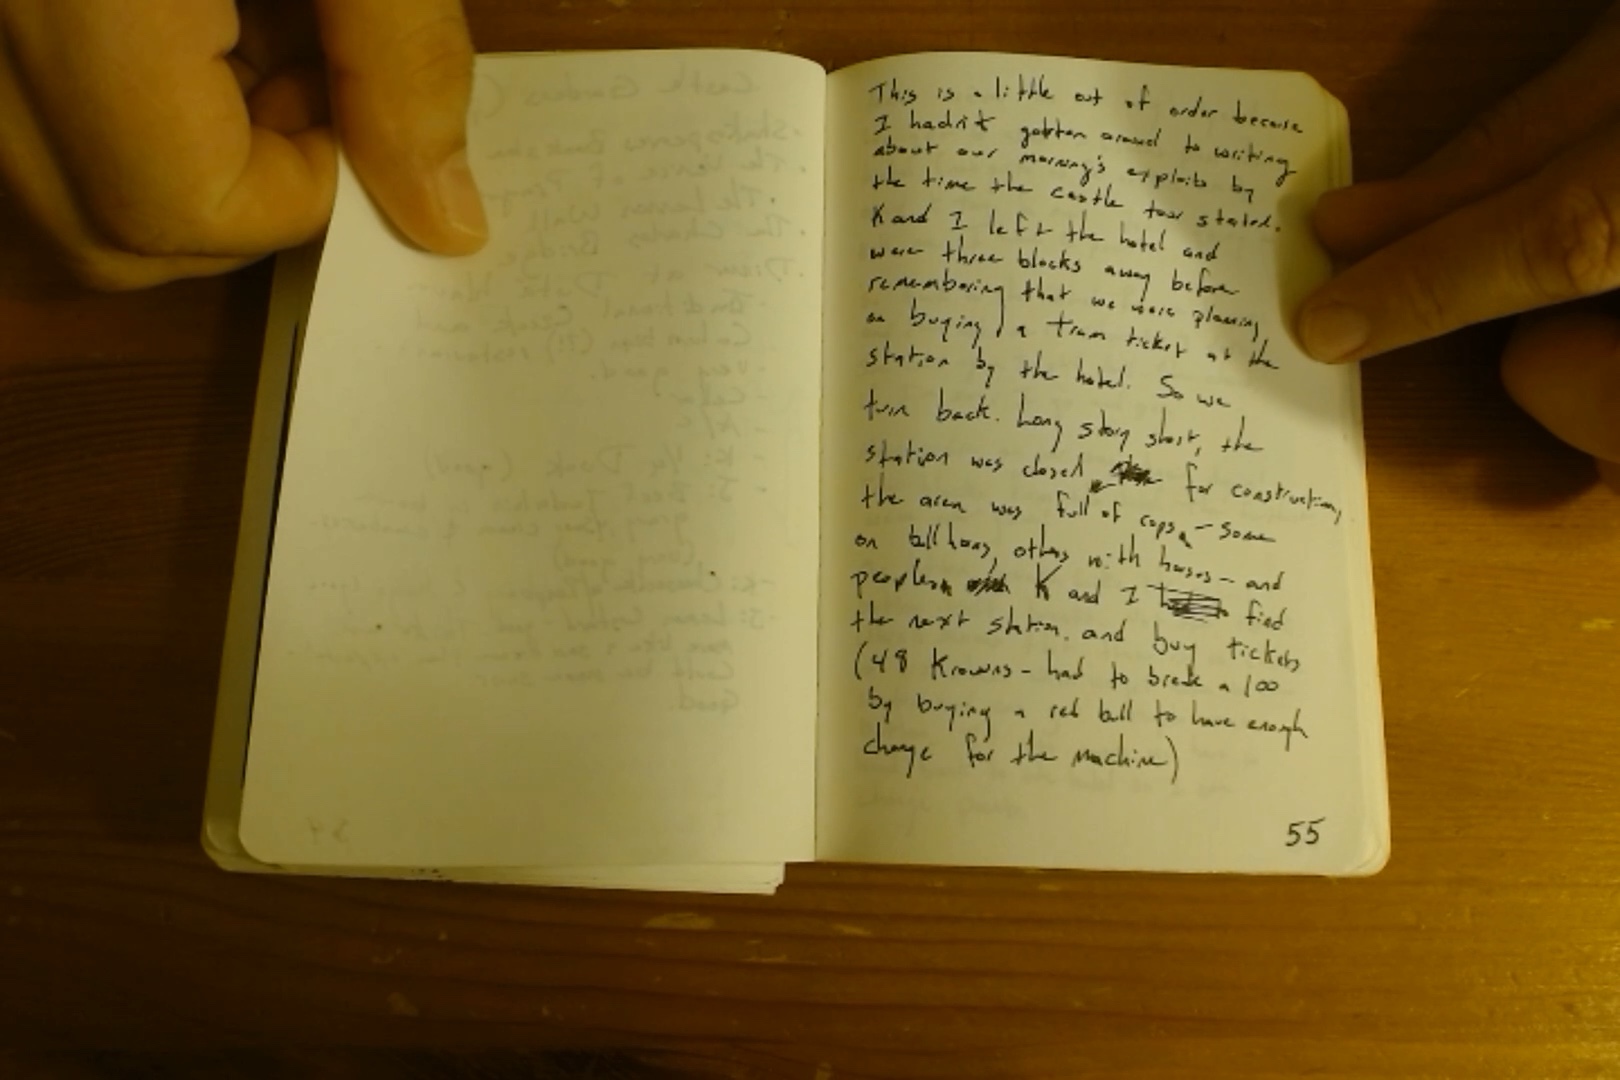
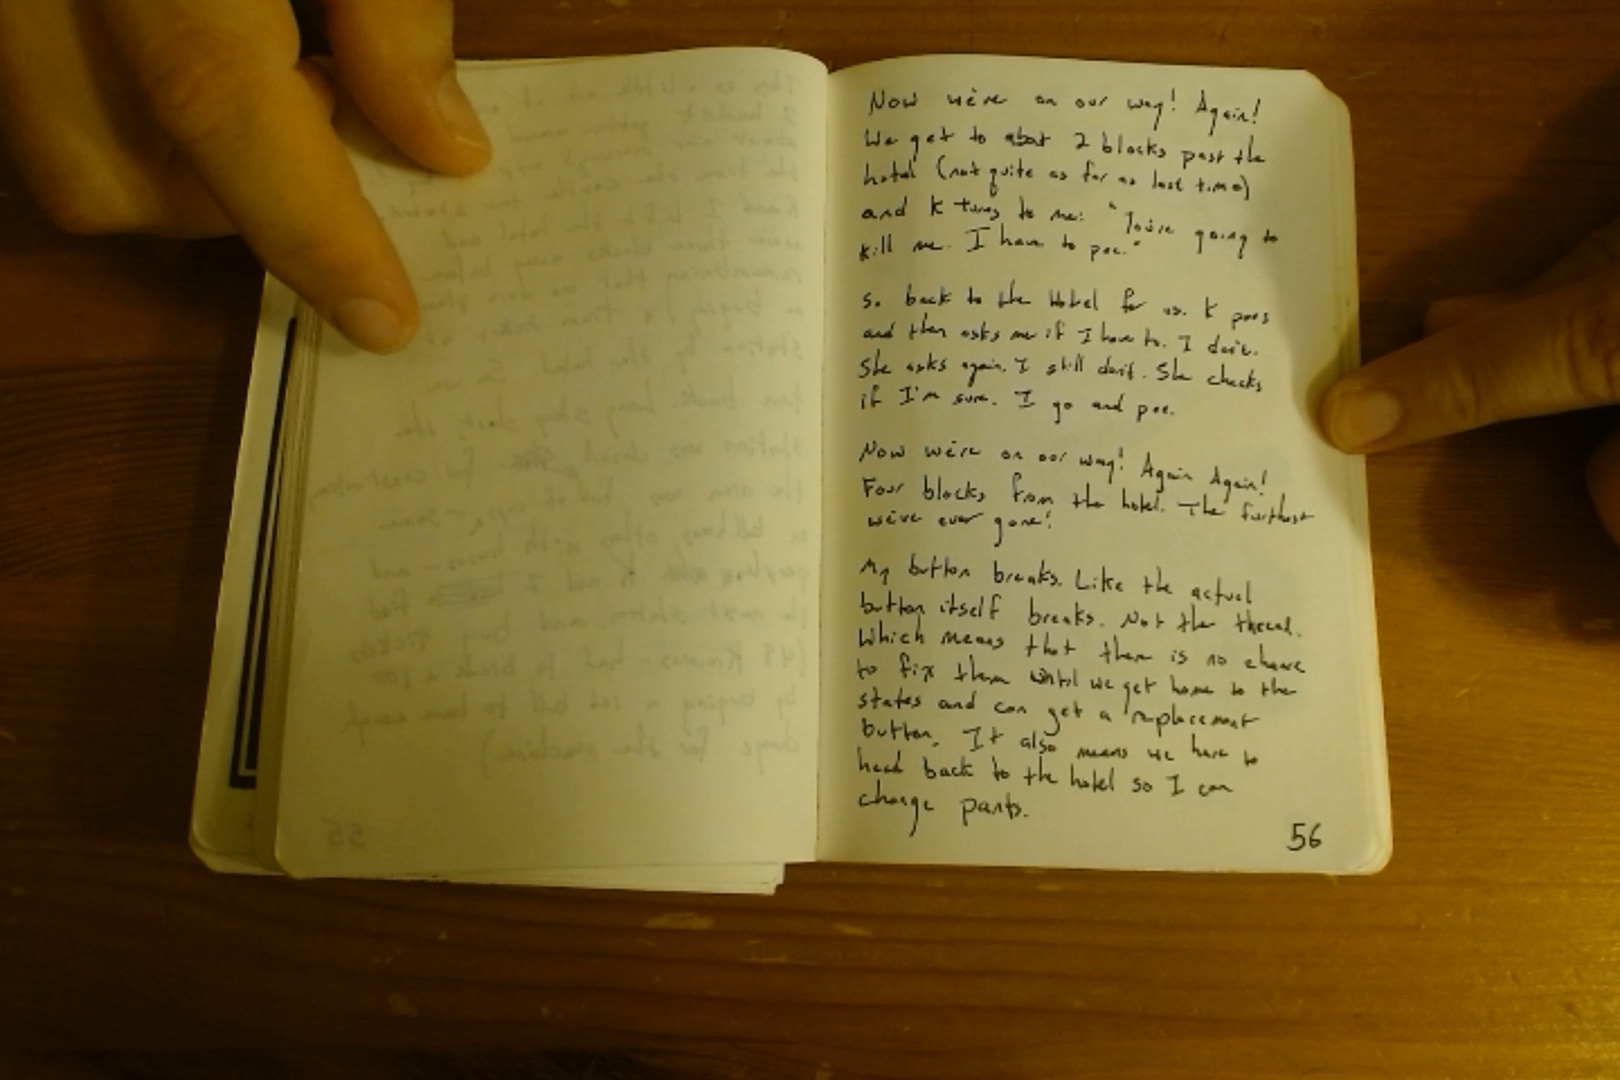
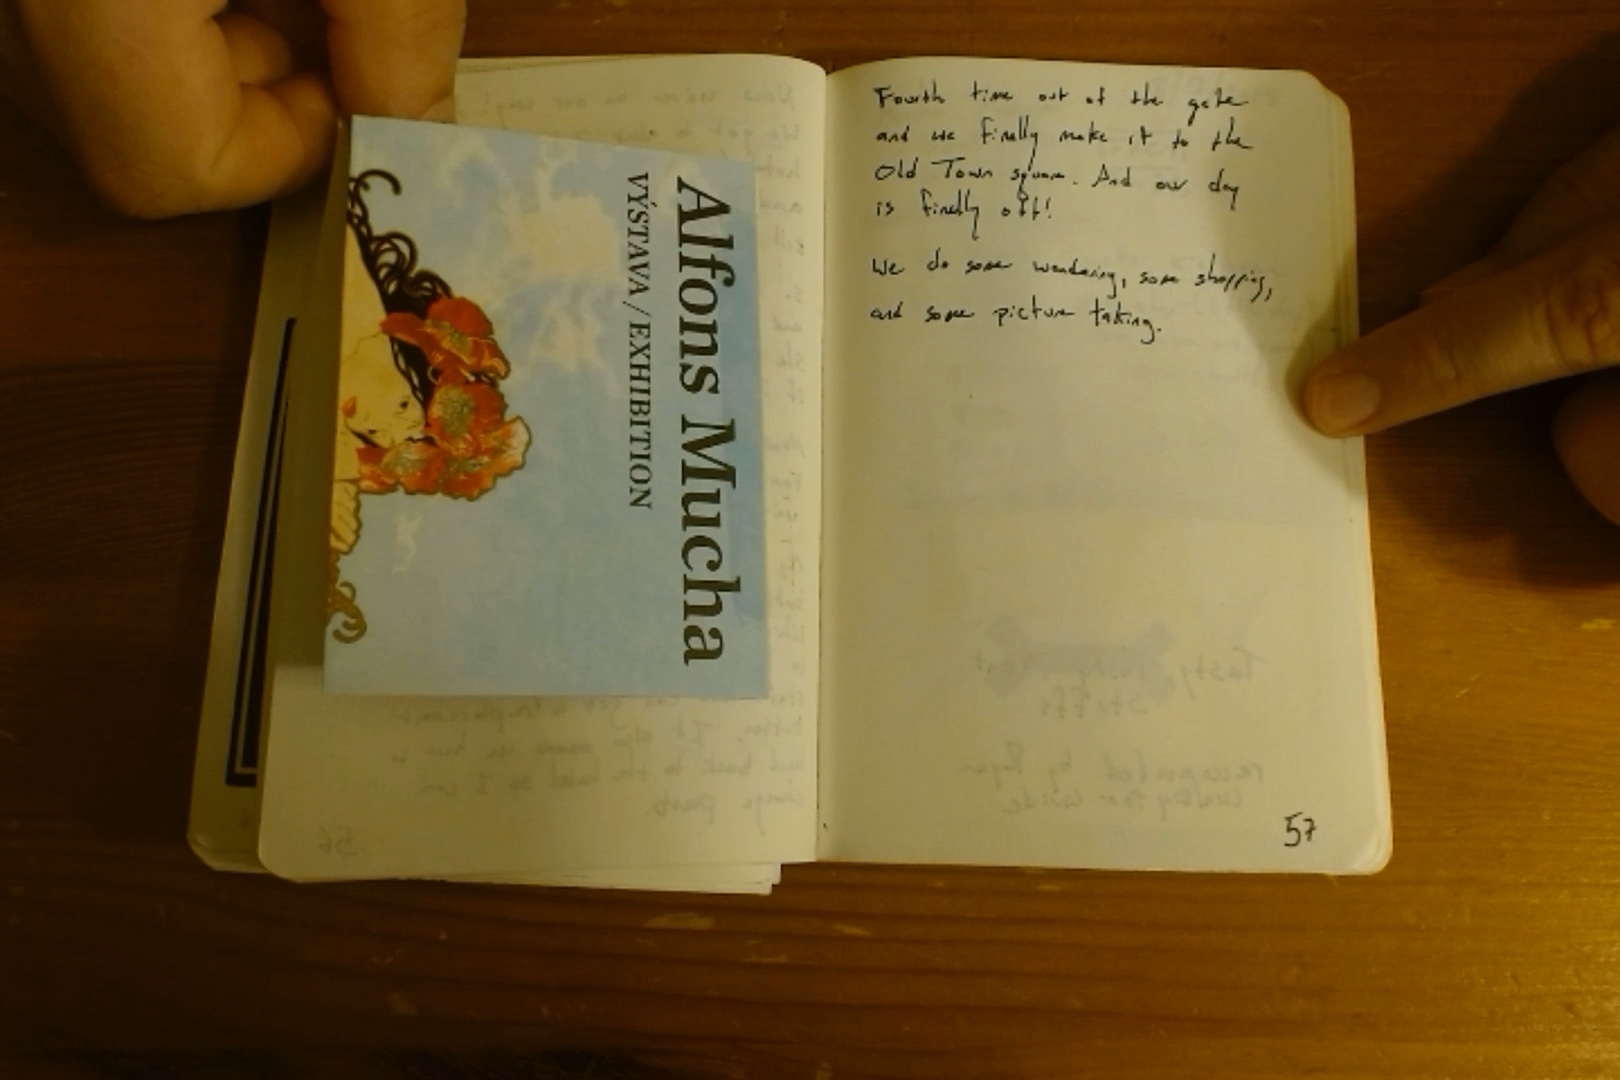
Getting to Prague Castle became its own adventure. We left the hotel, remembered we needed train tickets, and turned back. The station by the hotel was closed for construction. We tried other stops, found a machine that wanted exact change, and had to break a large bill. After another wrong turn and a trip back to the hotel to change pants, our fourth attempt finally got us to Old Town Square. And our day was finally off!

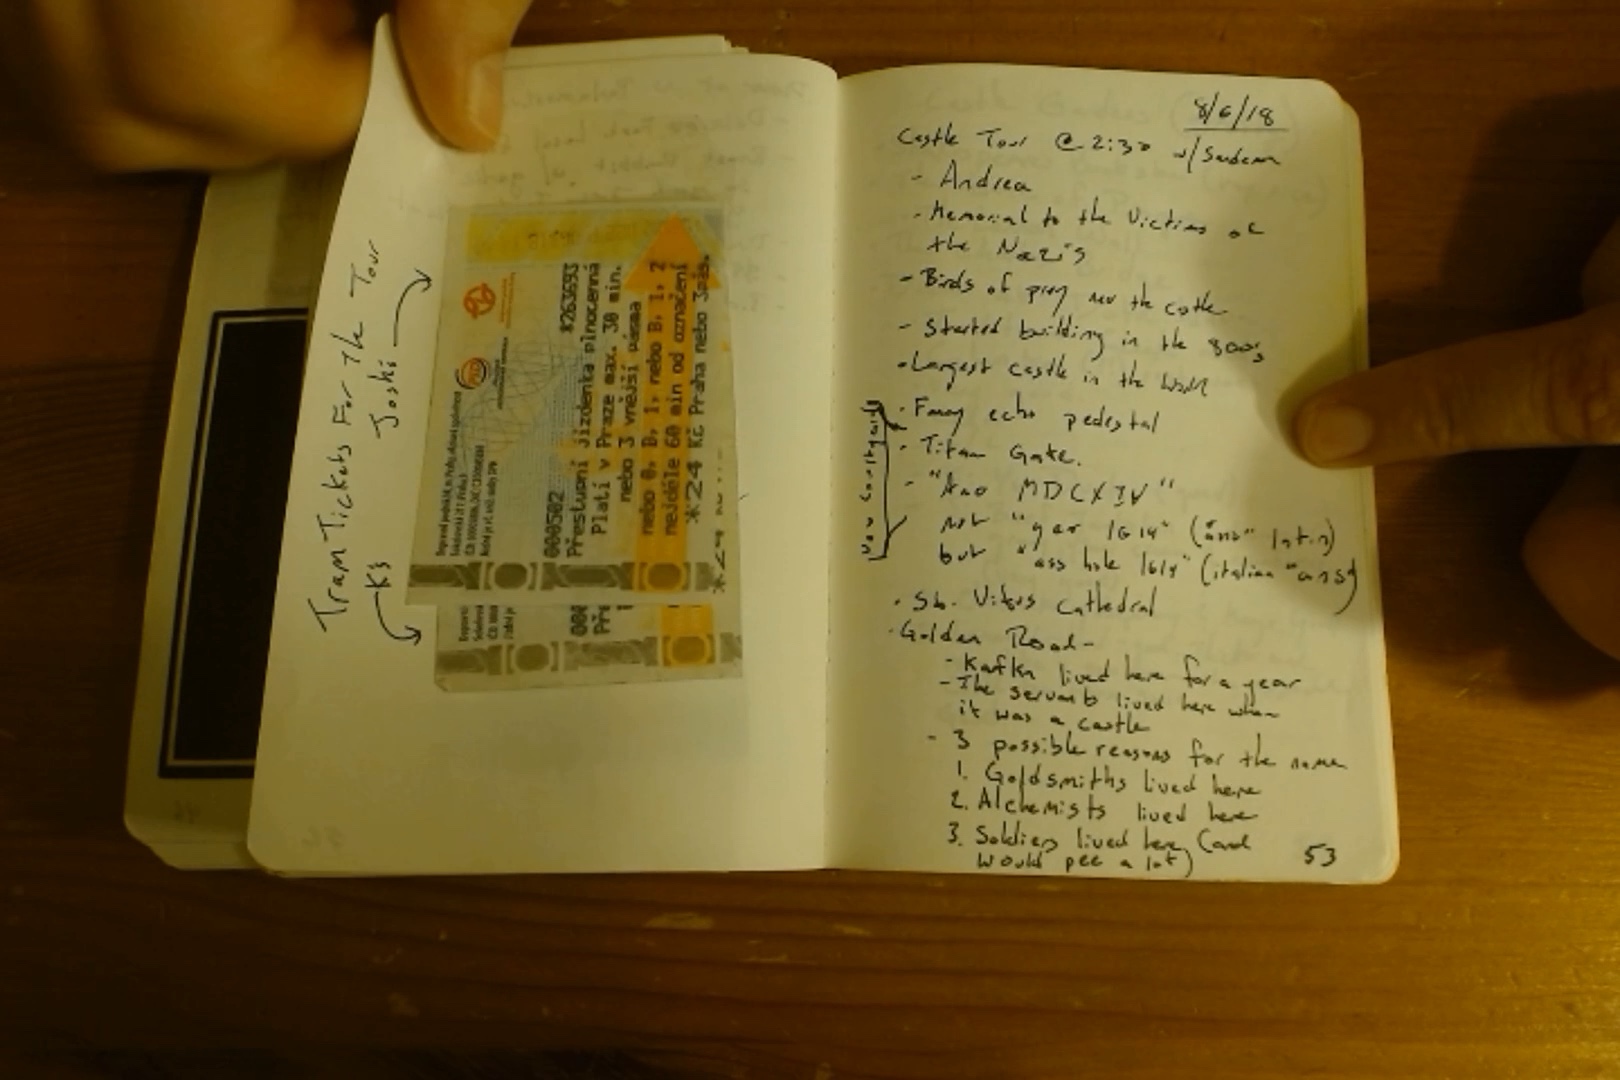
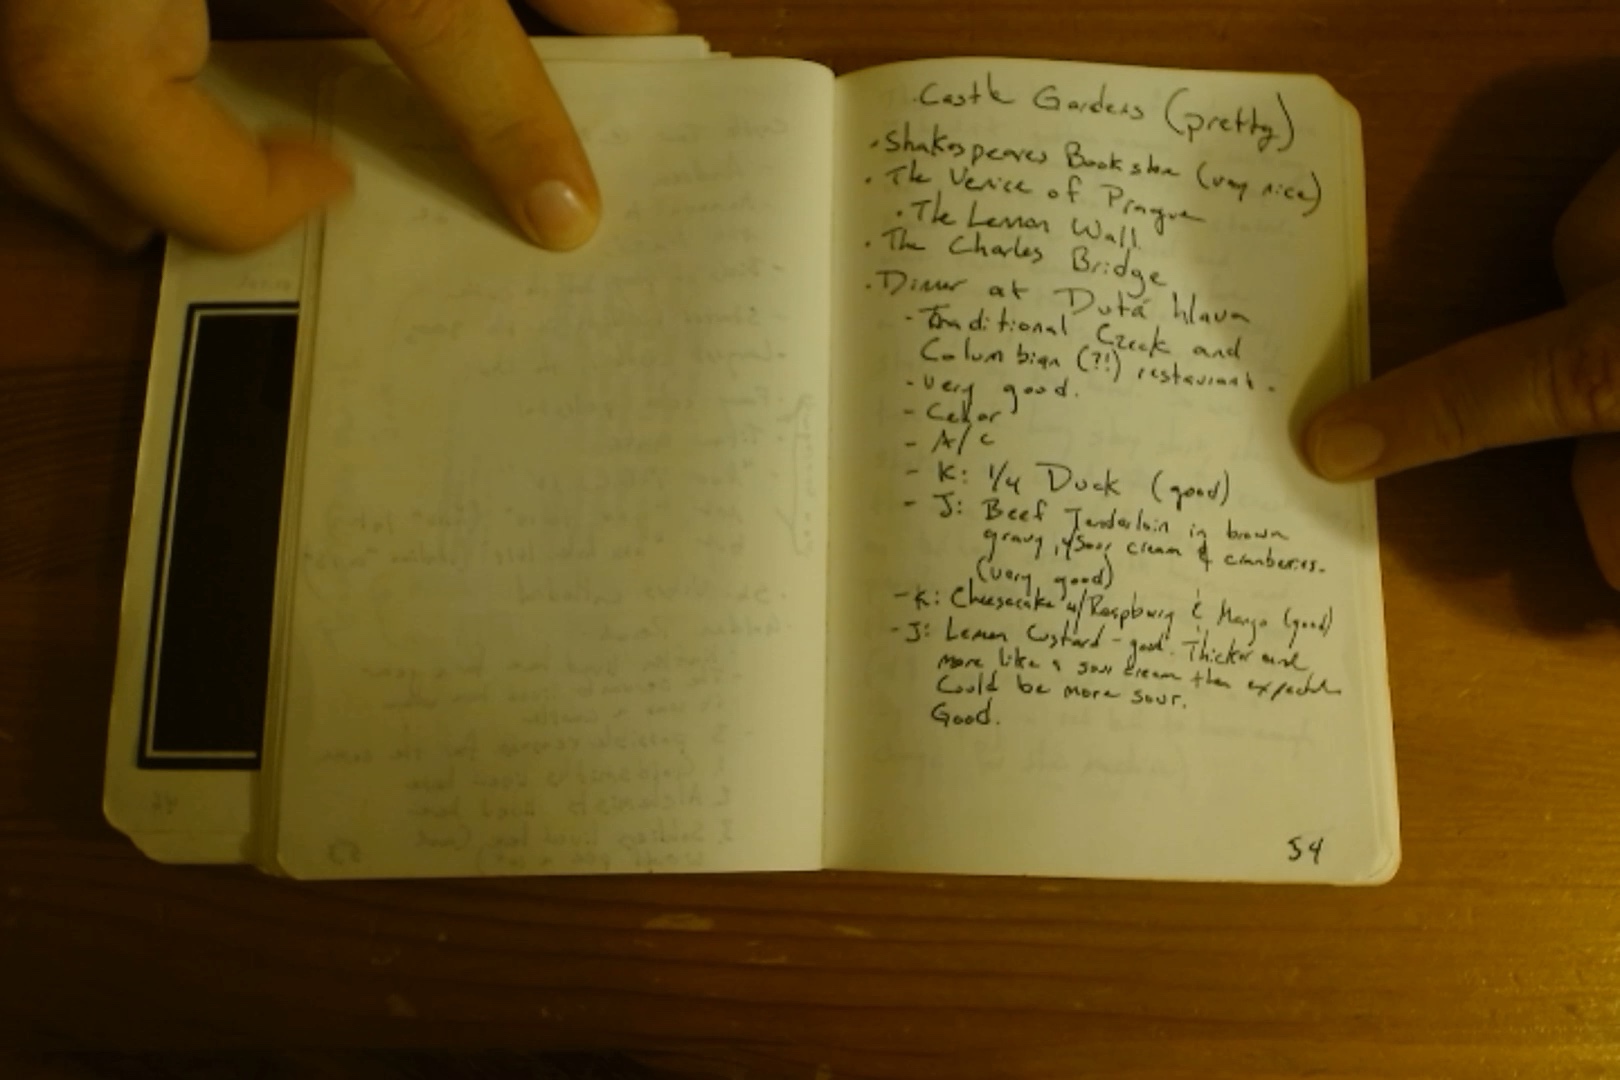
The castle tour with Andrea started at 2:30. It included St. Vitus Cathedral, Golden Lane, and the oldest and largest parts of the castle. From there we walked through the Castle Gardens, past Shakespeare’s Bookshop, the Lennon Wall, and Charles Bridge.

Dinner at Dutá Hlava was traditional Czech and Colombian food, and very good. I had duck, beef tenderloin in brown gravy, and creamy soup with cranberries; Ksenia had cheesecake with raspberry and mango. The lemonade was thicker and more like a smoothie than I expected, but good.

Trip summary and all the daily posts

From the Notebook

Notebook page 53, 2018-08-06 Notebook page 54, 2018-08-06 Notebook page 55, 2018-08-06 Notebook page 56, 2018-08-06 Notebook page 57, 2018-08-06

Travel, Food comments edit

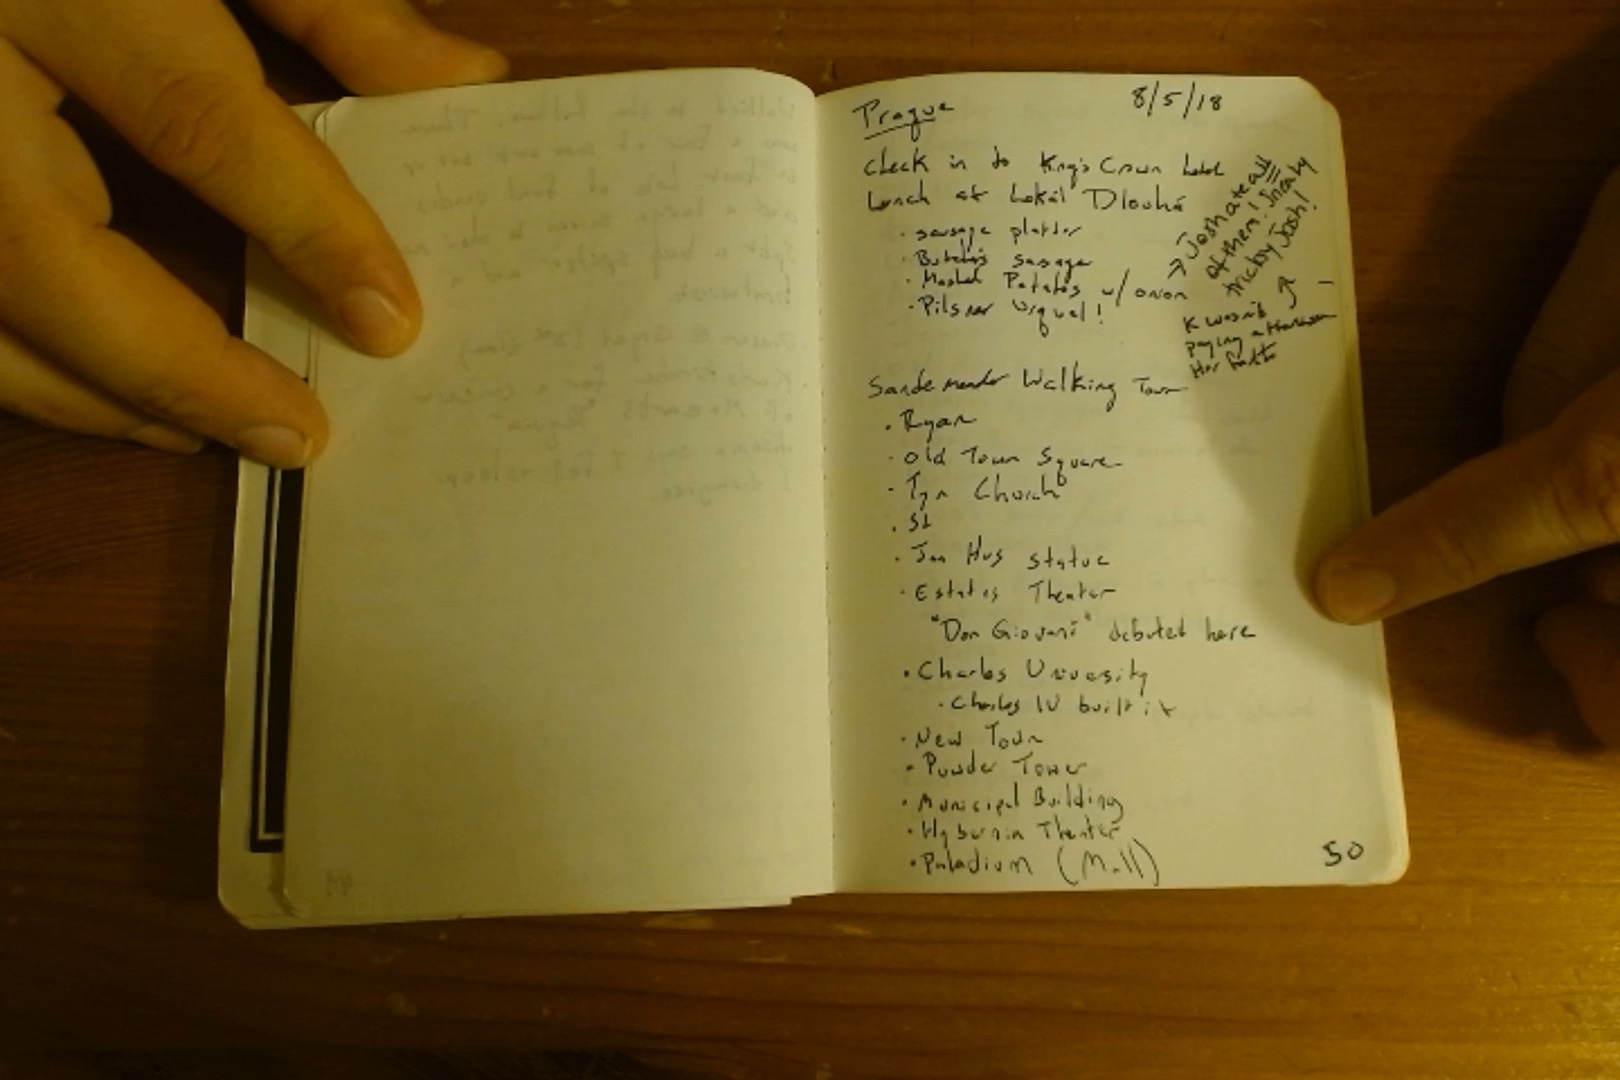
We checked in to the King’s Court Hotel and had lunch at Lokál Dlouhááá: sausage platter, butcher’s sausage, mashed potatoes, and Pilsner Urquell.

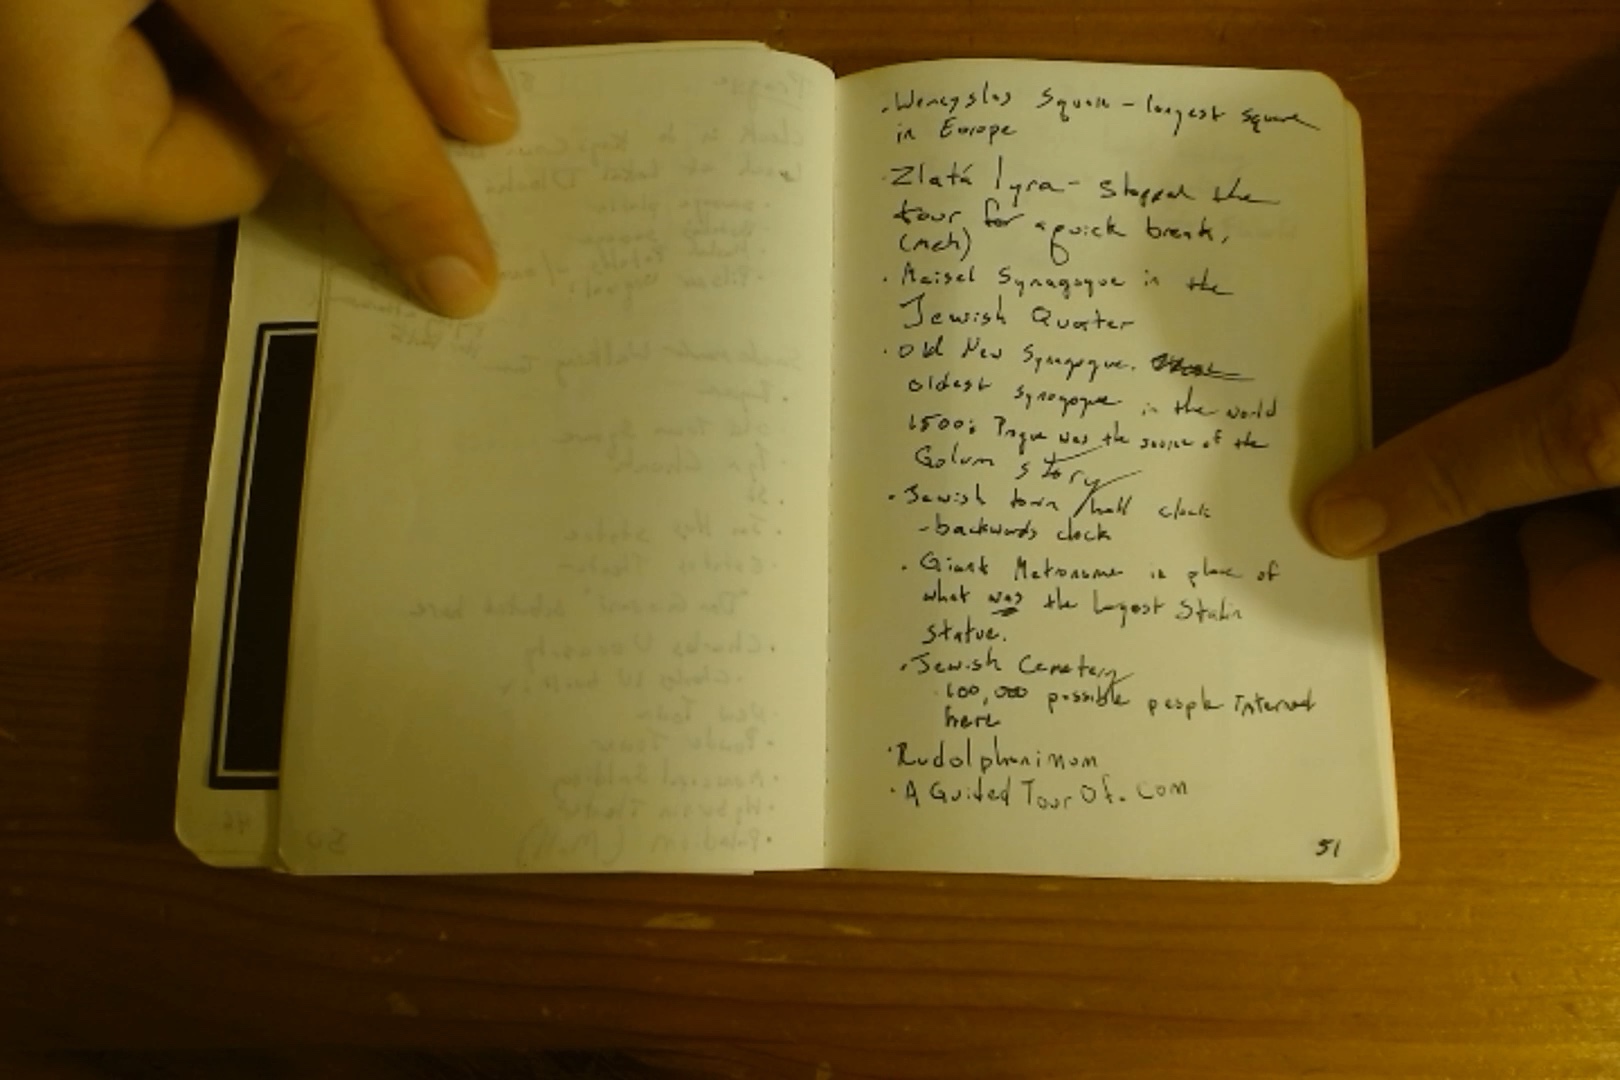
A SANDEMANs walking tour took us from Old Town Square and Týn Church past the Jan Hus statue, Estates Theatre, Charles University, the New Town, Powder Tower, Municipal Building, Hybernia Theatre, and Palladium. We reached Wenceslas Square, where the tour stopped for a quick break, then Josefov and the Jewish Quarter. We saw the Old New Synagogue, the Jewish Town Hall’s backward clock, and the Jewish Cemetery.

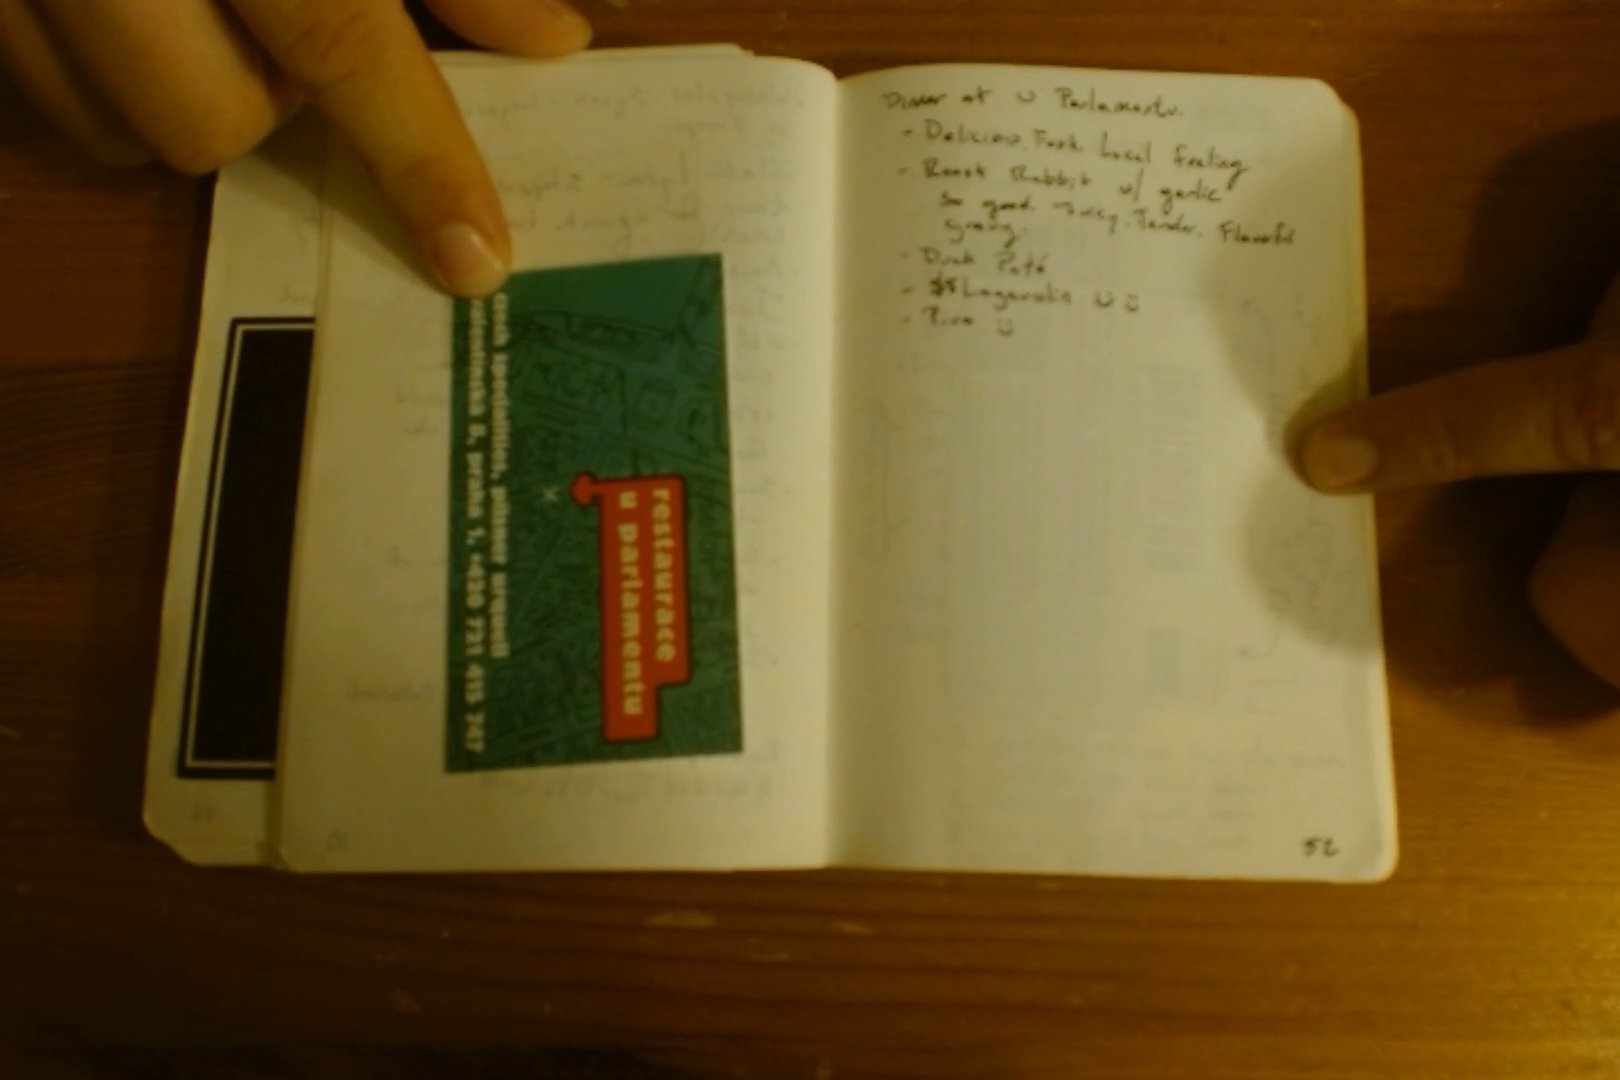
Dinner at U Parlamentu was delicious food with local history. Ksenia had rabbit with garlic; I had roast chicken and sauerkraut dumplings. There was dark Pilsner and some laughter.

Trip summary and all the daily posts

From the Notebook

Notebook page 50, 2018-08-05 Notebook page 51, 2018-08-05 Notebook page 52, 2018-08-05